Tuesday, November 28, 2017

CASology: Round

Hello, everyone! It's time for a new cue from the CASology challenge!


This week's sponsor is Kitty Bee Designs and I've used her adorable Coffee or Tea Please Panda for my card.


Since my panda is a digital image, I printed it out using my printer and then let it sit a bit so the ink could dry before I added my coloring with my Copics. I used my Brother Scan N Cut 2 to cut it out because I'm lazy and I hate fussy cutting. I set that aside and then started work on my background.

To bring in the cue word, I used my circle dies and an embossing pad to create a dry embossed background to add focus to my image. I stamped my sentiment on black cardstock with Versamark ink and heat embossed in white powder to make it stand out from all that white space. I cut it out using a banner die.

Now to pull it all together. I used foam tape to adhere my panda in the center of the circular focal point and then used a little more foam tape to adhere my sentiment below him. The sentiment gives him something to stand on so he doesn't look like he's floating.

Thanks for stopping by today! I hope you'll join us this week with your ROUND creations!


Saturday, November 25, 2017

Simply Sweet Christmas Inspiration Hop


Hello and welcome to the very first Simply Sweet Christmas Inspiration Hop! I'll be completely honest, I just started a new job in the past couple weeks and I haven't had that much time for crafting. This hop completely snuck up on me and I'm so grateful that the theme is simple! I remembered this design that I put together last year when my husband came to me begging for Christmas cards for his employees with only a few days until Christmas. They were the perfect last-minute cards and a classic design! With that in mind, here they are, recreated just for you!


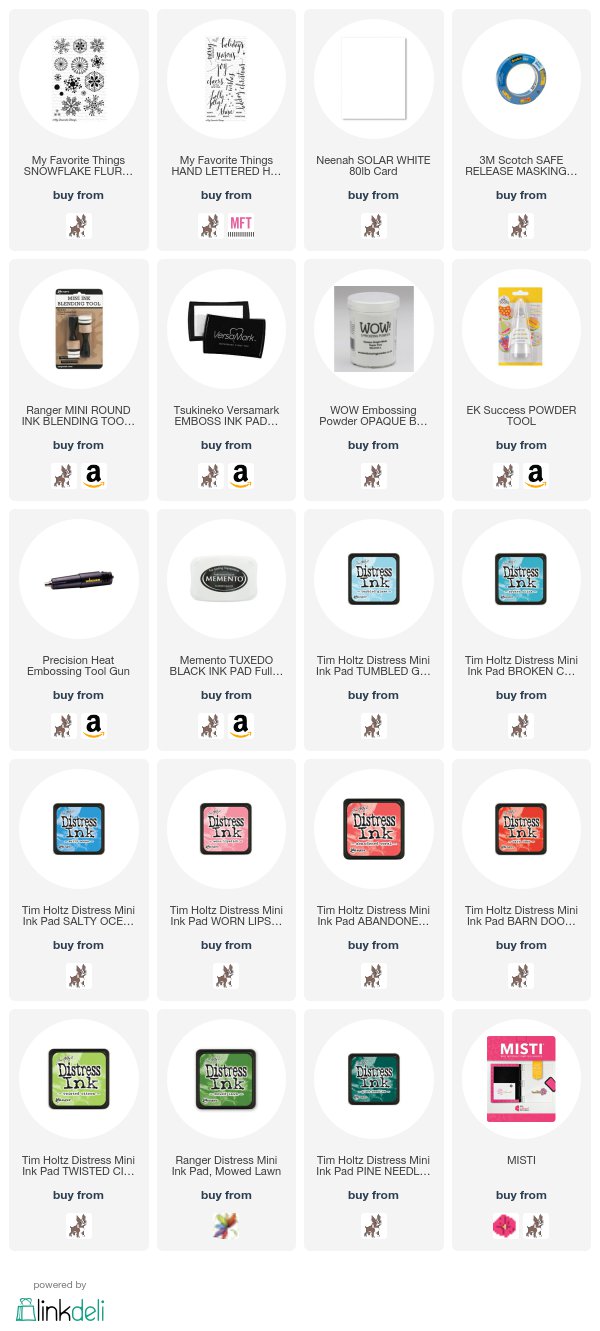
These cards are so easy to put together. I merely used some painter's tape to mask off a strip on the right side of my card and then heat embossed some snowflakes inside of it with white embossing powder. If I were thinking clearly, I would have used my MISTI to stamp each card at the same time and save myself a little hassle. But...when things get crazy my mind tends to go fuzzy, so I stamped each of them separately. Keep that in mind if you decide to reproduce my cards and have a MISTI on hand!

After each card had cooled from the heat embossing, I used 3 different blue inks to blend an ombre strip on top of the snowflakes and then carefully peeled off the tape. Then it was back to my MISTI to stamp the sentiment in dark black ink. Ta-da! All done!


I created this card the same way, just switching the blue inks for pinks/reds. Switch up the sentiment and you can create a bunch of cards!


And here's yet another one with a different sentiment and green inks. You can switch all of these things around and have a set of nine different cards. (3 separate sentiments with 3 different colors!) That's exactly what I did! I had a set of 9 cards done in just over an hour!

Make sure to continue to hop along and see all of the fun inspiration we have for you today! You should have arrived from Nina's blog and your next stop is Vicki! If you get lost, Lesley has the full hop on her blog to help you find your way!


Don't forget that Lesley is also offering a prize for this hop! She's giving away 4 matching handmade Christmas cards to one lucky winner!

In order to quality, please remember to...

1. Comment on Lesley's blog and answer her question.
2. Comment on each stop along the hop!

The Giveaway Contest closes on Saturday, December 2!


Final Kennedy Grace Creations Post

I'm over on the Kennedy Grace Creations blog today with my final post as a designer. I recently started a new job and it's cut into my crafting time quite a bit. I had to make some difficult decisions and I decided to step down from my position as a designer.

I'll still be around and I'll still be crafting, but there may be a longer delay in my postings until I get back into a routine. I hope you'll still stop by occasionally to see what I'm up to!


Tuesday, November 21, 2017

CASology: Cheer

Hello! It's time for a brand new cue from CASology!


It's getting to be that time of year, so I started hauling out my winter/Christmas stamps. This one from Sunny Studio is probably one of my favorites. They're perfect for the entire winter season.


I started this card by cutting a panel with a large stitched rectangle die and then using my MISTI to stamp my image and my sentiment. I also stamped my image again on some masking paper so that I could do a little ink blending over the top of it.

I covered my mug in my masking paper and then added a snowfall stencil over the top of the panel. I pressed my Versamark ink pad over the top of it and then heat embossed the falling snow in white. (I used a dry paint brush to brush away any powder that stuck to my sentiment.) I then used my ink blending tools to blend in 2 blues to create an ombre sky to help the falling snow stand out on my white card. I removed my mask and then colored my image with my copics.

I adhered my panel to a white card base and it was all finished!

I can't wait to see how you're inspired by this week's cue! Thanks for stopping by today!


Tuesday, November 14, 2017

CASology: Sharp

Hello! It's that time of the week again. Time for a new cue from CASology!


I recently purchased this adorable set from Hero Arts because I have twin nephews who are obsessed with narwhals. I thought it would be perfect for cards for them. And this cue seemed to cry out for a narwhal, too!


Isn't that image just adorable?  I started my card by cutting a panel with a stitched rectangle die. I stamped my image using my MISTI and then stamped again onto some masking paper. I covered it up so that I could blend some ink over it.

I cut another mask from some masking paper. I used a circle die and then placed the negative piece over the top of my narwhal so that it would appear to be inside a bubble of water when I blended my ink into it. I started with my middle tone and blended the ink from the edges in. Then I added my darkest color on the very edges. I finished it off by blending my lightest color of the top of everything and leaving just a slight white glow around my narwhal. That last layer of the lightest color helped blend all three colors together seamlessly.

I remove my masks and then colored my narwhal with my copics. I used my MISTI to align my sentiment and stamped it twice with black ink to make sure it stood out on top of my blending. I then adhered the panel onto a white card base with my tape runner.

Thanks for stopping by!


Sunday, November 12, 2017

Less Is More - Fireworks

Today's card is a clean and simple one made for the current Less Is More challenge - Fireworks!

Now, let me start by saying that this was a color challenge and my card is black and white. The reason behind that is that my absolute favorite color of firework is the sparkling silver/gold. There's just something magical about them. So while this may be a very liberal interpretation of this cue, it was still inspired by it.


I wanted to make this look like a fireworks display over New York, so I used the New York skyline die to cut out a silhouette in black. I experimented with using a navy or darker gray cardstock as a base, but I ended up liking this middle-tone gray the best. The fireworks still stand out on it, but it also allows the skyline to shine as well.

I stamped my fireworks above where I wanted to adhere my skyline and then heat embossed them in silver. I adhered the skyline directly to the card using some Multi Medium Matte and then heat embossed my sentiment on top of it in white powder.


When you tilt the card in the light it has some great shimmer that remind of those beautiful sparkly fireworks.

Thanks for stopping by!


Saturday, November 11, 2017

Kennedy Grace Creations Post

I'm over on the Kennedy Grace Creations blog today with a card inspired by our November Mood Board! Go check out how I was inspired!


Thursday, November 9, 2017

Layered Koala Birthday

Hello! I'm back again with yet another birthday card. One more to add to my stash for the upcoming busy birthday months.


This one was created without a specific person in mind. I just love this koala and wanted to use it. Sometimes that's the best place to start when you're looking for inspiration. Find a stamp set or die that inspires you and go from there!

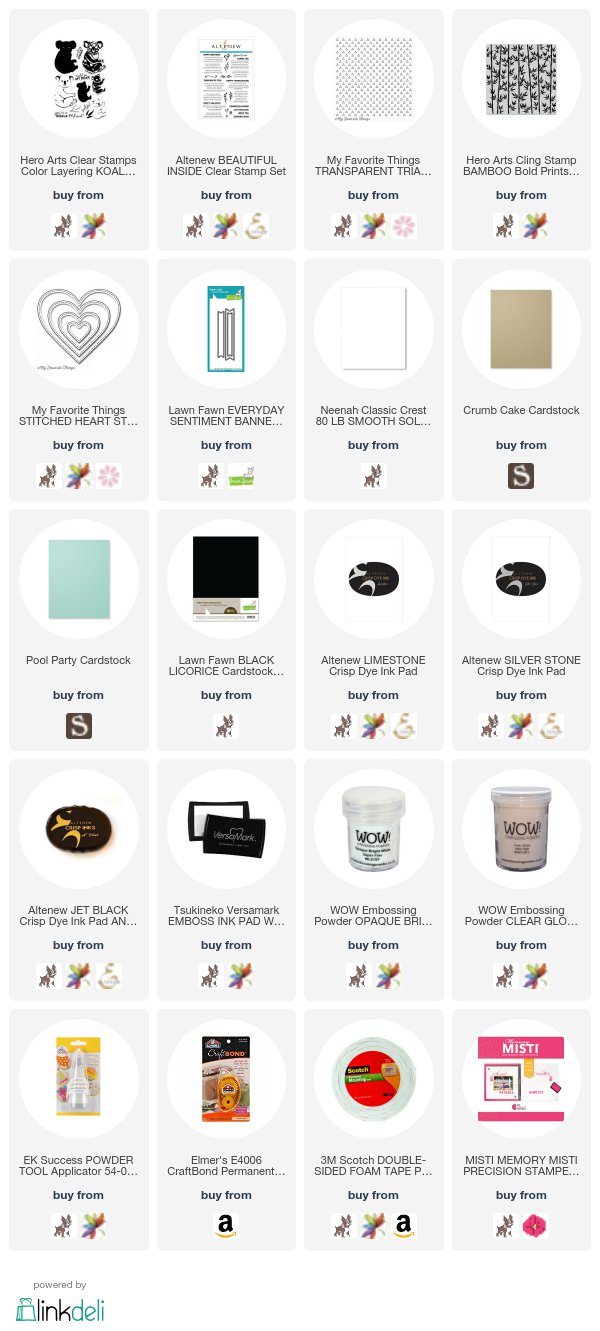
I started this card by stamping out my Koala and then cutting him out. I had a stamped and cut leaf in my little bowl of pre-cut items, so I added that to his hands by adhering it behind the koala. I cut a panel of crumb cake cardstock and then stamped my bamboo background in Versamark ink and heat embossed it in clear powder. I used double-sided tape to adhere it to a white card base. I wanted another piece to make my koala stand out, so I cut a heart from pool party cardstock. I thought it looked a little bland, so I stamped my triangle background stamp on it and then heat embossed in white powder. It makes the perfect backdrop for my koala! I stamped my sentiment on black cardstock and then heat embossed with white powder and cut it out with a banner die.

I adhered my heart directly to the card using a glue runner and then adhered my koala and banner using foam tape for a little bit of dimension.

Thanks for stopping by!


Wednesday, November 8, 2017

Unbelievable Birthday

For some reason, I have a ton of birthdays in November and December. I'm trying to work ahead a little bit so I'm not running behind trying to get my Christmas cards finished while also trying to get my birthday cards done, so today I sat down to work on a birthday card.


I created this one with my twin nephews in mind. They're getting a little older now (teenagers!) and I still want to do something cute, but don't want the images to be too cutesy. I think this little Nessie image is just perfect for my creature-loving nephews.

I started by stamping and coloring both my Nessie and her hat. I cut them out using the matching dies and set them aside. Then I set to work assembling my background. I cut my mountains from Smoke cardstock and the snow caps from white. I layered them over a soft blue card base. Then I cut my grass from some green cardstock and layered that on top. Next was my dark blue cardstock with a waves die. And then I wanted to add another layer to slip Nessie behind. I decided on Vellum so the blue layer and my Nessie would show through it. I cut my Vellum down with another wave die and then heat embossed my sentiment on it. I left it a little longer than I needed so that I could fold it under the bottom of my blue piece and adhere it to the back (hiding the adhesive). Then I adhered the blue piece on top of the rest.

I slid my Nessie behind the vellum layer and adhered it down and then added the hat to finish it off. Lots and lots of layering for this one which is something I don't normally do, but I thought it looked really cute!

Thanks for stopping by today!

Tuesday, November 7, 2017

CASology: Tiny

Hello! I'm back today with a new cue from CASology!


When I saw this cue, I immediately thought of babies. They're just so tiny and cute! And that led me to this adorable set from Clearly Besotted. It's one of my absolute favorites for baby cards.


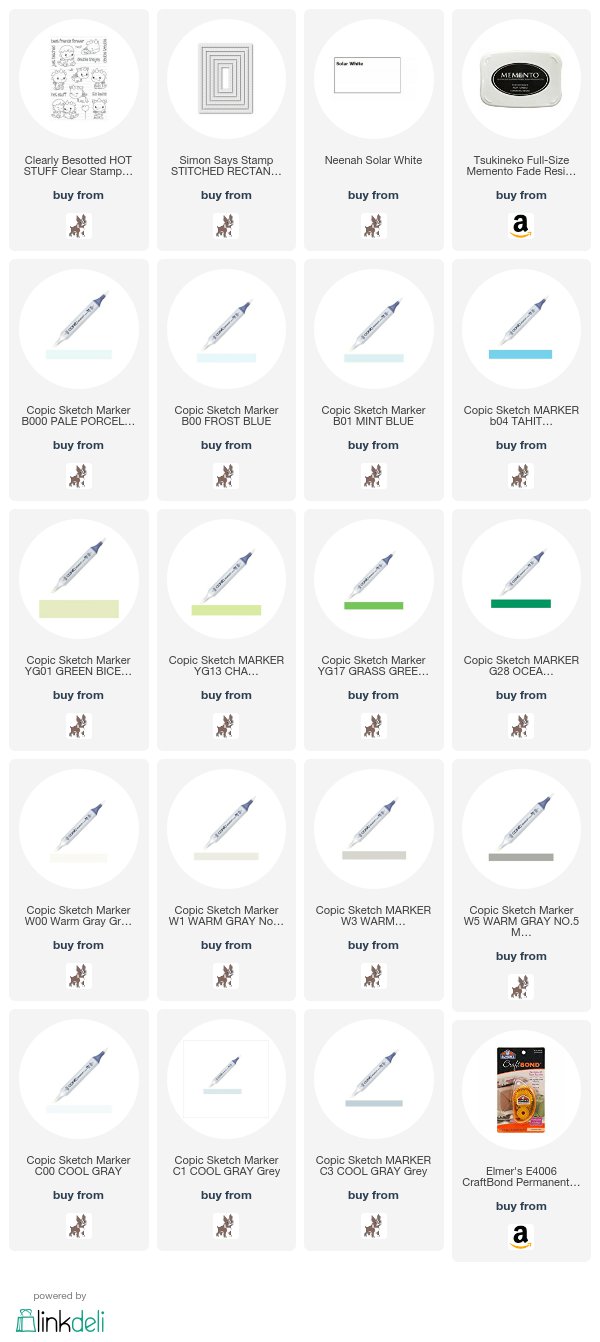
I cut a panel for my image with a stitched rectangle die and then used my MISTI to stamp my image in the bottom left corner. I colored it in with my copics and then added the sentiment in a black ink. I adhered my panel directly to my card base with a tape runner and I was all done!


Sunday, November 5, 2017

Cards for Jacob

Hey, everyone! I'm back again today with a new card, but this one's a little different. I created this for a little boy in the hospital battling cancer. They believe that this will be his last Christmas (in fact, they're celebrating early because it's not looking so good) and all he wants is cards. His name is Jacob Thompson and I read that his favorite animal is a penguin, so I created this one for him.


I thought it would be fun to put this little penguin and his snow-penguin into a snow-globe. I hope this brings a smile to his face.

I created this using the Ready, Set, Snow set and Die add-ons from Lawn Fawn along with their Snow Cool stamp set. I used the stamps and dies to stamp and cut out my snow-globe pieces and then used my copics to assemble it all. Instead of using sequins or beads for the inside of my shaker, I used a product I've had in my stash for a while and now can't find in stock in any store. It's called Flower Soft and it's this substance that looks incredibly like snow. I think it adds the perfect touch to the card.

I cut and folded a gray card base and then cut a panel using a Stitched Rectangle die. I actually used a falling snow stencil and my Versamark ink to add some glittery heat embossing to the background, but it doesn't show up in pictures. It's very subtle and just adds a little shine and texture in real life. I adhered my snow-globe in the center of the panel and it was all done.

If you'd like to send a card to Jacob, you can send it to:

Jacob Thompson
c/o Maine Medical Center
22 Bramhall St.
Portland, ME 04102


Thanks for stopping by today!


Saturday, November 4, 2017

Falling for You

Hello! I'm actually here today with a challenge entry. I haven't entered a challenge in a really long time. I've been distracted by life and design teams, but today I sat down and created just for the fun of creating. Feels so good! And my creation fits perfectly with the Addicted to CAS code word - LEAVES!


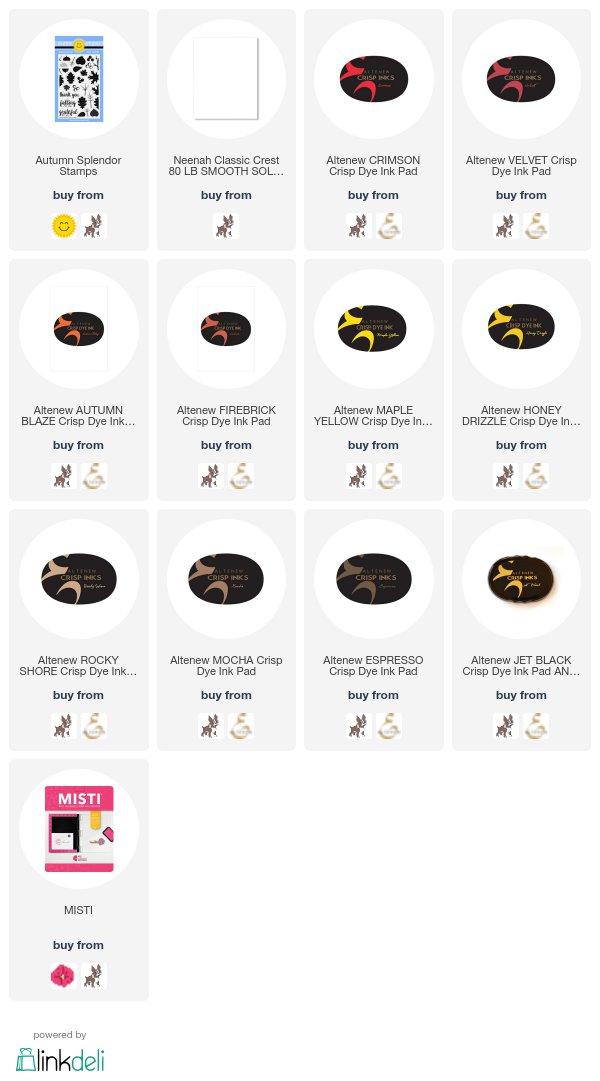
I used the awesome Autumn Splendor set from Sunny Studio Stamps for this super simple one layer card.

I cut and folded a white card base and then used my MISTI to stamp the leaves as though they're falling from the top left corner to the bottom right. I used several different color combinations in autumn colors and then stamped my sentiment in a nice black so that it stands out from the colorful background. Super easy, but super pretty!