Showing posts with label Sunny Studio Stamps. Show all posts

Tuesday, April 16, 2019

CASology: Leap

Hello! I'm here today with a new cue from the CASology challenge!


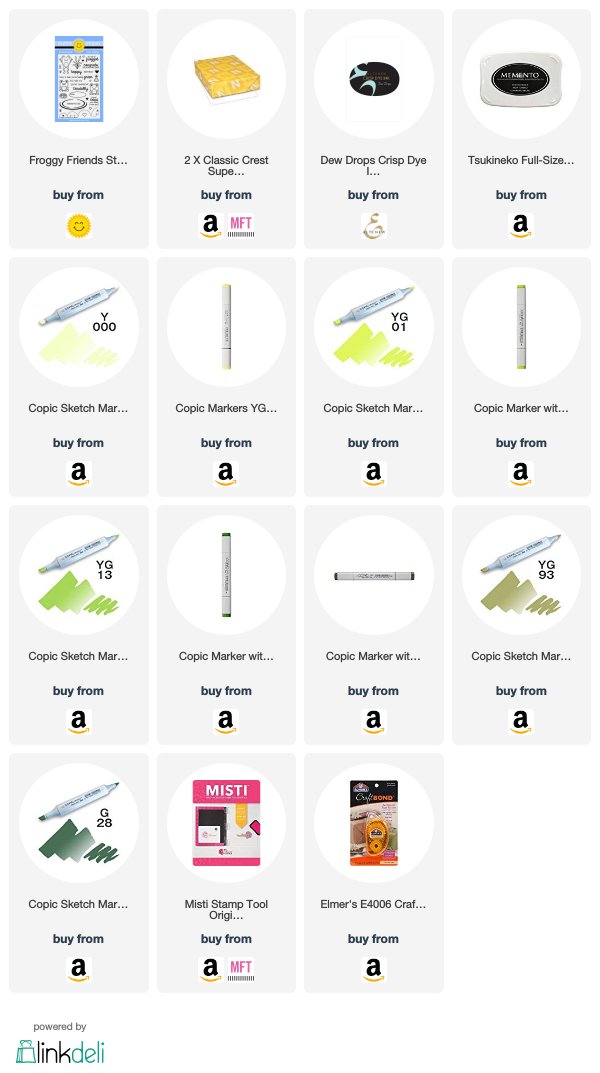
I've had this adorable little frog set for ages and I've never inked it up, so I thought this challenge gave me a good reason!


This was a super simple card to put together. I started by cutting a panel to the size of the front of an A2 card base. I stamped my frog and lily pad using my MISTI and then went back in and stamped the water marks after I was sure of the placement. I stamped my sentiment below everything.

I used my Copics to color in my images and then adhered my panel to the front of a top-folding A2 card base.

Thanks for stopping by today and don't forget to link up your creations on the CASology blog post!

Supplies
Affiliate links used when available.

Tuesday, January 8, 2019

CASology: Frozen

Hello! I'm back today with a new cue from CASology!


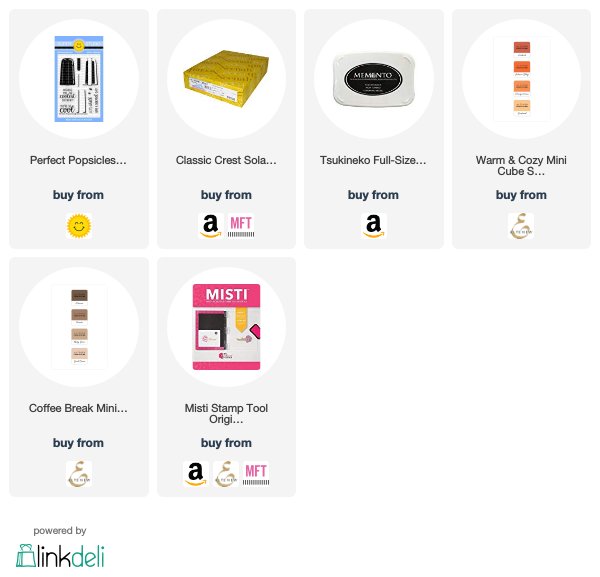
I decided to go direct with this cue and used my cute little popsicle stamps from Sunny Studio Stamps.


This is super simple to put together. I just used my little ink cubes from Altenew for the perfect color combinations for my layering stamps and then used my MISTI to line everything up. I finished it off with a sentiment from the same set.

Thanks for stopping by and don't forget to link up your own creations on the CASology post!

Supplies
Affiliate links used when available.

Saturday, October 6, 2018

Kindred Stamps October Fan Club Challenge

Hello! I'm here with something a little new today as well as an announcement. First up, my announcement - I'm joining the Kindred Stamps Design Team for the upcoming quarter! What does that mean? Well, you'll be seeing a lot more geeky, fandom type creations. And bonus, I'll be posting more often! Yay!

Next, for the something new, I have a card I created for the newest Kindred Stamps Fan Club Challenge. This month, we're using non-Christmas stamps for a Holiday card. So here it is, Yo Ho used as a Christmas card!


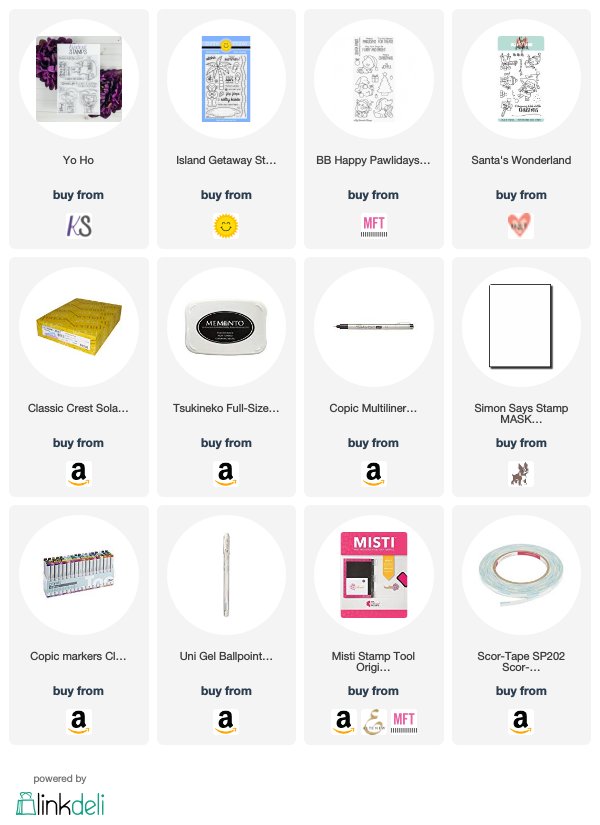
So, I combined a couple of sets to create my scene, but my main image of my pirate is from the Yo Ho set from Kindred Stamps. I actually drew in my little bottle of rum with a pencil and then went over it with a Copic multi-liner to help it fit in with the other stamps. I went back and erased my pencil lines once the black was dry. I masked it off and added my present (also masked off) and stamped my tree so it appeared behind everything else. I went back in with that same multi-liner and added a string of Christmas lights around the trunk of my tree.

I sketched in my beach with my E30 and then gradually added darker colors as a I got toward the front, also adding in some shadows where the sun would be shining from behind my scene. I finished the beach by adding small dots of different E colors as well as adding a few dots of colorless blender toward the back as it faded toward the water. I did the same with my white gel pen. I sketched in my water and where I wanted the crests of waves with a light blue and then went back in adding additional color with gradually darker blues to increase the contrast.

I finished my coloring by adding just a touch of yellow in the right side at the horizon line to give the hint of the sun. I used a lighter yellow to blend the darker yellow out into white.

I cut down my panel to fit the front of an A2 card and then used my MISTI to stamp the Ho Ho Ho sentiment. I used a ruler to lightly lay down a line beneath it so I could freehand the rest of my sentiment with my multi-liner. Sometimes we have to do what we have to do! After writing in my desired sentiment, I went back after it was dry to erase the pencil line.

I adhered the panel to the front of an A2 white card base and I was all finished! I normally keep track of the markers I use when I color something, but I used so many this time that it got a little out of hand! So for this card, I actually don't have a master list. Sorry about that!

So, if you have a love of Kindred Stamps, please join the Fan Club on Facebook and enter this fun monthly challenge! You'll also love all the inspiration from our fun, crafty community! Thanks for stopping by!

Tuesday, March 13, 2018

CASology: Bug

Hello, everyone! I know I haven't been posting as much  lately and that's because my dog had surgery recently. Nothing serious, she just had a tumor removed, but I've had to keep an eye on her so she doesn't open her stitches. And she's quite the handful when it comes to keeping still! So because of that, I've been spending a lot of time shut in the bedroom where there aren't as many things for her to scratch her butt on (which is where her stitches are!).

Anyway, on to today's post! It's time for a new cue from CASology!


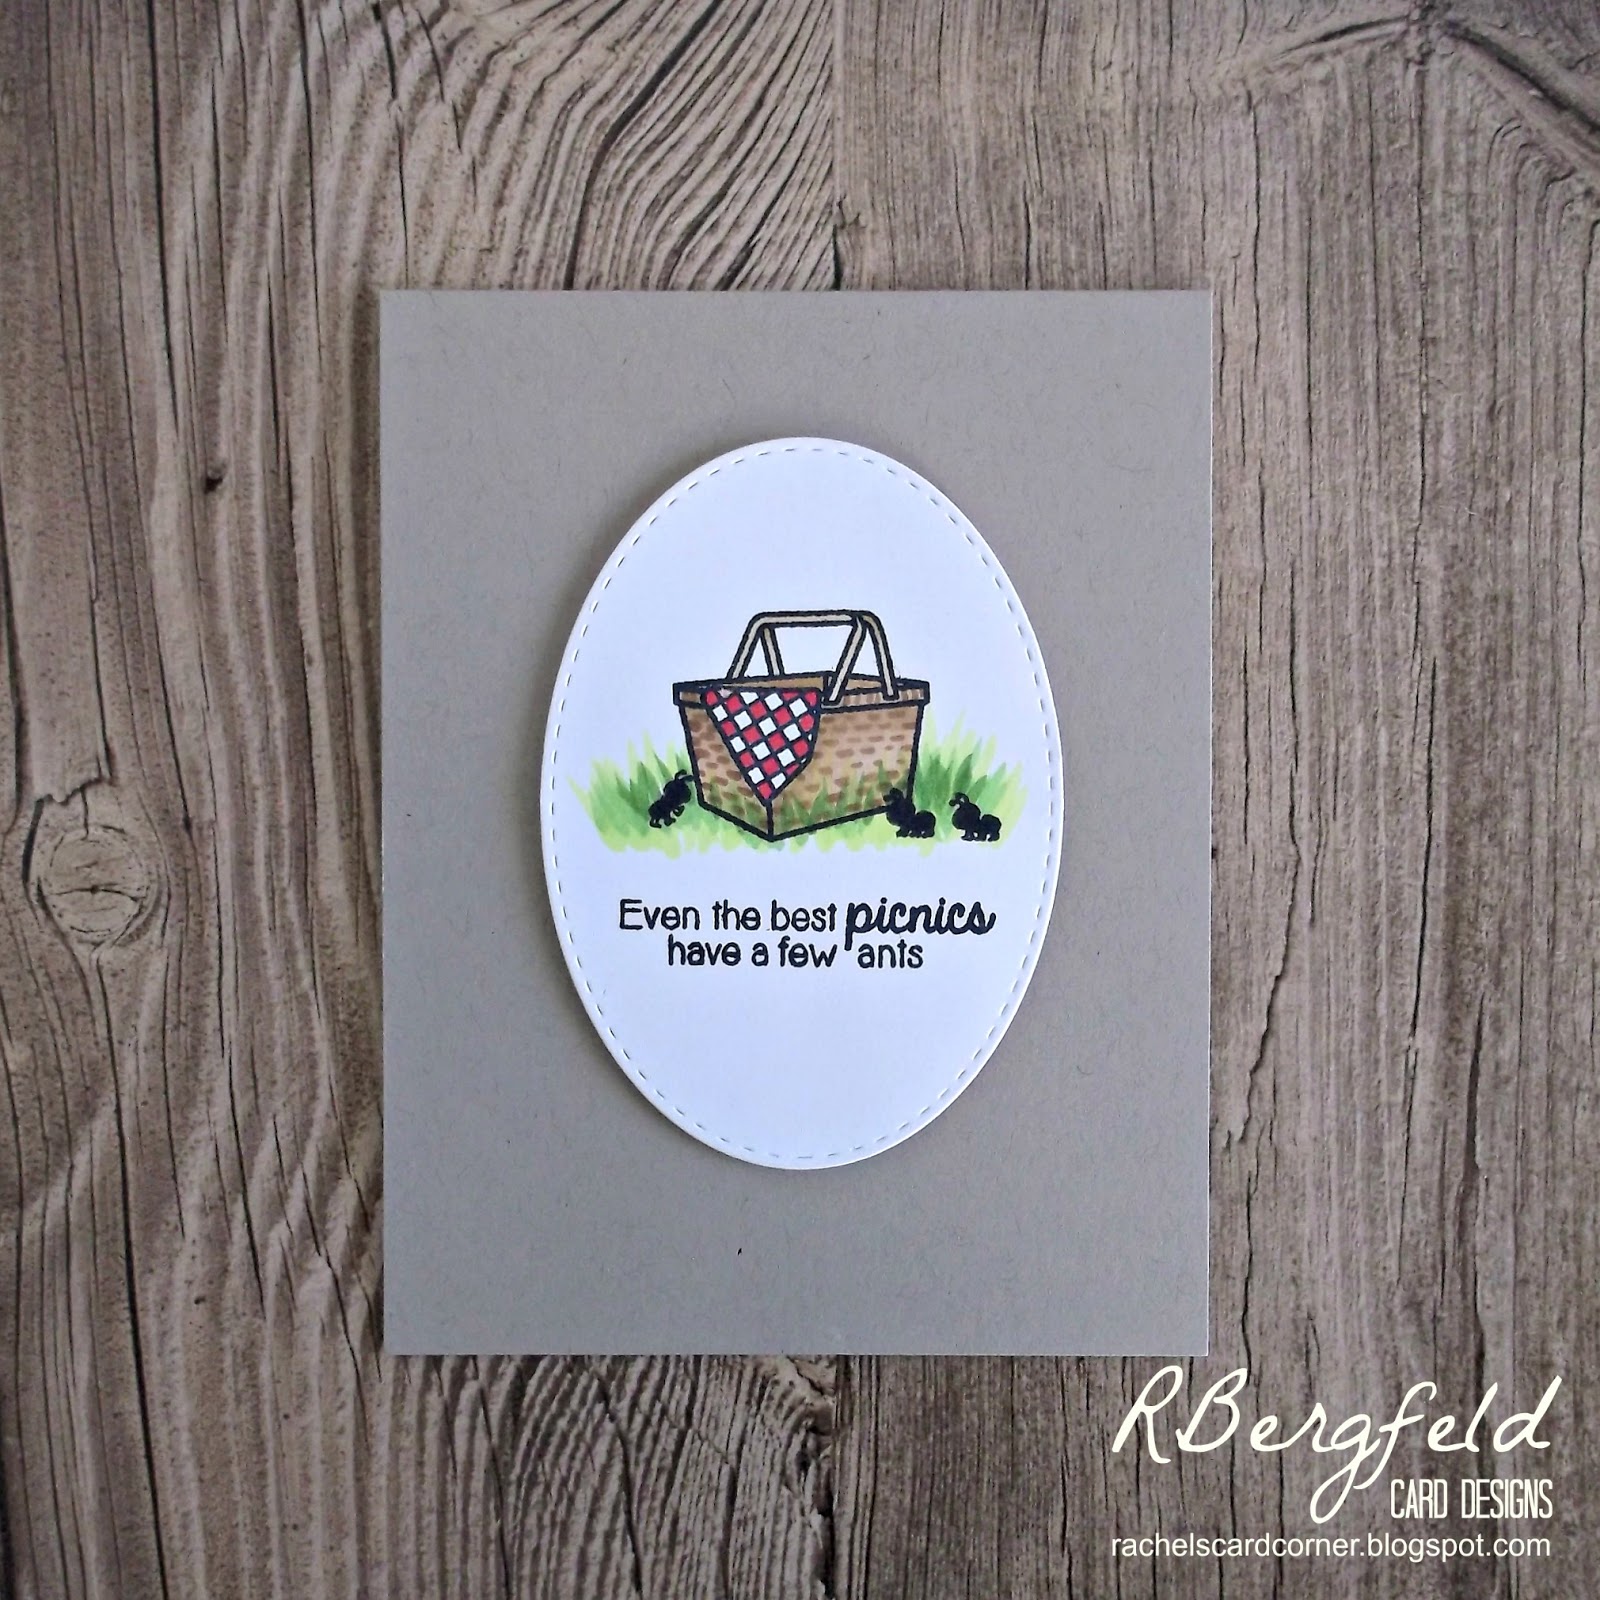
Whenever I see a cue like this, I automatically think of this super cute set from Sunny Studio Stamps. It has the most adorable little ants that are invading a picnic.


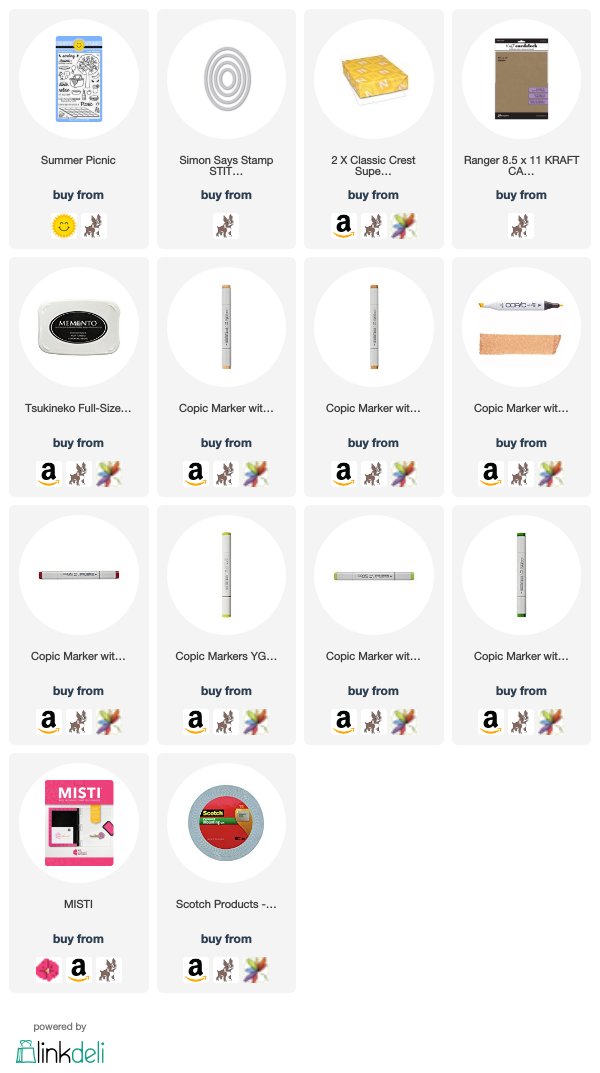
I started this card by stamping my tiny scene with my sentiment beneath it using my MISTI. Then I used an oval die to cut it out. I did a little simple coloring with my Copics and then adhered it to a Kraft card base. Super simple, but super cute!

Thanks for stopping by today! I hope to start updating my blog more frequently now that Molly has her stitches out and I don't have to watch her so closely. So stop by again soon for more cardmaking fun!


Tuesday, December 12, 2017

CASology: Gray

It's been a while, but I'm back today with a brand new cue from CASology!


I decided to go really simple with this card and make it one layer, so I made my base from gray cardstock.


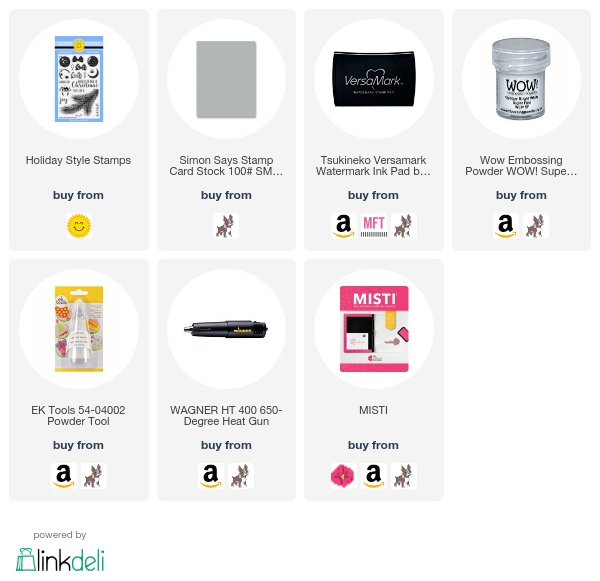
I cut and folded my card base and then used my MISTI to stamp my images and sentiment in Versamark ink. I used white embossing powder to heat emboss everything. Super simple, but it looks so stunning!

Thanks for stopping  by today!


Tuesday, November 21, 2017

CASology: Cheer

Hello! It's time for a brand new cue from CASology!


It's getting to be that time of year, so I started hauling out my winter/Christmas stamps. This one from Sunny Studio is probably one of my favorites. They're perfect for the entire winter season.


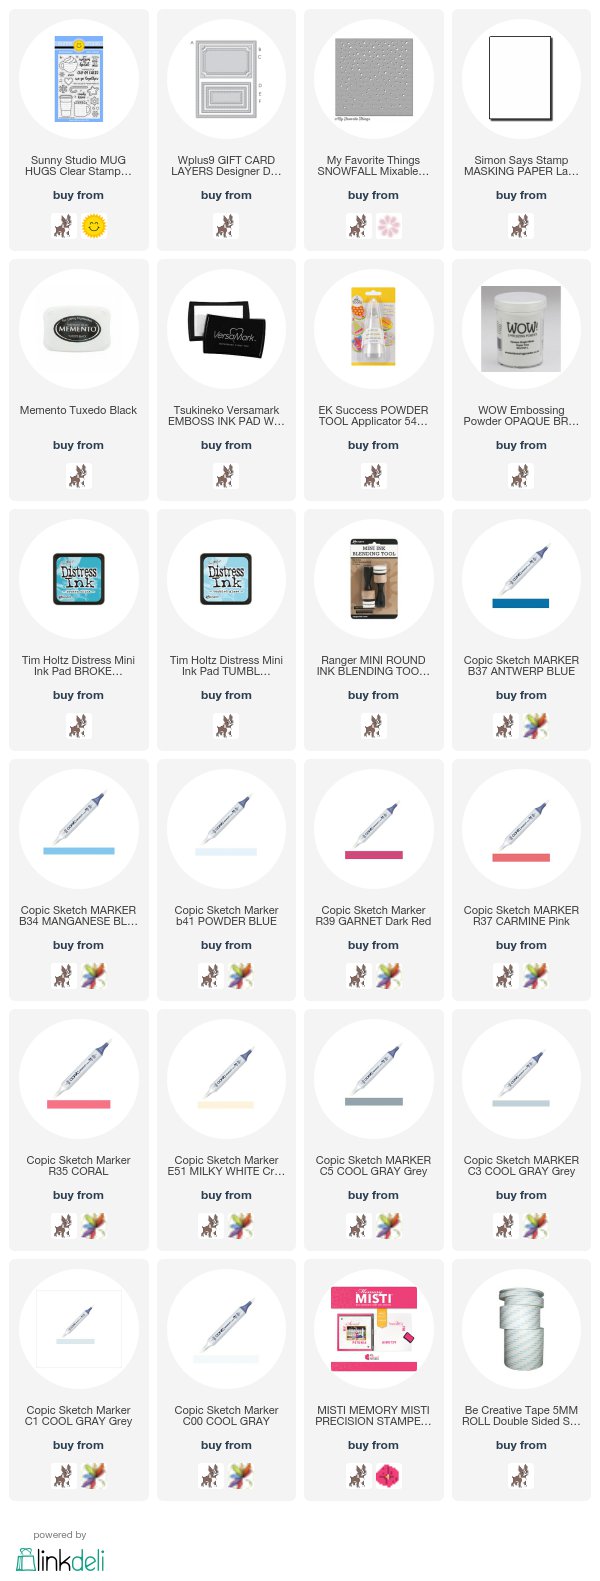
I started this card by cutting a panel with a large stitched rectangle die and then using my MISTI to stamp my image and my sentiment. I also stamped my image again on some masking paper so that I could do a little ink blending over the top of it.

I covered my mug in my masking paper and then added a snowfall stencil over the top of the panel. I pressed my Versamark ink pad over the top of it and then heat embossed the falling snow in white. (I used a dry paint brush to brush away any powder that stuck to my sentiment.) I then used my ink blending tools to blend in 2 blues to create an ombre sky to help the falling snow stand out on my white card. I removed my mask and then colored my image with my copics.

I adhered my panel to a white card base and it was all finished!

I can't wait to see how you're inspired by this week's cue! Thanks for stopping by today!


Saturday, November 4, 2017

Falling for You

Hello! I'm actually here today with a challenge entry. I haven't entered a challenge in a really long time. I've been distracted by life and design teams, but today I sat down and created just for the fun of creating. Feels so good! And my creation fits perfectly with the Addicted to CAS code word - LEAVES!


I used the awesome Autumn Splendor set from Sunny Studio Stamps for this super simple one layer card.

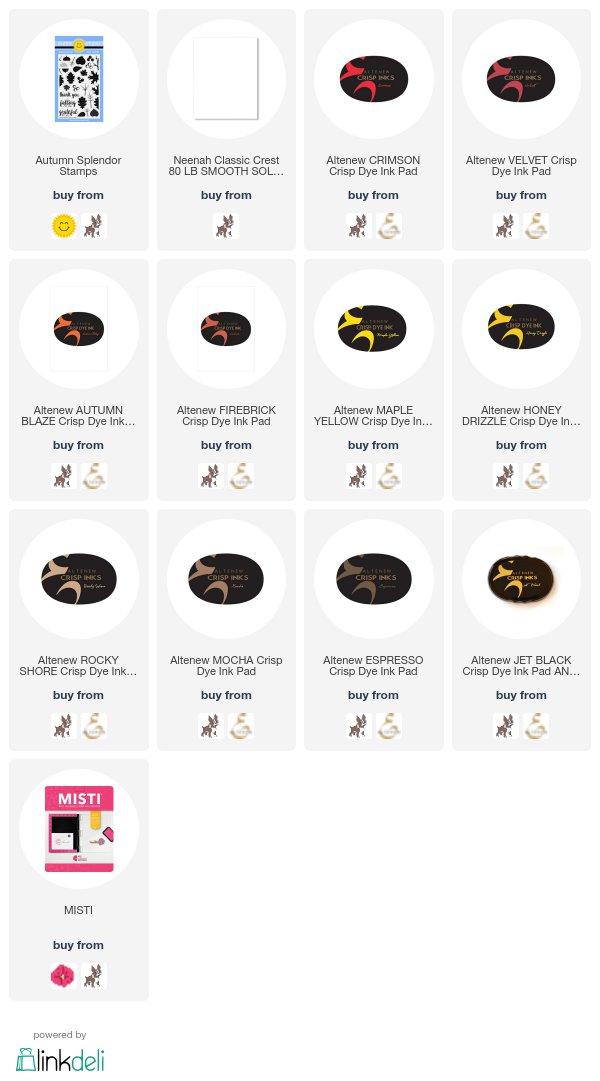
I cut and folded a white card base and then used my MISTI to stamp the leaves as though they're falling from the top left corner to the bottom right. I used several different color combinations in autumn colors and then stamped my sentiment in a nice black so that it stands out from the colorful background. Super easy, but super pretty!


Thursday, August 3, 2017

The Challenge 94

Hello, everyone! It's time for a brand new inspiration photo from The Challenge!


My eye was immediately drawn to those cute cupcakes, so I broke out my Sweet Shoppe set from Sunny Studio Stamps to create my own sweet treat. I decided that my cupcake looked awfully lonely, so I added a little orange soda and a candy to keep him company!


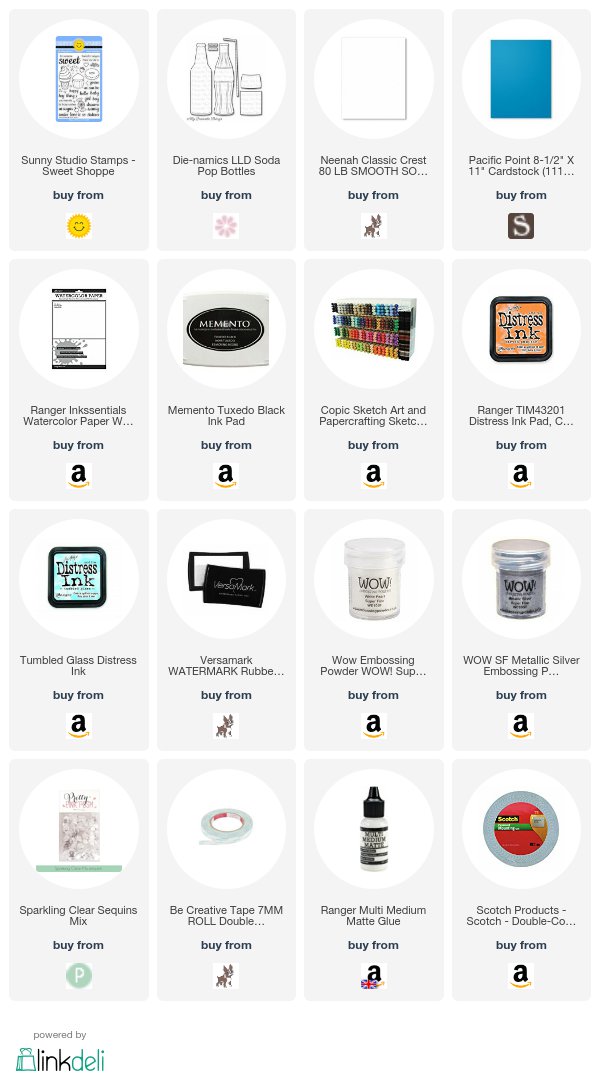
I started my card by stamping my cupcake and candy and then coloring them in with my Copics. Even though I hate fussy cutting, I did it this time because I wanted to get as close as possible to the lines as I could. I went over the white edges with a memento marker.

I cut my soda bottle from some watercolor paper and then blended in some Carved Pumpkin distress ink. I splattered water drops across it so it looked carbonated. I adhered a blue strip of cardstock over the top for the label and then stamped my heart and fussy cut it before adhering it on the label.

I stamped my sentiment on a piece of scrap pink cardstock and then heat embossed it in white powder. I clustered my images where I wanted them and then used a piece of washi tape to keep it all together while I added some foam tape to the back of them.

Meanwhile, I cut a stitched panel from some watercolor paper and then blended in some Tumbled Glass ink to the bottom right corner where my images would sit. This helps them stand out from the stark white of the paper and adds a little bit of faux dimension.

I adhered the panel to a white card base with some double-sided tape and then adhered my images on top of my ink blending using the foam tape.

To finish, I added a sprinkling of clear sequins with some multi-medium matte.

Thanks for stopping by!


Tuesday, August 1, 2017

CASology: Juicy

Hello, everyone! I'm back today with a new cue and a new card for the CASology challenge!


What's better than a nice, juicy pineapple! Yes, my obsession with pineapples continues...


I mashed up 3 different sets from 3 different companies for this one. I love, love, love tropical sets and there are so many fabulous ones out there!

I stamped my pineapple and flowers and then used my Copics to color them. I cut them out using my Brother Scan N Cut and then set them aside to work on my sunset.

I grabbed a piece of scrap white cardstock and then used my blending tools to blend together 3 different Mama Elephant pigment inks. I love pigment inks for getting lovely, deep color like this. I then took that piece and cut a circle from it with a stitched circle die. I used my MISTI to stamp my sentiment on top of it with some black ink.

I adhered my circle to the top part of a top-folding card base and then used foam tape to adhere my previously colored images over the top of it. Super simple, but absolutely sweet!

Thanks for stopping by and I can't wait to see how you're inspired by our cue this week!


Tuesday, June 6, 2017

CASology: Insect

Happy Tuesday, everyone! I'm back with another cue from CASology!


I have a ton of butterfly stamps, but I decided to shelve those and break out another type of insect for this one... ANTS!


This card is one layer and absolutely super simple!

1. I cut and folded a card base from Neenah Solar White cardstock.
2. I used my MISTI to stamp a line of ants.
3. I stamped fruit images just above the ants so that it looks like they're carrying them.
4. I used my Copics to color my food. (V15 and V17 for the grapes, E25, E27, and E29 for the meat (E51, and E50 for the bone), R35, R37, and R39 for the apple (YG13 for the leaf) and E27 and E29 for the soda with B24 and B26 on the label).
5. To finish it off, I broke out my MISTI again to get my sentiment in just the right spot.

That's all! I can't wait to see how you're inspired by our cue this week!


Tuesday, May 23, 2017

CASology: Loud

Hello, everyone! There's a brand new cue up from CASology for this week and a brand new sponsor as well! If you've followed my blog for a while, you'll already know how I feel about Sunny Studio Stamps, but in case you don't know already... I LOVE THEM!


I think my dogs would agree with me when I say that vacuums are loud! (And they would also add "scary" as well!)


1. I cut and folded a Neenah Solar White card base.
2. I used a die to cut a circle from masking paper and adhered the negative piece over the top of my card base.
3. I used 2 colors of blue ink (Broken Chine and Tumbled Glass distress inks) to ink my circle. I kept the darker Broken China toward the bottom of the circle and blended the Tumbled Glass upward from it to create some dimension.
4. I stamped my vacuum on some scrap paper and used my Copics to color it. (B34, B37, B39, C1, C3, and C5)
5. Using my MISTI, I stamped my sentiment underneath my circle.
6. I used my Brother Scan N Cut 2 to cut my vacuum out.
7. I adhered my vacuum with some foam tape for a little more dimension.

That's all! It's a super simple card, but I love how it turned out. I hope you'll join us this week and I can't wait to see what you come up with!