Showing posts with label The Challenge. Show all posts

Saturday, November 25, 2017

Simply Sweet Christmas Inspiration Hop


Hello and welcome to the very first Simply Sweet Christmas Inspiration Hop! I'll be completely honest, I just started a new job in the past couple weeks and I haven't had that much time for crafting. This hop completely snuck up on me and I'm so grateful that the theme is simple! I remembered this design that I put together last year when my husband came to me begging for Christmas cards for his employees with only a few days until Christmas. They were the perfect last-minute cards and a classic design! With that in mind, here they are, recreated just for you!


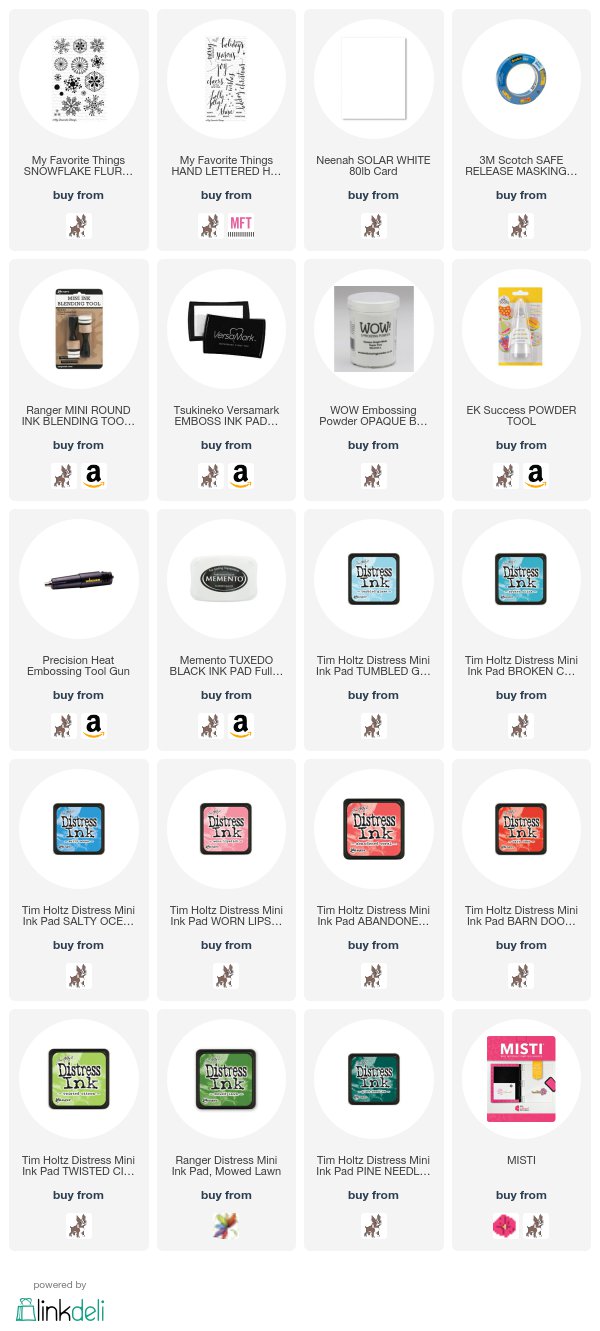
These cards are so easy to put together. I merely used some painter's tape to mask off a strip on the right side of my card and then heat embossed some snowflakes inside of it with white embossing powder. If I were thinking clearly, I would have used my MISTI to stamp each card at the same time and save myself a little hassle. But...when things get crazy my mind tends to go fuzzy, so I stamped each of them separately. Keep that in mind if you decide to reproduce my cards and have a MISTI on hand!

After each card had cooled from the heat embossing, I used 3 different blue inks to blend an ombre strip on top of the snowflakes and then carefully peeled off the tape. Then it was back to my MISTI to stamp the sentiment in dark black ink. Ta-da! All done!


I created this card the same way, just switching the blue inks for pinks/reds. Switch up the sentiment and you can create a bunch of cards!


And here's yet another one with a different sentiment and green inks. You can switch all of these things around and have a set of nine different cards. (3 separate sentiments with 3 different colors!) That's exactly what I did! I had a set of 9 cards done in just over an hour!

Make sure to continue to hop along and see all of the fun inspiration we have for you today! You should have arrived from Nina's blog and your next stop is Vicki! If you get lost, Lesley has the full hop on her blog to help you find your way!


Don't forget that Lesley is also offering a prize for this hop! She's giving away 4 matching handmade Christmas cards to one lucky winner!

In order to quality, please remember to...

1. Comment on Lesley's blog and answer her question.
2. Comment on each stop along the hop!

The Giveaway Contest closes on Saturday, December 2!


Thursday, August 3, 2017

The Challenge 94

Hello, everyone! It's time for a brand new inspiration photo from The Challenge!


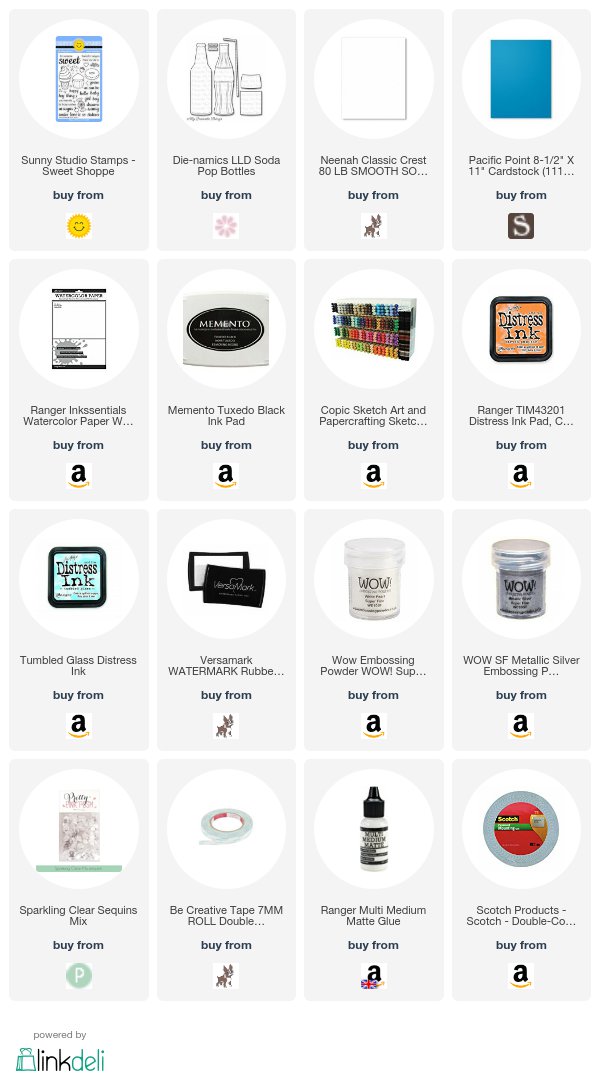
My eye was immediately drawn to those cute cupcakes, so I broke out my Sweet Shoppe set from Sunny Studio Stamps to create my own sweet treat. I decided that my cupcake looked awfully lonely, so I added a little orange soda and a candy to keep him company!


I started my card by stamping my cupcake and candy and then coloring them in with my Copics. Even though I hate fussy cutting, I did it this time because I wanted to get as close as possible to the lines as I could. I went over the white edges with a memento marker.

I cut my soda bottle from some watercolor paper and then blended in some Carved Pumpkin distress ink. I splattered water drops across it so it looked carbonated. I adhered a blue strip of cardstock over the top for the label and then stamped my heart and fussy cut it before adhering it on the label.

I stamped my sentiment on a piece of scrap pink cardstock and then heat embossed it in white powder. I clustered my images where I wanted them and then used a piece of washi tape to keep it all together while I added some foam tape to the back of them.

Meanwhile, I cut a stitched panel from some watercolor paper and then blended in some Tumbled Glass ink to the bottom right corner where my images would sit. This helps them stand out from the stark white of the paper and adds a little bit of faux dimension.

I adhered the panel to a white card base with some double-sided tape and then adhered my images on top of my ink blending using the foam tape.

To finish, I added a sprinkling of clear sequins with some multi-medium matte.

Thanks for stopping by!


Thursday, July 27, 2017

The Challenge 93

Hello, I'm back today with a dual post! This card is featured on the Kennedy Grace Creations blog and was also inspired by The Challenge!


I chose the words circle and friendship for my inspiration for this card.


I started by stamping my roses on a scrap piece of white cardstock and then coloring them in with my Copics.

Red - R35, R37, R39
Green - YG95, YG97, YG99
Gray - C00, C1, C3

I then centered the roses in a circle die and cut them out. I set that aside to start on my card base. I stamped my script background stamp in Smoke ink and then adhered my circle piece on top.

I cut a banner from some black cardstock and then stamped the first part of my sentiment on it in Versamark ink and heat embossed in white. I cut the "friend" part of the sentiment from some white cardstock and then covered it in Versamark ink and heat embossed in silver to create my own metallic paper.

I carefully adhered the banner over the bottom of the circular piece and then used my multi-medium matte to adhere the die cut on top of the banner.

I decided to keep it simple and forgo the sequins for this one because it's going through the mail quite a distance and I didn't want to chance it getting messed up during delivery.

That's all for today! Thanks for stopping by!


Thursday, July 20, 2017

The Challenge 92

Hello, everyone! I'm back today with brand new inspiration from The Challenge!


I decided to go with pink for my color because I really wanted to use this fun flamingo background stamp.


My mother's favorite animal is the flamingo, so I always think of her whenever I use them when I'm creating. I guess you could say she was my inspiration for this card.

I started by cutting my watercolor paper down with my largest gift card layer die. I stamped my flamingo background in Versamark ink and then heat embossed it in white. I used one color of distress ink - Worn Lipstick - to watercolor over the background a few times, increasing the pigmentation each time.

I stamped my small sentiment on black cardstock using Versamark ink and heat embossed in white yet again. I cut my large You from white cardstock and then adhered both pieces on top of my panel (that was already attached to a white card base) using some foam tape for a little bit of dimension.

I finished the whole thing off by adding a small sprinkling of Sparkling Clear sequins.

Thanks for stopping by today!


Thursday, July 13, 2017

The Challenge 91

Welcome back to another sketch from The Challenge!


As you already know, I'm not a big layers person, but this sketch is actually something that fits nicely into my normal style. Pretty exciting!


I created a space Father's Day card recently and absolutely loved it, so I adapted my original design to fit the sketch and created this cute birthday card.

I started by stamping all of my images and coloring them with my Copics. I used my Brother Scan N Cut 2 to cut them out because I don't have the dies for this particular set. I set them aside and then got to work on my galaxy background.

I used 4 different types of distress ink and my blending tools to create the background and then splattered water droplets over it to create the starry look.

I cut a panel from some Plum cardstock for the mat and then a piece of solar white cardstock to be placed on top of it. I cut the tiny banners from some pieces of scrap blue cardstock. I stamped the sentiment on the white piece with my MISTI to ensure that it was straight. Now all that was left was to assemble it.

I spent a little time rearranging my images until I got them where I wanted them and then I started adhering them down. I used foam tape behind each of the planets and the sentiment block. I adhered my little space explorer directly to the sentiment piece. That's all there was to it!

Thanks for stopping by today! I can't wait to see how you're inspired by our sketch this week!