Tuesday, July 31, 2018

CASology: Sunbeam

Hello and welcome back for a new cue from CASology!


This is another 2 week challenge, so you'll have plenty of time to play with this one!


I actually broke out a die set that I haven't used before to create this card. I'm sure you've all done the same thing I did. I purchased a die set because I saw someone else use it and thought it was just amazing and had to have it. Then, by the time it got to me, I'd completely forgotten where I saw it used. So it just sat in my stash until today!

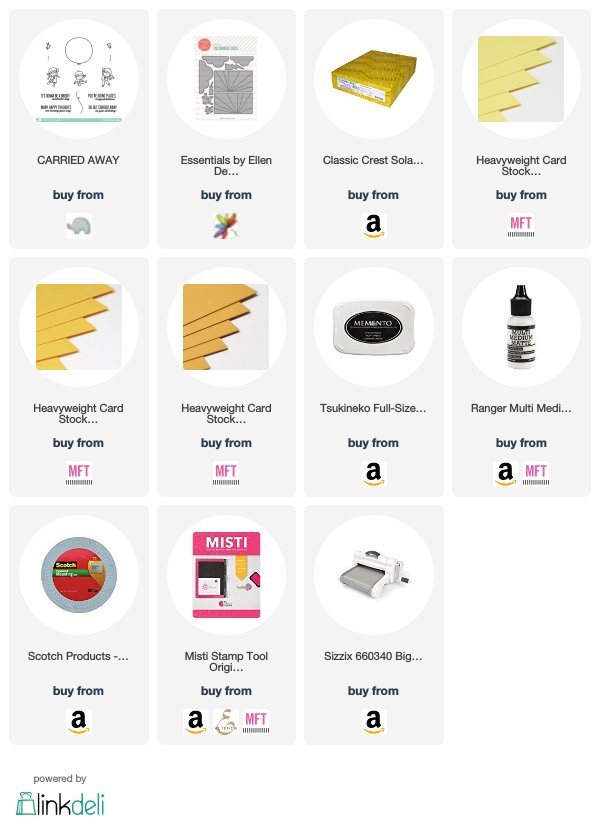
I cut the sunshine piece from 3 different yellow/orange cardstocks. I cut it from the lightest piece twice so I'd have a base to layer the different pieces on. This particular die doesn't cut completely through, so it makes it super easy to layer everything perfectly. I just used my snips to finish cutting all the way through on each different color and then used the extra piece as the base for layering. I used a thin layer of multi medium matte as my adhesive.

Then I cut the clouds from the same die set from some Neenah Solar White and layered them so they would fit perfectly at the top of my sunshine piece. I added a layer of foam tape to the back of the whole thing and then adhered it to a white card base. I used my MISTI to help me stamp my sentiment perfectly straight beneath the image.

That's all! Super easy, but it's super pretty, too!

Thanks for stopping by today and don't forget to link up your own creations on the CASology post!

Wednesday, July 25, 2018

Keeping Christmas Inspiration Blog Hop


Hello! I'm joining some delightfully talented ladies on the 25th of every month with a fun Christmas creation. I don't know about you, but I always find myself rushing to get things done in the couple of months leading up to Christmas. I'm trying to keep that from happening this year by putting together a couple of creations each month to put in my stash so I won't be crazy busy when Christmas rolls around.

It's the 25th, so it's time for a Christmas creation!


I started my card by cutting a panel using a stitched rectangle die. I used my MISTI to stamp my tree trunk and then the wire for the lights using Memento Tuxedo Black. I then used my MISTI and some Noble Fir ink to stamp the pine needles.

I stamped my sentiment so it looks like the wire from the lights coming from the tree and then stamped the tiny plug onto the end of it. I went back in with the tiny light stamps and a small clear block to add the lights to the wire. I finished the image by stamping the star hanging from the longer branch.

After all the stamping was done, I went back in with my copics and colored the tree, base, lights, star, and plug. I cut and folded a white card base and then adhered the panel directly to the base using my Elmer's glue runner. You can't see it in the photo, but I also added a little clear Wink of Stella to the lights and the star to give them some sparkle.

Thanks for stopping by and don't forget to visit the other stops in the hop!


Tuesday, July 17, 2018

CASology: Cloud

It's that time again! Time for a new cue from CASology!


I decided that this cue was perfect for an encouragement card and this is what I came up with!


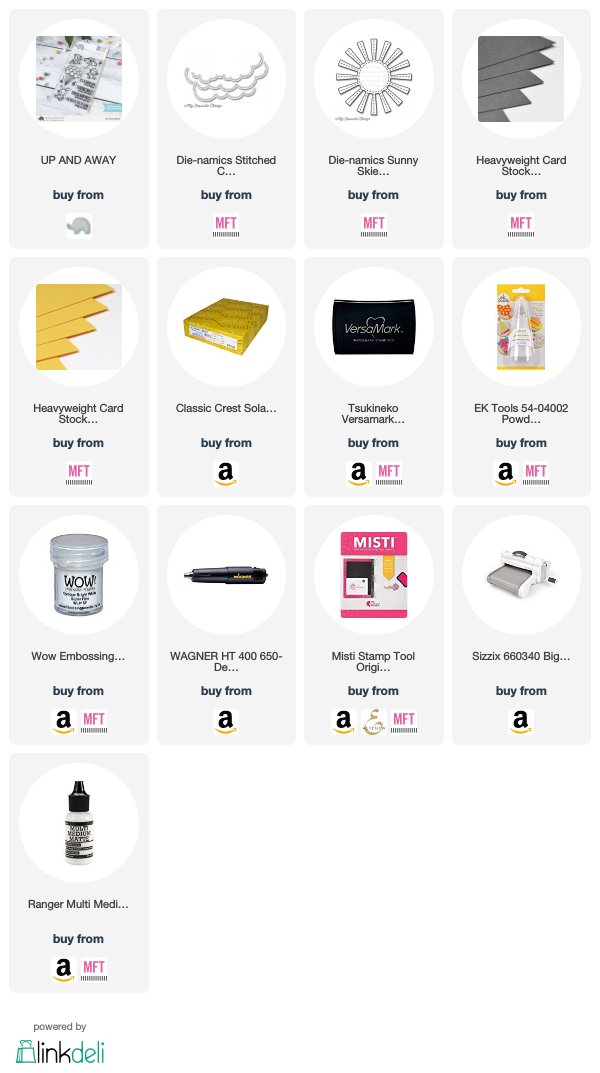
I used a dark gray card base to simulate a stormy looking sky and then used a stitched cloud edge die for my cloud. I added a sun peaking out from behind the cloud to show that the storm was starting to lift. A super simple card using mostly die cuts and just one stamp for the sentiment. It all came together in about 10 minutes! Can't get much more CAS than that!

Thanks for stopping by today and don't forget to link up your own creations to the CASology post! You have two weeks again this time around, so plenty of time to play!


Tuesday, July 3, 2018

CASology: Zoom

Hello! Welcome to a brand new challenge from CASology! And since we're heading into the summer and we all seem to get extra busy at this time of year, this challenge will be running for 2 weeks.


I decided to go with a photography interpretation of the cue. You'll see it's a little different than what the other ladies on the team came up with...


I decided to use the spotlight technique to highlight my focus on the zoomed in part of the flowers. I cut and folded a card base and then used my MISTI to stamp my floral image on it. I cut a panel down to the same size as the front of the card base and then used my MISTI with the floral image still inside to stamp my panel with the floral image in the same location as on the front of the card base. 

I ran my panel through my Big Shot using my polaroid die to cut the piece that I would eventually color and layer on top of the card base. I also cut another piece with my polaroid die so my frame would remain white.

When I finished coloring my little square of flowers, I used my Multi Medium Matte to adhere it directly to the card base so that it would fit perfectly over the image that was already there "spotlighting" the portion that appears in the picture frame. I then positioned the frame around the colored piece, adhering it with a little more Multi Medium Matte.

I finished the whole thing by stamping my sentiment in Versamark and heat embossing in gold powder.

Thanks for stopping by and don't forget to add your creations to the link on the CASology post!