Showing posts with label Hero Arts. Show all posts

Tuesday, June 4, 2019

CASology: Calm

Hello! After a two week challenge, CASology is back with a new cue!


I decided to break out my koi stamp for this challenge because I think there's nothing more calming than watching the koi swim in a pond.


This is an incredibly simple card to put together. I merely stamped my koi using the layering stamp from Hero Arts and using some of Altenew's fabulous inks and then stamped my sentiment. Super simple, but still incredibly pretty because of the stamp's design!

Thanks for stopping by and don't forget to link up your creations on the CASology post!

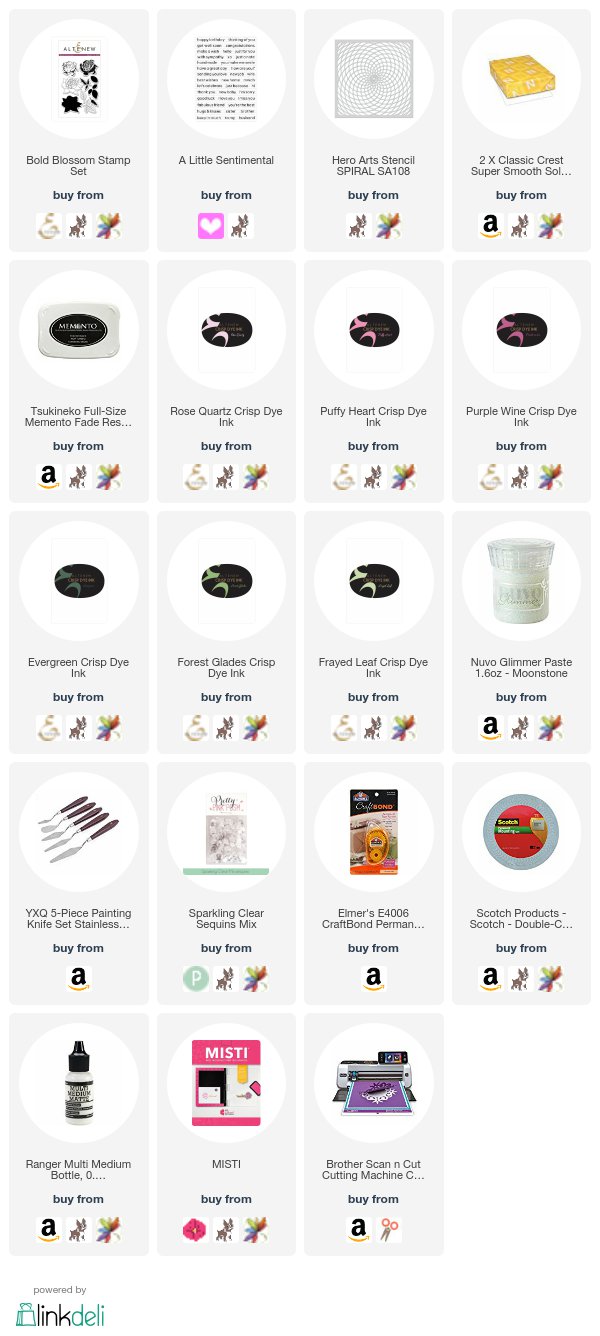
Supplies
Affiliate links used when available.

Tuesday, January 16, 2018

CASology: Glimmer

Hello! I'm back today with a new cue from the CASology challenge!


This cue was an easy one for me because it's right there in the name of one of my very favorite products - NUVO Glimmer Paste!


I started this card by cutting a panel that was just a little smaller than an A2 card base and then spreading some Moonstone glimmer paste through a stencil. (I did this because the panel warps a little as it dries and I wanted my card base to remain flat.) When it was dry, I used a tape runner to adhere it to a card base (which helps keep it from warping).

I used my MISTI to stamp my flower and leaves and then used my Scan N Cut 2 to cut them out. I stamped my sentiment on a scrap piece of white cardstock and then cut it out with my scissors. I arranged my flower and leaves in a cluster and then placed my sentiment on top of it. I added foam tape to the back of the cluster and then adhered it to the front of my card base.

To finish it off, I added a sprinkling of sparkling clear sequins from Pretty Pink Posh.


Thanks for stopping by today! I can't wait to see how you're inspired by the cue!


Tuesday, December 19, 2017

CASology: Kindness

Hello, everyone! I'm back with a new cue from CASology! This cue is actually going to last for 2 weeks because we're at that time of year that's crazy busy and we could all use a little bit more time to get things done. So you have a full two weeks to work and it's a good one!


Who doesn't love a bit of kindness? Especially at this time of year!


I went super simple with this card and made it one layer. I actually experimented with trying different color combinations or making my hearts all different colors, but I finally settled on a monochromatic heat embossed card. I think it just looks more elegant.

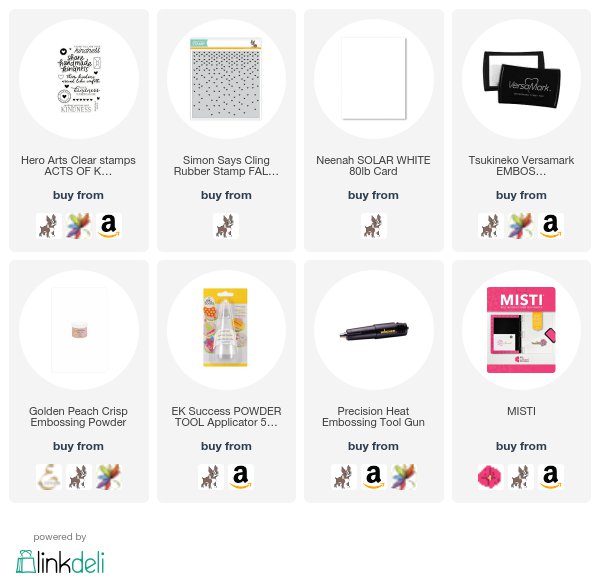
I started by stamping my sentiment toward the bottom of my card in Versamark ink and then heat embossing with some Golden Peach embossing powder from Altenew (my favorite!). I used my MISTI to make sure it came out perfectly straight. Then I removed the foam insert from my MISTI and lined up a Falling Hearts Background Stamp so that it would be just above my sentiment. (It's a foam cling stamp, so I didn't need that extra bit of foam in the bottom of my MISTI.) I stamped that in Versamark ink and then heat embossed with the same embossing powder.

That's all! It's a quick clean and simple card that could be used for so many things! I think I'm going to give it to my postal carrier this year with a couple of cookies just to say thank you for how hard he works year round.

Thanks for stopping by and don't forget to\enter your own kindness creations!

Tuesday, November 14, 2017

CASology: Sharp

Hello! It's that time of the week again. Time for a new cue from CASology!


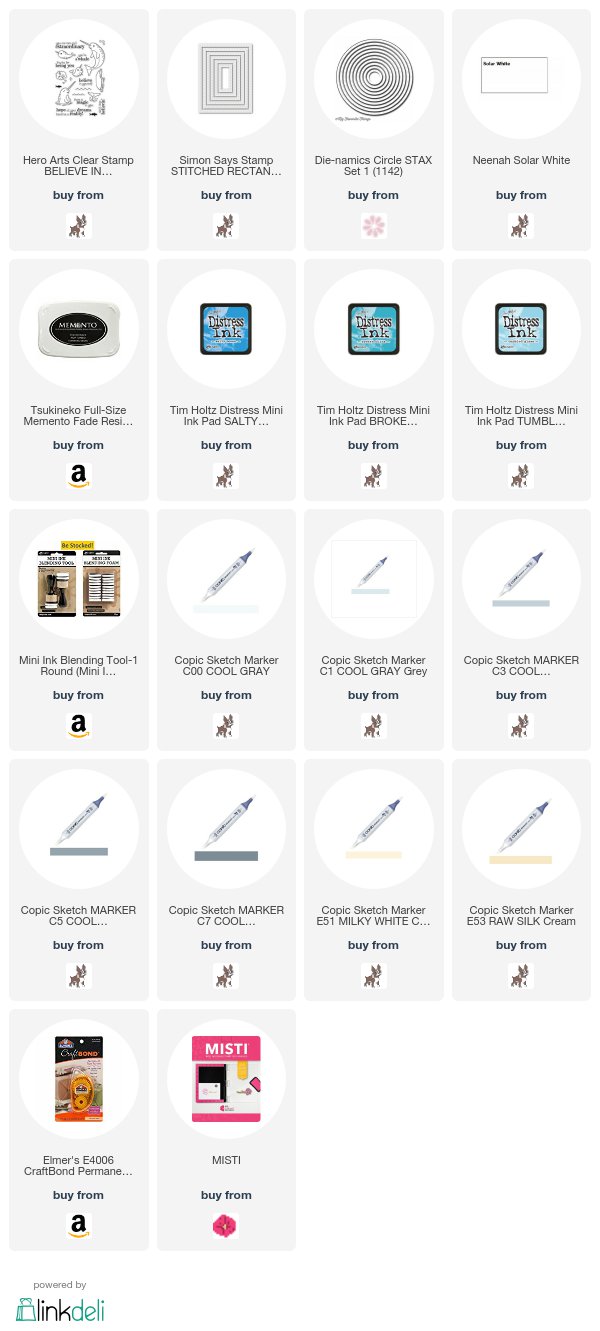
I recently purchased this adorable set from Hero Arts because I have twin nephews who are obsessed with narwhals. I thought it would be perfect for cards for them. And this cue seemed to cry out for a narwhal, too!


Isn't that image just adorable?  I started my card by cutting a panel with a stitched rectangle die. I stamped my image using my MISTI and then stamped again onto some masking paper. I covered it up so that I could blend some ink over it.

I cut another mask from some masking paper. I used a circle die and then placed the negative piece over the top of my narwhal so that it would appear to be inside a bubble of water when I blended my ink into it. I started with my middle tone and blended the ink from the edges in. Then I added my darkest color on the very edges. I finished it off by blending my lightest color of the top of everything and leaving just a slight white glow around my narwhal. That last layer of the lightest color helped blend all three colors together seamlessly.

I remove my masks and then colored my narwhal with my copics. I used my MISTI to align my sentiment and stamped it twice with black ink to make sure it stood out on top of my blending. I then adhered the panel onto a white card base with my tape runner.

Thanks for stopping by!


Thursday, November 9, 2017

Layered Koala Birthday

Hello! I'm back again with yet another birthday card. One more to add to my stash for the upcoming busy birthday months.


This one was created without a specific person in mind. I just love this koala and wanted to use it. Sometimes that's the best place to start when you're looking for inspiration. Find a stamp set or die that inspires you and go from there!

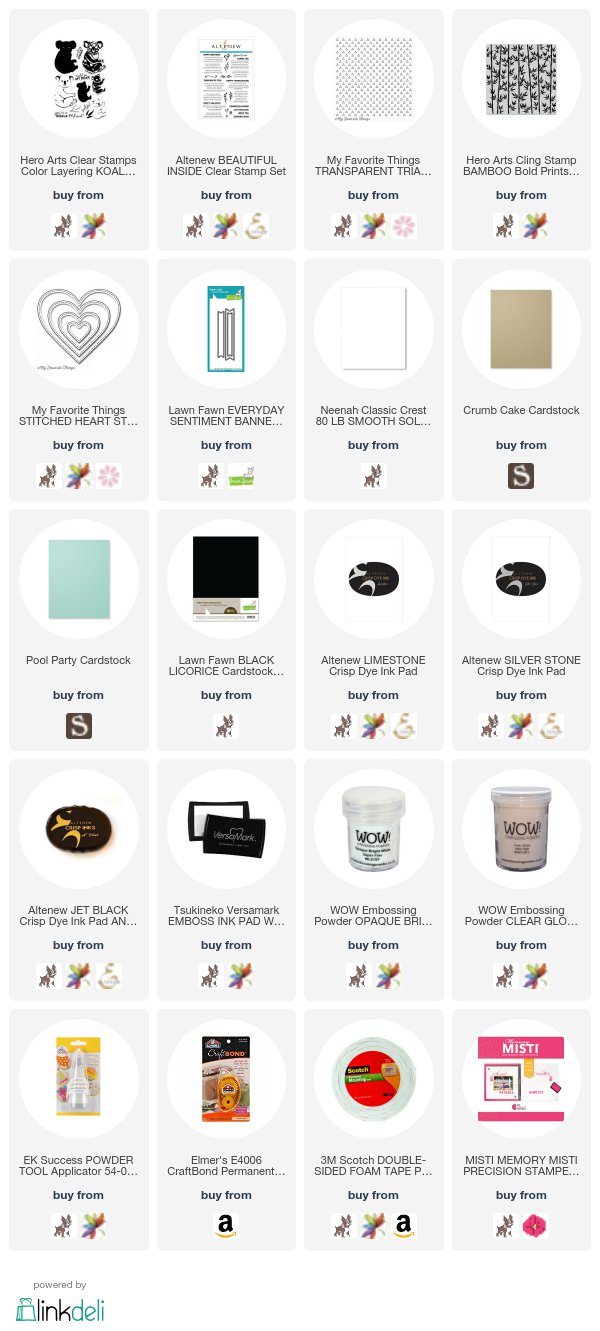
I started this card by stamping out my Koala and then cutting him out. I had a stamped and cut leaf in my little bowl of pre-cut items, so I added that to his hands by adhering it behind the koala. I cut a panel of crumb cake cardstock and then stamped my bamboo background in Versamark ink and heat embossed it in clear powder. I used double-sided tape to adhere it to a white card base. I wanted another piece to make my koala stand out, so I cut a heart from pool party cardstock. I thought it looked a little bland, so I stamped my triangle background stamp on it and then heat embossed in white powder. It makes the perfect backdrop for my koala! I stamped my sentiment on black cardstock and then heat embossed with white powder and cut it out with a banner die.

I adhered my heart directly to the card using a glue runner and then adhered my koala and banner using foam tape for a little bit of dimension.

Thanks for stopping by!


Monday, May 30, 2016

The Challenge 75

It's a brand new week and a brand new challenge from The Challenge design team! We hope you'll join us in our fun! It's a month with 5 Mondays, so since this is the fifth, we have a wild card challenge!


And this is what my brain came up with!


I'm still on a kick of creating sympathy cards before I need them. They're not particularly "fun" to make, but they are a type of card that we need to have in our stashes.

I actually started this card by simply playing with the Penned Rose set from Altenew. I wasn't feeling particularly creative, so I just decided to do some simple coloring. The yellow rose made me think sympathy and that led to this card in particular. I simply fussy cut around my rose image after it was colored and I had the focal point for the card!

The rest is pretty straight forward. I cut a card base from some Crumb Cake card stock and then used a background stamp and some Versamark ink to give it some subtle interest without overwhelming the design. I cut a piece of gold foil paper with a die to create my strip and cut a doily in half for the circular piece. The very last part was choosing the sentiment and placement. I played around with where to place the rose until I decided to nestle the sentiment between the bloom and the leaf and overlap the die cut piece. I adhered everything and then used my Misti to stamp the small part of the sentiment so I was sure it was straight and I didn't have any oopsies with the ink.


Tuesday, April 7, 2015

Coloring Fun!

I've been spending some time coloring images lately. All the sympathy cards were kind of depressing me and coloring always seems to cheer me up. I'm still waiting on my copics to get here (should be Thursday), so I used my Blendabilities again. I'm just not happy with the results I get with them sometimes, so I'll be extremely happy when I get my copics and finally get down to experimenting with them.


I'm obsessed with all the elephant stamps that companies are releasing right now. This image is from a Hero Arts set called Lil' Hoot.


Who doesn't like donuts? I know I love them! I colored these donuts and then used Crystal Effects to make the icing look shiny. I just love these cuties! (Simon Says Stamp I Love Donuts)


I simply added these donuts to a cute tag and attached it to a panel of a repeatedly stamped background. Love them!


Paper Smooches recently had a sale and I indulged in a little retail therapy. I just love their critter stamps! All the chubby little animals never fail to make me smile. I did a little masked stamping to create the trio of animals and then colored everything with my Blendabilities. This is where I think the Blendabilities show their downside. The larger colored areas were extremely hard to blend and you can still see some of the lines from the coloring. No matter how hard I tried I couldn't make it all blend together without making everything much darker than I wanted it to look. This is why I'm so excited for my copics to get here. I can't wait to try some of this again!

Supplies:
Stamps: Lil' Hoot (Hero Arts), I Love Donuts (Simon Says Stamp), Chubby Chums and Birthday Buddies (Paper Smooches)
Paper: Whisper White
Ink: Memento Tuxedo Black, Chocolate Chip, Real Red, Tangelo Twist, Daffodil Delight, Wild Wasabi, Marina Mist, Perfect Plum
Other: Assorted Blendabilities, Sequins