Tuesday, February 26, 2019

CASology: Bounce

Hello! I'm here today with a new cue from CASology!


I've been sick lately, so I've spent a lot of time watching movies in bed while I rest and recuperate. That's where I got the idea for this card. I'm sure Pixar fans will recognize the inspiration immediately!


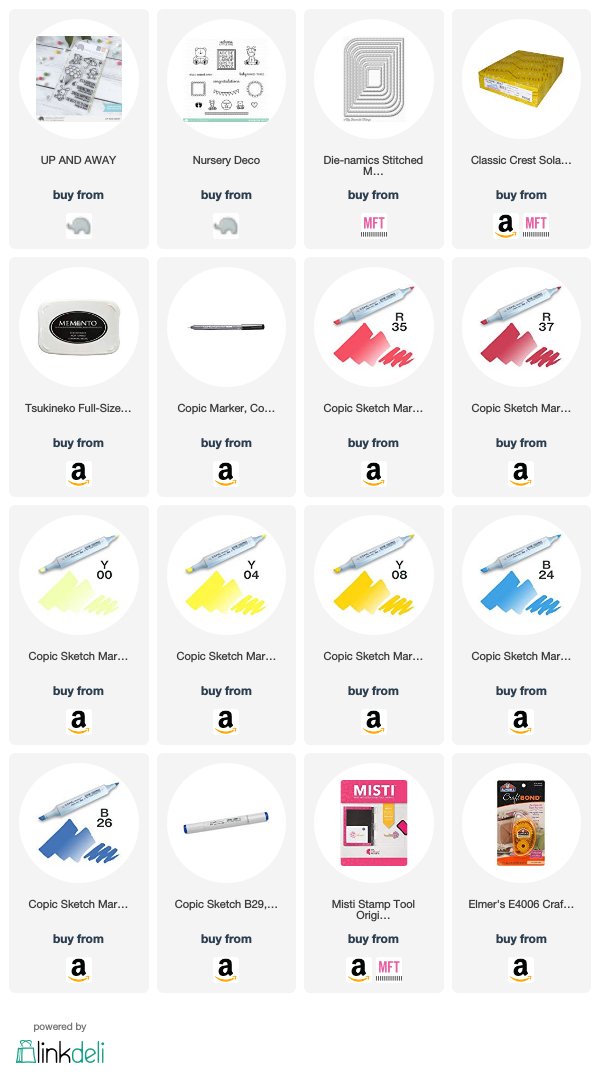
I started this card by cutting a panel using my Stitched Mod Rectangle die and then using my MISTI to stamp my ball and my sentiment. To add the bouncing line, I used a roll of washi tape and a pencil to lightly trace in where I wanted my line. I then went in with a Copic multi-liner and traced dashes over the pencil line so I was sure about where I was making my marks. After it dried, I went back in with my eraser and got rid of the rest of the pencil. I colored in my ball and then adhered the panel to a white card base to finish it all off.

Thanks for stopping by and don't forget to add your creations on the CASology post!

Supplies
Affiliate links used when available.

Saturday, February 23, 2019

Classified Birthday

Hello! I'm back today with another card featuring Kindred Stamps. This time around I'm using the set called Classified.


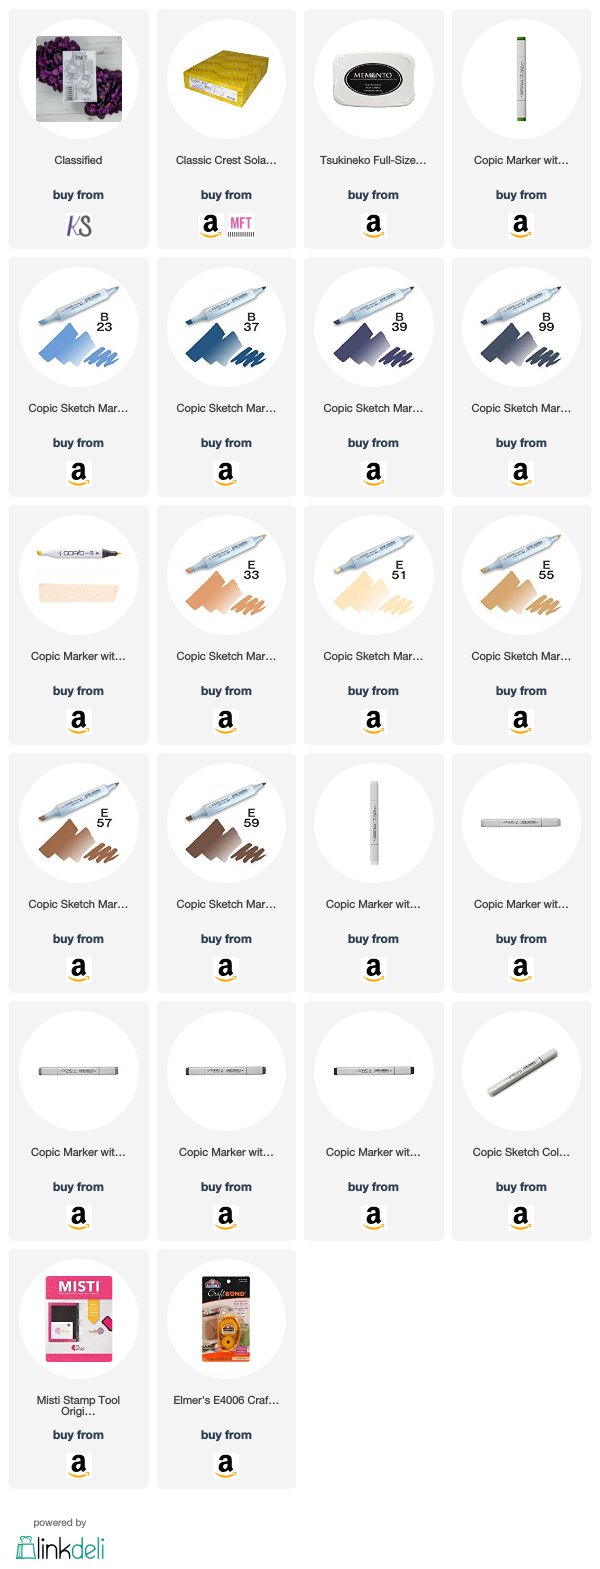
I decided to create a creepy forest scene for this one. I stuck to my cool grays to create an eerie background with some mysterious light coming from the center of the card. I increasing built up color around the edges by layering gradually darker colors to create a shadowy effect. Then I went in and started adding trees to my scene by starting with the ones that were farther away and lighter in color. I kept adding trees and increasing their darkness as they got closer to the front of the scene. I colored in my little stamped image and then decided to add a creepy figure in the distance with my C1. I finished it all off by stamping my sentiment toward the bottom of the card.

Thanks for stopping by today!

Supplies
Affiliate links used when available.

Wednesday, February 20, 2019

Kindred Stamps February Release

Hello! I'm here today with a fun new stamp set coming this Friday from Kindred Stamps - Bon Appetit!


For my first card, I decided to let the little mouse take center stage and created a piece of cheese for the background using a piece of yellow cardstock and my circle dies. I placed the piece of yellow where I wanted it with some foam tape and then trimmed the excess from around the card base. I stamped my sentiment so that it looks like it's interlocked with the cheese. I colored my little mouse chef and then fussy cut him so I could place him inside one of the holes in the cheese.

Next up, I decided to use the larger human chef as my main image.


I just LOVE this sentiment! I knew I had to use it and that made choosing the background super easy. What goes better with a love sentiment than little hearts? I stamped my card base with my scattered hearts background stamp and then cut a panel  to 5 1/2 inches by 3 3/4 inches (or one inch smaller in one dimension). I stamped my little chef and the sentiment and then colored him in with my Copics. I adhered a small strip of black cardstock behind the edge on one side to add a little interest and then adhered the panel to the center of my card base. I thought it needed a little something else, so I added a small embellishment with some silver jewels from Pretty Pink Posh.

The entire Kindred Stamps February release will be available Friday, February 22nd at 8am PST/11am EST.  Be sure to check out the Kindred Stamps blog on Friday for the full product release as well as the complete line up of all the Kindred Stamps Design Team projects from release week!  If you visit and comment on all of the designers' blogs this week, you could win $15 in Kindred Stamps shop credit!  So join the Fan Club and release event, show the design team some love, and get ready to empty those wallets this Friday!

Supplies
Affiliate links used when available.

Tuesday, February 19, 2019

CASology: Furbaby

Hello! It's time for a new cue from CASology and it's one that I absolutely love!


I decided to go super simple with this one and let my coloring shine.


This image from MFT is just perfect for this cue and I can always use more birthday cards, so the sentiment was a no-brainer for me. I simply cut a panel the size of the front of an A2 card base and then stamped my image with the sentiment below it. I colored everything in with copics and then added a little bit of grass to ground my image and make it feel like it wasn't floating in space.

I adhered the panel to the front of a card base using my tape runner and I was done!

Thanks for stopping by today and don't forget to add your own creations to the CASology post!

Supplies
Affiliate links used when available.

Saturday, February 16, 2019

Weird Light

Hello! I'm back today with a brand new card featuring a fun smaller size stamp set from Kindred Stamps. Raven Mad has some absolutely wonderful sentiments with it, but this one is my favorite and I just knew I had to put it on a card!


This is a super simple card to put together. I cut a card base with a stitched rectangle die and then cut the circle portion using a chain link die. I adhered a gray piece of cardstock to the back of the panel and then used my Multi Medium Matte to adhere the chain link piece back inside the circle. I stamped and heat embossed the sentiment inside and then adhered the whole piece to a card base using some foam tape.

All that was left was to color and cut my image to go along with it. After fussy cutting the image, I merely adhered him to the front of my card with my tape runner.

Thanks for stopping by today!

Supplies
Affiliate links used when available.

Saturday, February 9, 2019

Weirdo Bookmark

Hello! I'm back today with a new bookmark I made using the Kindred Stamps set Detention Friends (which is quickly becoming one of my absolute favorites sets)!


I love bookmarks! I'm an avid reader and I'm constantly misplacing mine or else my cat is ripping them to shreds. It's just the way of the world for me. So it's absolutely fantastic when I can just go into my craft room and make a new one!

I started this bookmark by die cutting two white bookmarks using my bookmark die. I saved one to adhere to the back of the one I was coloring because as we all know by now, Copics tend to bleed. I used my MISTI to stamp my little weirdo onto the front of the second piece and then stamped the "weirdo" sentiment below her. I colored her in with my Copics and then had to think of a background for her. What better place than a library, right?

I used my Copics to carefully color in where my shelves would be and then went back in with different colored markers to create my books. The thing to remember when doing scenes like these is to add a little bit of randomness. Not all books are the same height or the same width. While I kept my colors simple and didn't add a ton of detail, by varying the height and width, you can still tell that those are books! When my shelves were filled with books, I went back in and added a little bit of shading with my grays to fill in the darkness behind my books. I added a little more shading on the ground and I was all finished with the coloring!

To wrap it all up, I adhered that other bookmark piece that I had set aside to the back of my colored piece using some multi-medium matte and then added a little bit of brown ribbon that I had sitting around in my stash. Now I can't wait to break out a new book!

Thanks for stopping by today!

Supplies
Affiliate links used when available.

Tuesday, February 5, 2019

CASology: Bouquet

Hello, everyone! I'm here today with a new cue from CASology!


My mom asked me to make a card for her to give to a relative for their 102nd birthday and I thought this cue was the perfect inspiration to make it!


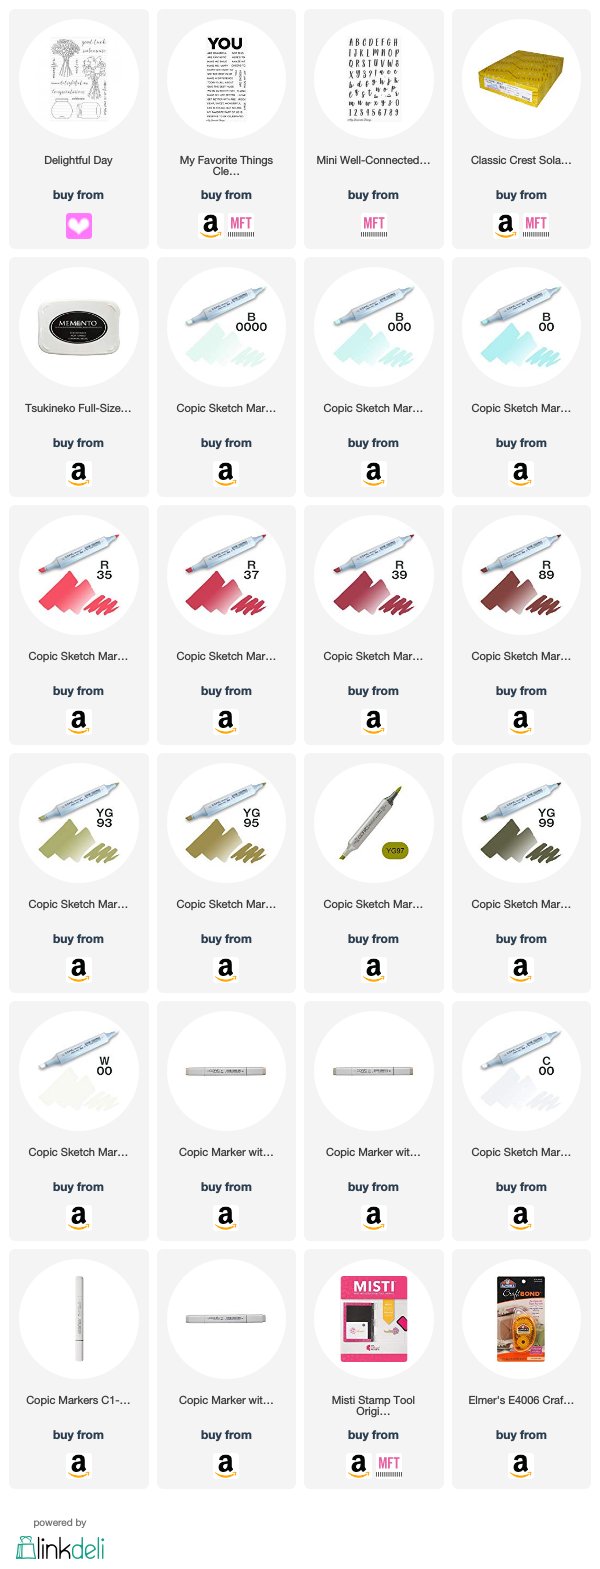
I simply stamped my flower bouquet and then my vase on top of it using my MISTI. I stamped the 102nd portion using my Mini Well-Connected Alphabet & Number set from MFT and then used a sentiment from All About You to stamp the happy and birthday portion. I used a little selective masking while inking my stamp to keep the portions I didn't want from stamping.

When I had all my stamping finished, I used my Copics to color in the flower and the vase. I added a little detail to the vase with my white gel pen and then grounded the image with a little more Copic coloring. I finished it off by attaching my panel to an A2 sized card base.

Thanks for stopping by and don't forget to link up your own projects on the CASology post!

Supplies
Affiliate links used when available.