Saturday, December 29, 2018

Exterminate

Hello! I'm back today with my final card for 2018. I'm feeling the rush of the end of the year as much as everybody, so I went back to my bread and butter (Clean and Simple) for this one.


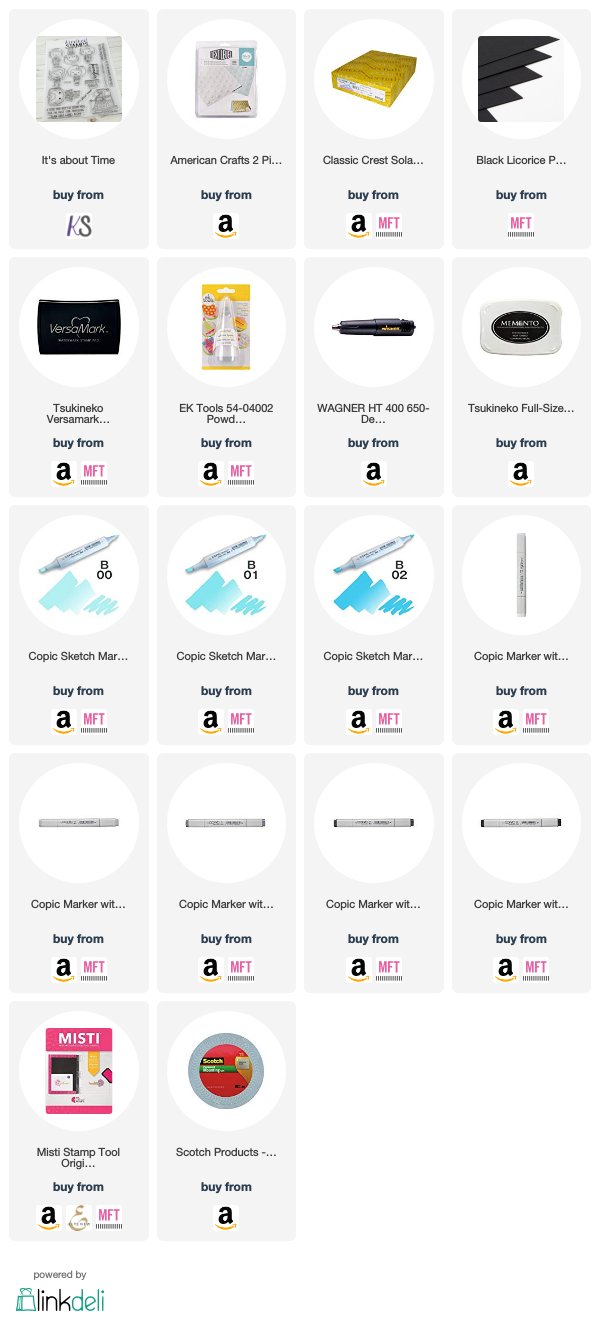
I stamped my image and then colored it using my Copics. Since it was just one image, I just fussy cut around it with my scissors and set it aside. I cut and folded my card base and then used a dotted embossing folder to create the texture on the front. I brought my MISTI back out to stamp the sentiment on a strip of black card stock and then heat embossed it with white powder. I used my foam tape to adhere both the sentiment strip and the image. Super simple, but still a fun card to cheer someone up!

Thanks for stopping by today!

Supplies
Compensated affiliate links used when available.

Sunday, December 23, 2018

Looks Like Christmas

Hi, everyone! I'm back today with a card I made as a member of the Kindred Stamps Design Team. I thought one more Christmas card would be fun, so I created this one for another one of my nephews.


I'm still going through Sandy Allnock's City Sidewalks class, so I created this one using the third lesson. I don't want to give away too much since it's her class, but I thought I'd show you how I start the card by sketching in my scene with a light marker.


It's kind of amazing how this weird looking sketch turns into the scene I created. This sketch just helps me figure out where all of my elements are going to be. Then I go in with my markers and gradually add darker and darker colors until I get the end result you saw above.


Here it is about halfway through the process. I've started adding more detail, but it's still unfinished with a long way to go. And I always have to remind myself to keep going because it won't always look this blobby.


So you can see by the end result that layers of color really bring the scene together. I finished it all off by adding some snowfall with my white gel pen. I added my sentiment using my MISTI and I was all done!

Thanks for stopping by today and I hope you have a wonderful holiday!

Supplies
Compensated affiliate links used when available.

Tuesday, December 18, 2018

CASology: Holly

Hello! I'm here today with a new cue from CASology! It's another two week challenge, so you'll have plenty of time to participate. And it's another holiday theme, so it'll be easy to fit into your holiday crafting!


I decided to go a little outside the box for this one...


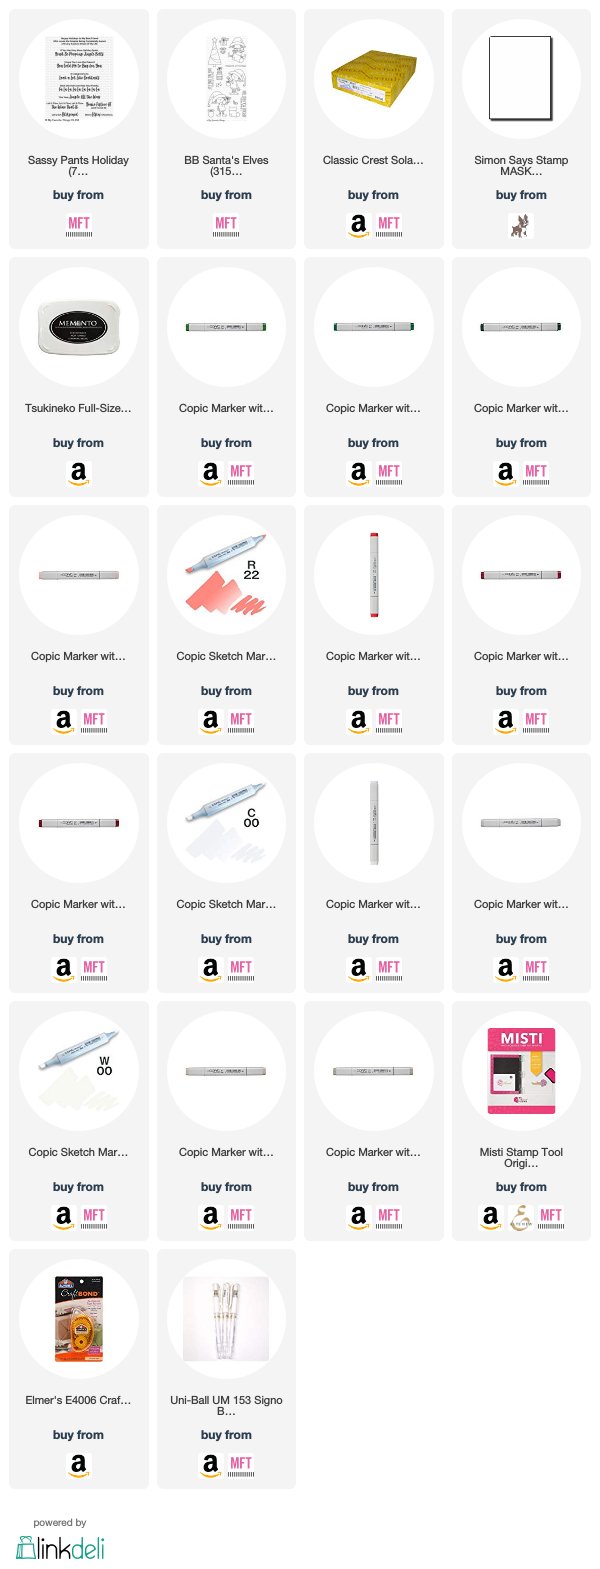
I created a fun holiday cocktail card by using my holly as a garnish! I used a sentiment from the Sassy Pants Holiday sentiment set from MFT and the little holly image is from Santa's Elves. The glass itself is from a discontinued set called Holiday Cocktails. But any cocktail glass image in your stash would work for this one!

I used my MISTI to figure out where I wanted to place all of my images and then carefully removed the cocktail glass leaving only the sentiment and the holly. I stamped the two together on a panel and then used masking paper to mask off my holly image. I went back in with my MISTI and then stamped my cocktail glass so it would appear that the holly was on the rim. I removed my mask and I was ready to color!

I decided that I wanted a strawberry margarita in my glass, so I started to color by dotting in some R20 to fill my glass. To add dimension, I went back in with R24 and R22 to add more dots of color to look as though it was slushy. I colored in my holly and then used my cool grays to add some dimension to the glass itself. When I was satisfied with the look, I used my warm grays to add a bit of grounding below the image and then used my cool grays to add a halo around the glass. This made it easier for my sugar around the rim of the glass to stand out against the white paper when I went back in with my gel pen to add the detail.

I finished everything by adhering my colored panel to an A2 size card base.

Thanks for stopping by and don't forget to add your creations to the CASology post!

Supplies:
Compensated affiliate links used when available.

Saturday, December 15, 2018

She Who Is Brave

Hello! I'm back today with a fun card I created for Kindred Stamps featuring one of the newest releases - I Need Some Space.


I started my card by stamping my girl image and then masking her off. I stamped the police box so it looked like it was behind her and then masked it off as well. I laid my stencil over the piece and used some masking tape to mask off the bottom portion where my ground would be and then used my ink blending tool and my Fired Brick distress ink to blend ink into the stencil to create my wall.

I removed all my masking and used my Copics to color in the ground and the images. When I was satisfied with the look, I used my MISTI to stamp my sentiment on top of the wall like graffiti. I adhered my panel to an A2 card base and I was all done!

Thanks for stopping by today!

Supplies
Compensated affiliate links used when available.

Wednesday, December 12, 2018

Kindred Stamps December Release

Oh my goodness do I have a fun post for you today! You already know that I'm a giant nerd, so it'll come as  no surprise as to why I'm in love with these super fun new sets. They feature my favorite time travelling alien and the various forms he/she takes. I've used two sets for my projects - It's About Time and I Need Some Space.


I couldn't wait to make this exact card as soon as I saw the sets. I wanted to put all of them together to show the evolution of the character. I stamped and masked a ton for this one, but it's totally worth it! I colored them all in with my Copics and then added some grounding by adding a little warm gray beneath the images.

I couldn't help myself, I decided to make some tags to go along with this card...


I used some Kraft card stock for the base of these folding tags. I cut each fold-up piece and then stamped an individual time-travelling alien on each one and colored them in. I adhered the folding portion to the tag base and then added the embellishments on top. I finished by adding a little bit of baker's twine to attach them to bags and boxes. It would be super fun to use these for my husband's Christmas presents this year!

Next up, I wanted to do something a little bit outside the box...


I took the evil alien stamp and turned it into a birthday cake masterpiece by adding a little bit of hand-drawn detail with my Copic multi-liner. I drew in the candle and the icing on the top of its head. I colored it in with my Copics and tried to add a little bit of texture by adding some dots to the "cake" portion of its body. I colored some pieces to look like Twizzler details and the "hardware" was turned into chocolate candy pieces. I colored the lights to be yellow gum drops and added some dots with my white gel pen to look like sugar! I added the sentiment below it and I was all finished! I think it would go well with a fun little tag added to a gift for someone's birthday.

For my last card, I wanted to put what I've learned from Sandy Allnock's City Sidewalk Copic class to good use, so I colored up this gorgeous wintery scene.


I stamped my image and then sketched in my scene with a light colored marker so I'd be sure of where I wanted everything to be placed. I went back in and gradually added color to the scnee to darken everything and bring out the details and then colored in my image so the shadows fell on the right side since the lamppost would be lighting the left side. I decided the I didn't want to add a sentiment to the front, so I simply adhered my panel to a top-folding A2 card base to finish it off.

The entire Kindred Stamps December release will be available Friday, December 14th at 8am PST/11am EST.  Be sure to check out the Kindred Stamps blog on Friday for the full product release as well as the complete line up of all the Kindred Stamps Design Team projects from release week!  If you visit and comment on all of the designers' blogs this week, you could win $15 in Kindred Stamps shop credit!  So join the Fan Club and release event, show the design team some love, and get ready to empty those wallets this Friday! Supplies Compensated affiliate links used when available.

Tuesday, December 4, 2018

CASology: North

Hello, everyone! I'm back with a brand new cue from CASology! This one is another two week challenge since we've hit the holiday season and we all seem to get a bit busy this time of year. So you have extra time to play along! And since it is the holiday season, I know you'll be able to fit this into your holiday card-making because the cue is...


I decided to have a little fun with this one and may have gone a little beyond "simple," but I was having way too much fun with my Copics and this idea just took over my brain.


I used inspiration from Sandy Allnock's Winter Wonderland copic class for this one. I took lesson two and merged it with some information from lesson one to create this snowy mountain scene. I personalized it by adding my north pole sign peeking in from the corner!

Thanks for stopping by and don't forget to add your on creations to the link on the CASology post!

Supplies
Compensated affiliate links used when available.