Tuesday, May 29, 2018

CASology: Squiggle

Hello and welcome back for a brand new cue from CASology!


I sat and stared at this cue for a while before a lightbulb went off and I realized that graffiti often looks like a squiggle to me. Following this weird logic, this design formed in my brain.


I used a heart die that has been discontinued for my "squiggle" graffiti. That makes me sad because I actually really love how it looks. It's like splash of paint, which is so much fun and so versatile!

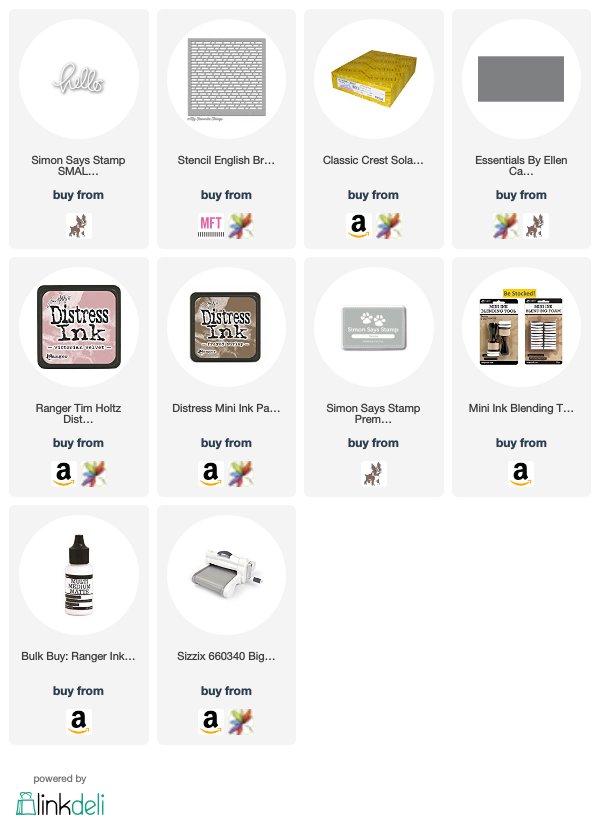
I started by cutting my heart from white cardstock and then using my ink blending tool and some Victorian Velvet distress ink to create a soft haze of color across the image. I then added my stencil to my card base and used another ink blending tool and some Frayed Burlap to softly blend just a hint of brick wall behind where I wanted to place my images.

I added some splatters of Smoke gray ink behind where I was going to layer my images and then adhered my heart die on top with some Multi Medium Matte. I cut my hello die from some Slate cardstock and then used the same glue to adhere it over the top of everything. That's all! Super simple!

Thanks for stopping by today and don't forget to add your creations to the CASology post!


Friday, May 25, 2018

Keeping Christmas Inspiration Blog Hop


Hello! I'm joining some delightfully talented ladies on the 25th of every month with a fun Christmas creation. I don't know about you, but I always find myself rushing to get things done in the couple of months leading up to Christmas. I'm trying to keep that from happening this year by putting together a couple of creations each month to put in my stash so I won't be crazy busy when Christmas rolls around.

It's the 25th, so it's time for a Christmas creation!


I love this sweet little reindeer from Neat & Tangled. I just can't get enough of how cute he is! I cut a panel using my Stitched Rectangle dies and then used my MISTI to stamp my reindeer in the corner. I stamped another reindeer on some masking paper and then used my scissors to fussy cut around it. I placed the mask over the top of my reindeer and then used some Broken China distress ink to blend a bit of a sky background behind him. This helps to differentiate between the snowy ground and the winter sky. I didn't blend the blue to the top of the panel, but instead made it fade back to white as it got closer to the top. I created a make-shift mask for the ground using a bit of scrap cardstock and one of my landscape trio dies. I wanted a bit of a curve to the ground so it would be a little more interesting.

I removed my masks and then used my copics to color in my image. I added a bit of a shadow underneath it so that it wouldn't look like it was floating. This time I used some blues instead of grays. I just think that blue looks good for shadows on snow or ice.

I used my MISTI to finish stamping the sentiment in the bottom left corner and then adhered my panel to a white top-folding card base.

That's it for this month's card! Don't forget to hop along with the rest of the ladies in the hop!


Tuesday, May 22, 2018

CASology: Thrill

Hello! It's time for a new cue from CASology!


I don't know what's going on, but I feel like I've been riding the struggle bus for the past couple of challenges. This time I just couldn't figure out how to incorporate the cue. I sat and stared at it for several days until I finally decided to just throw caution to the wind and go for a crazy interpretation. What's more thrilling than a good villain?


Maleficent has always been one of my favorite Disney villains. She's just so powerful and when I was a kid, she scared the crap out of me. I think that qualifies as thrilling. I used this picture for my inspiration and came up with this...


I wanted her to be surrounded by a blossom of green fire, but it kind of ended up looking more like she's being birthed from a cabbage. Oh well, nothing is ever perfect.

So here she is. I simply stamped her on a panel cut from a Stitched Rectangle die and then colored her in with my copics. I added the lines to her horns using a white gel pen and then moved on to my fire/cabbage. I used my lightest color to lightly sketch in the basic shape and then went back in with my darker colors to add a little depth and dimension. I finished it off by going back over the whole thing with my lightest color again. Yep, definitely a cabbage.

I added a little shadowing under the image to ground it and then stamped my sentiment beneath. I adhered my panel using my glue runner and that was it!

Thanks for stopping by today!


Tuesday, May 15, 2018

CASology: Copper

Welcome back! It's time for a new cue from CASology!


Not gonna lie, I struggled with this one. My color-loving heart was having a problem with being told what to use. But in the end, I think it turned out alright.


I began my card by cutting and folding a card base. I then ran a panel through my Big Shot with my Cube Cover die and then used some Multi Medium Matte to adhere it to the front of my card base.

I cut my foliage from some white cardstock and then used some Versamark ink and copper embossing powder to create some copper leaves. I used two layers of the embossing powder to get a nice, even coating. I used my MISTI to stamp my sentiment onto some scrap white cardstock with Versamark ink and then heat embossed it with the same copper powder. I cut the strip down and then used my scissors to cut a diagonal across one side.

I arranged my foliage where I wanted it and used Multi Medium Matte to adhere it to the card base. I added some foam tape behind my sentiment and then adhered it over the top of the stems from the foliage.

Super simple, but really pretty!

Thanks for stopping by today!


Saturday, May 12, 2018

Addicted to CAS Guest Designer


I'm so thrilled to be joining the Addicted to CAS team as a guest designer this week! And here's the code word...


This was perfect because I was in need of a little inspiration for this year's Mother's Day card. This gave me the perfect opportunity to pull out some of my favorite products and create something just for my Mom.


I started this card by cutting a panel to the exact size of an A2 card front - 4 1/2 inches by 5 1/2 inches. I stamped my floral image with my MISTI and then colored it in with my Copics. I adhered the panel to a card base using my glue runner. (I attached it to a card base because the Copics bled through the back and I didn't want it to show on the inside of my card.)

I cut out my Mom die cuts from white cardstock and the shadow from vellum. I used my Multi Medium Matte to adhere the white words on top of the vellum shadow cut. Then I added a little more Multi Medium Matte to the back of the vellum and adhered it to the panel. The sentiment was stamped on Slate cardstock using Versamark ink and then heat embossed with white powder. I used some foam tape to adhere the strip below my die cut sentiment.

Super simple, but the perfect card for my Mom!

Thanks for stopping by today and I hope you'll join the Addicted to CAS challenge with your own creations!


Tuesday, May 8, 2018

CASology: Marine

Hello and welcome back! I know you're probably sick of it by now, but I have another underwater card for you today. With the new cue from CASology, I just couldn't resist!


See? How could I possibly resist making another ocean themed card with a cue like that? It's just begging to be colored!


I switched it up a little this time and made my little mermaid sit on the sea floor. I started my card by cutting a panel with a stitched rectangle die and then used my MISTI to stamp both my image and my sentiment in Memento Tuxedo Black.

I used my copics to color in my mermaid. This time, I wanted to show a little love to my dark-skinned sisters and made her more Latin inspired. I used brown to color her hair and then thought it was a little too light, so I added some warm gray over the top to tone it down and it created this gorgeous color that I just adore!

When my mermaid was colored, I added in the sea floor beneath her by coloring in the basic shape with a light brown and then going over the top of it with little dots of darker browns. I focused the darker browns where her shadow would fall and then gradually decreased the darkness as her shadow would fade.

I used stripes of blue, blue green, and blue violet to create my ocean water. When I was satisfied with how the color looked, I went back in with my colorless blender, BG11, B93, and a white gel pen to add dots of bubbles surrounding my mermaid. (If you'd like a tutorial for the water portion, I made one in an earlier post. Just click here.)

I added my finished panel to my card base using my tape runner and I was finished!

Thanks for stopping by today and don't forget to link up your creations on the CASology post!


Tuesday, May 1, 2018

CASology: Jungle

Hello! It's that time of the week - time for a new cue from the CASology challenge!


Oh goodness! I have so many stamps in my collection that could work for this cue! I decided to use one that hasn't seen any love yet. I'm sure you've got a few in your stash like this. I bought it because it was absolutely adorable and then it just sat there unused as I created other projects. Time to show it some love!


I began by stamping the hippo, bird, and sentiment using my MISTI. So thankful for that tool! It makes everything so much easier! Then I lined up my balloons so the hippo would be holding them and used my MISTI to stamp them, too!

I cut out my panel after everything was stamped (which is backwards from what I usually do!). Then I used my Copics to color everything in. I used warm grays for my hippo and then used my cool grays to add a halo around the images so they don't look so flat against the white panel.

I finished it all off by adhering it to a gray card base using my tape runner.

Thanks for stopping by today! I hope you'll join us with your own creations!