Friday, September 29, 2017

KGC New Release Blog Hop


Hello and welcome to my stop on the hop! Our newest release is currently available in the store. I have several cards to share with you today, so let's jump into it!


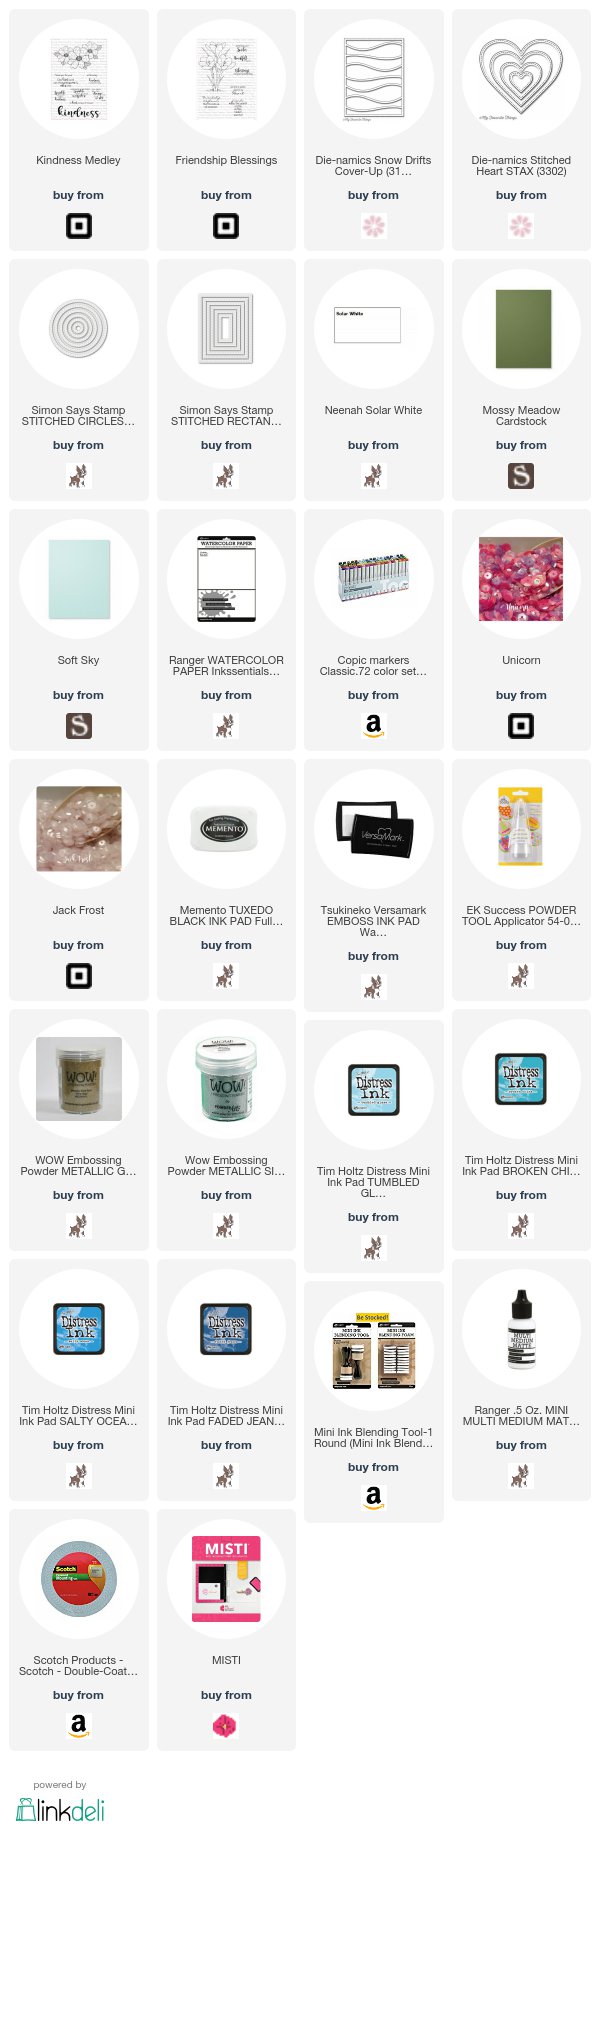
First up is this shaker card featuring the new Kindness Medley stamp set and Unicorn sequins. Where are the sequins you ask!


Right here! I didn't want to obscure the sentiment in the first picture, but I promise, it's much easier to see IRL. Hard to capture in pictures!

Next up...


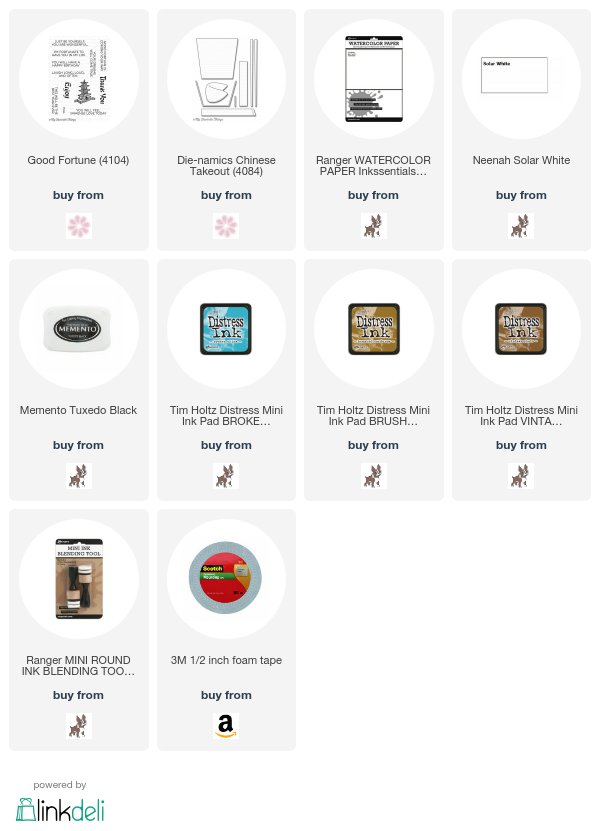
Another card featuring Kindness Medley. This one is Clean and Simple with a little added dimension from some stacked die cuts.


I used the same green as the card base so that it looked pretty from the side.

And now...


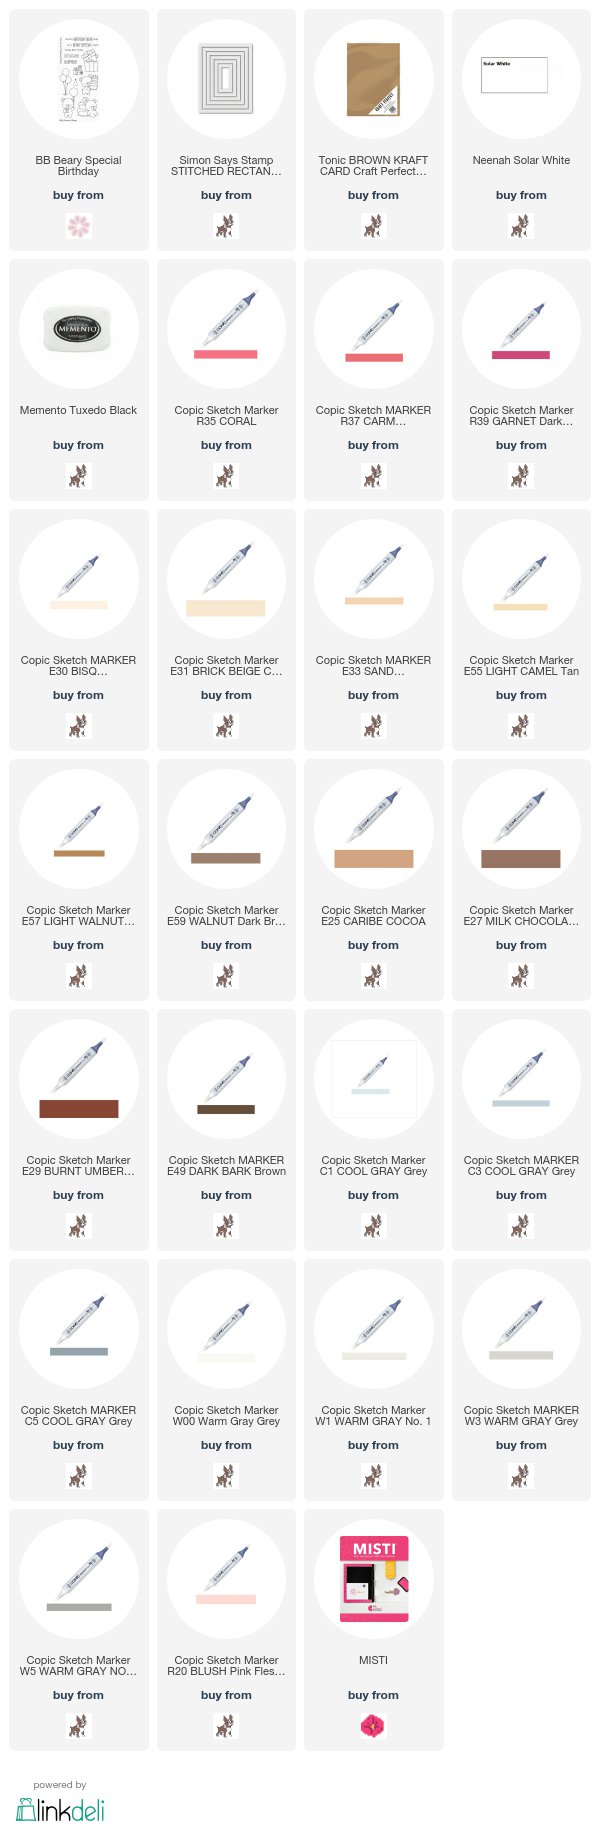
This one features the Friendship Blessings stamp set and a smattering of Jack Frost sequins. This may actually be my favorite stamp set from the release. I just love those gorgeous blooms!

I even created another card with it earlier in the week. Here it is in case you missed it the first time around...


We're giving away a prize package to one lucky winner! All you have to do is join us for the hop and leave a comment on each project. The more you comment, the more chances you have to win! Winner will be announced on Monday, October 2.


I hope that you're enjoying today's hop! You should have arrived from Erica and your next stop is Heidi. If you'd like to view the full list, please stop by the Kennedy Grace Creations blog! Thanks for stopping by!


Wednesday, September 27, 2017

Kennedy Grace Creations Sneak Peek!

I'm over on the Kennedy Grace Creations blog today with a sneak peek of an upcoming set called Friendship Blessings! Go take a look for all the details!


Tuesday, September 26, 2017

CASology: Fortune

Hello! I'm back with a new cue from CASology! This week is a toughy, but I think there are several ways to interpret it.


I immediately thought of fortune cookies, but you could also be "fortunate" for friends or family. You could also use any sort of fortune telling imagery like a hand or crystal ball (use a snowglobe stamp!). It takes a little imagination, but there are several ways to interpret this!


I started my card by cutting my fortune cookies from some watercolor paper. I used my ink blending tools and two different brown inks to add some color and depth to my cookies. I stamped my sentiment on a piece of scrap white cardstock and then used the fortune die to cut it out. I slid it into one of the cookies' openings and then carefully adhered it so it wouldn't slide out. I clustered the three together and added some foam tape to the back for adhering to my panel.

I cut a piece of watercolor paper to the size of a card front and then used Broken China distress ink to add a couple layers of color to the bottom left corner, extending it up and over just slightly. This created the perfect backdrop for my cookies. I added a sprinkling of darker color over the top of the panel and then also added sprinkles of water to wash out a few places. It adds a ton of interest!

I adhered my panel to my card base and then added my cluster of cookies on top with the foam tape.  That's all!

Thanks for stopping by and I can't wait to see how you interpret this tricky cue!


Tuesday, September 19, 2017

CASology: Big

Hello, everyone! I'm back today from an extended vacation in southern Utah. We saw some amazing National Parks and had a fantastic time. Even though I love crafting, it was almost hard coming back to my craft room after being away so long! Enough of that though because there's a brand new cue from CASology to play with today!


When I saw this cue, I immediately thought of this set from Mama Elephant and the adorable sentiment it contained. It was just perfect for this!


I started my card by cutting a panel with a stitched rectangle die. I planned on using Copics and this would contain any bleeding that might occur. I stamped my sentiment in the bottom left and then stamped my images surrounding it.

I used my Copics to color everything in. I used warm grays for my elephant and cool grays to cratea  shadow under my images to ground them.

I finished it off by adhering my panel to a white card base. Super simple!

Thanks for stopping by!


Sunday, September 17, 2017

Kennedy Grace Creations Post

I'm over on the Kennedy Grace Creations blog with this clean and simple card. Go check it out for all the details of how I made it!


Tuesday, September 12, 2017

CASology: Cake

Hello, everyone! I'm back today with a brand new cue from CASology!


Cake is the one sweet that I just can't seem to pass up! It doesn't matter if it's cupcakes, cheesecake, wedding cake - I'll eat it! With that in mind, this is the perfect sentiment for people like me!


I started this super simple card by cutting a panel from white cardstock with a Stitched Rectangle die. I used my MISTI to stamp my image in the corner and then added the sentiment beside it.

I colored everything in with my Copics using darker browns for my cake and lighter, warmer browns for my bear. To keep my image grounded, I added a shadow below it with some warm grays. I also added a slight halo around the sides and top with some cool grays to give it a 3 dimensional look.

I finished it off by adhering the panel to a kraft card base.

Thanks for stopping by!


Thursday, September 7, 2017

Kennedy Grace Creations Post

I'm up on the Kennedy Grace Creations blog today with this Copic colored rose card. Go check it out for all the details including my Copic combinations!


Tuesday, September 5, 2017

CASology: Education

Hello, it's that time again! It's time for a new cue from CASology!


I don't have children, so I don't typically make teacher cards, so I had to think a little outside the box for this one. I gave it some thought and sorted through some of my stamps and realized that the handwriting stamps look a little like someone writing on a blackboard. Tada! There's my inspiration!


I started my card by cutting a piece of black cardstock to the size of a standard A2 card. I cut another panel from Crumb Cake cardstock and then used a double-sided stitched rectangle die to create a frame to go over my black piece. Using my MISTI, I layered both pieces together so I knew where to place my stamps. I removed the brown piece before stamping in Versamark ink and then heat embossing in white.

I adhered the black panel to a white card base with some Be Creative double-sided tape and then used foam tape to adhere my frame over the top of it. Instant blackboard!

Thanks for stopping by!


Kennedy Grace Creations Post

I'm over on the Kennedy Grace Creations blog today with another super simple no-coloring card. Go check it out for all the details - including the products I used to create it!