Showing posts with label Lawn Fawn. Show all posts

Tuesday, June 18, 2019

CASology: Ring

Hello! I'm back today with a new cue from CASology!


So before I get into today's card I wanted to announce that this will be my last post as a part of the CASology design team. I've decided to take a step back and take some time for my mental health. I've found myself getting a little burned out lately and spending less and less time in my craft room. My hope is that I can get back to the joy of crafting by just letting myself create for the fun of it again. You'll probably still see me around and entering the challenge as a player, but I won't be doing it every week. Sometimes we all just need a little break and I think it's important to know when to take a deep breath and step aside. Believe me, I'll still be around, just not as frequently.

And with that said, here's this challenge's card!


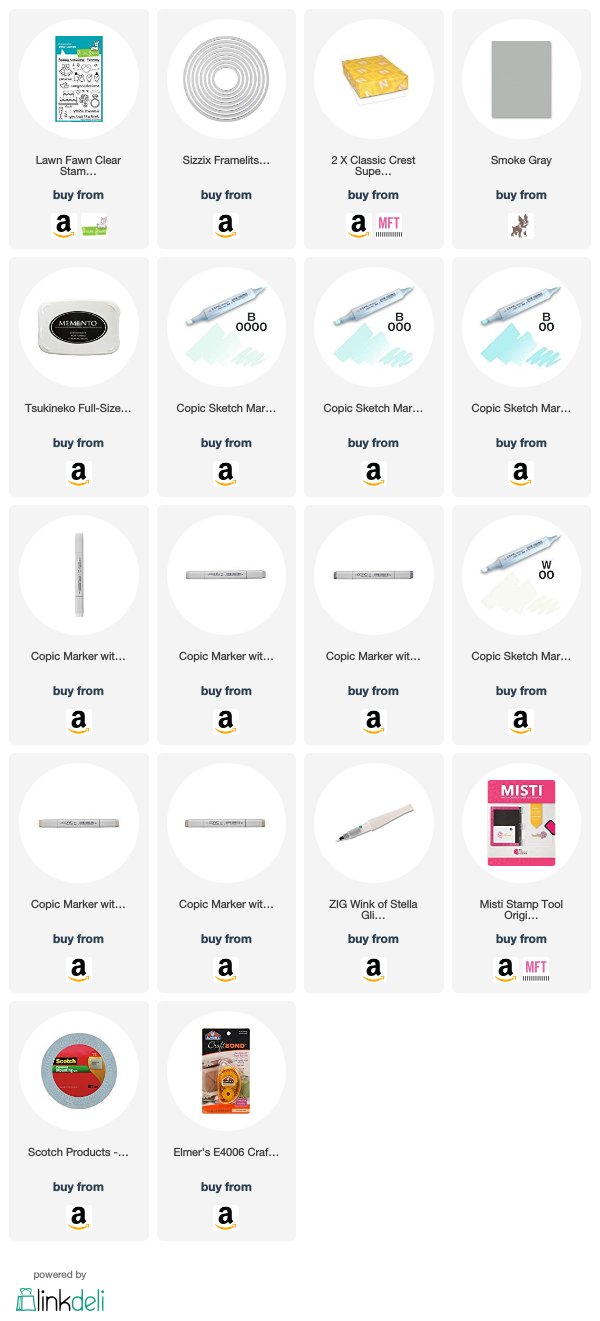
I decided to go super simple with this one, so I started by cutting a circle with a stitched rectangle die (sorry, it's retired!) from MFT Stamps. I stamped my ring image in the center and added the glimmer lines with another stamp. I colored the image with my Copics (cool grays for the metal to imitate white gold, very light blues for the diamond, and warm gray for a halo to make it pop from the white paper). I matted my circle with another circle cut from Smoke Gray cardstock and then used foam tape to adhere it to a card base. I used my MISTI to stamp the sentiment below it.

Thanks for stopping by and don't forget to link up your own creations on the CASology post!

Supplies
Affiliate links used when available.

Tuesday, January 22, 2019

CASology: Smile

Hey, everyone! It's time for a brand new cue from CASology!


I broke out a seriously old set from Simon Says Stamp for this one!


It was just as easy as it looks to put this one together. I merely cut and folded a white card base and then used my MISTI to stamp my sentiment in black. I went back in with my MISTI and stamped my sun and then used the small stamps included in the set to add the mouth and eyes. That's it!

Thanks for stopping by and don't forget to link up your own creations on the CASology post!

Supplies:
Affiliate links used when available.

Tuesday, November 20, 2018

CASology: Girl

Hey, everyone! I'm back today with a new cue from CASology!


For this challenge, I decided to color up my favorite "wise" girl.


Isn't she adorable!? I just love this cute little stamp from Kindred Stamps. This was a simple one to put together. I simply stamped my image and part of the sentiment in Memento Tuxedo Black using my MISTI and then finished the sentiment by stamping the word wise in Blue Jay ink.

I used my Copics to color in my little wise girl and then grounded her using some warm grays.

Thanks for stopping by today and don't forget to add your own creations on the CASology post!


Saturday, November 10, 2018

Thimble Kiss

Hello, everyone! I have a fun card for you today that was created using Kindred Stamps' Never Grow Up set.


I began this card by cutting and folding a top-folding A2 card base from some Neenah Solar White card stock. I used a stamp block and some gray ink to create a patterned paper on the front of my base by repeatedly stamping the small thimble image.

I cut a circular panel with a stitched circle die and then used my MISTI to help me stamp my image and sentiment so that it would be straight. I used my Copics to color in my image and then adhered my circle to my card base using some foam tape for dimension.

Thanks for stopping by today!

Tuesday, November 6, 2018

CASology: Compliment

Hello, everyone! I'm back today with a new cue from CASology!


I have so many sentiments that would work for this one, but I had to go with a pun. I just love them so much!


This is super easy to put together. I cut a panel to the size of the front of an A2 card and then used my MISTI to stamp my image and my sentiment. I went in with my Copics and carefully colored in all those little gumballs and the rest of the machine. I went back in with my warm grays to add some detail below my machine so that it looks as though it's sitting on a counter and not just floating in midair. I adhered my panel to the front of a top-folding card base and I was all done!

Thanks for stopping by!


Thursday, October 25, 2018

Keeping Christmas Inspiration Blog Hop


Hello! I'm joining some delightfully talented ladies on the 25th of every month with a fun Christmas creation. I don't know about you, but I always find myself rushing to get things done in the couple of months leading up to Christmas. I'm trying to keep that from happening this year by putting together a couple of creations each month to put in my stash so I won't be crazy busy when Christmas rolls around.

It's the 25th, so it's time for a Christmas creation!


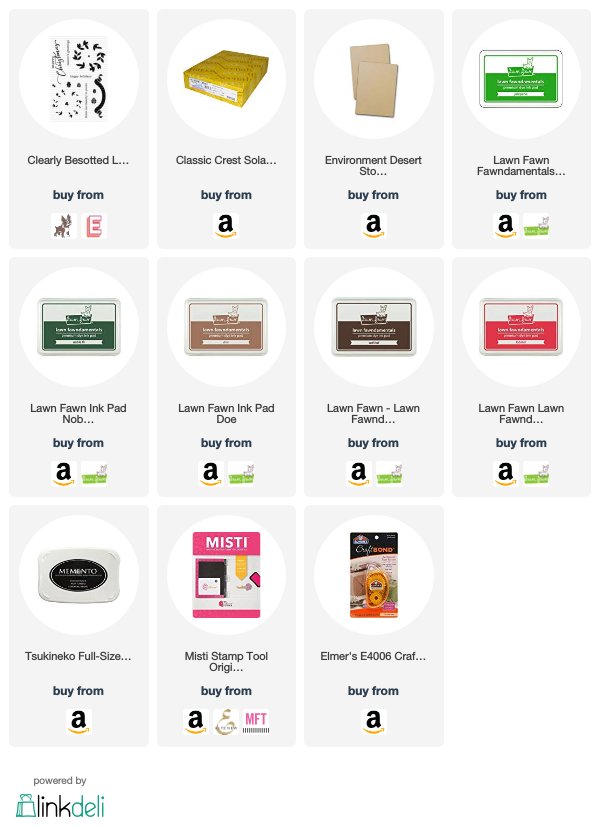
I decided to keep it simple this month because Christmas is closing in on us and I wanted something that would be easily mass produced. This card features the Layered Wreath set from Clearly Besotted and it has nothing but simple stamping. I could honestly reproduce a bunch of these in just an hour. I love the simplicity and my overly stressed brain loves it, too!

Thanks for stopping by and don't forget to visit the other stops in the hop!


Supplies
Compensated affiliate links used when available.

Tuesday, October 16, 2018

CASology: Menu

Hello and welcome back to a new cue from CASology!


I searched through my stamp stash and came up empty, so I had to think a little outside the box for this one. With that in mind, I created my very own menu.


This card is a little outside my comfort zone seeing as how I put away my copics and got back to basics with some simple stamping.

I combined two Sugar Pea Designs stamp sets to create this super simple one layer card. I used the sentiments and the coffee bean from Espresso Yourself and then added some coffee rings from the Caffeine Addict set when I realized the card looked a little plain.

Thank heavens for the MISTI! I never would have attempted something like this if it weren't for that tool! I can't stamp straight to save my life and the MISTI makes it so super easy to stamp perfectly every time. I lined up all the sentiment words in my MISTI at once and then stamped them all in black ink. I went in again with my coffee bean and used the MISTI to get it lined up perfectly for each "bullet point."

I went back in afterward with my little coffee rings and stamped them in to add a little more detail.

Super simple and sweet! Thanks for stopping by and don't forget to link up your card on the CASology post!

Supplies
Compensated affiliate links used when possible.

Saturday, April 14, 2018

Waving Hello Tutorial

Hello! I'm here today with a photo tutorial for how I colored water from an earlier post featuring a Chubby Mermaid.  I had a lot of people across social media asking me how I created the background, so I decided to create a new card with the same technique and photograph the process. Forgive me if the photos are a little dark, I created this card this morning in my craft room and it was pretty overcast here in Utah. I did the best I could, but the weather just wasn't cooperating!

Here's what the card looks like as a finished product:


Looks complicated, right? Wrong! It's actually really easy to create your own project that looks just like this without much effort. I'll walk you through my creative process below...


Here's what I started with. Simple, really. I just stamped my two images on some plain white cardstock and got to coloring.


I started with my mermaid. (If you'd like another tutorial showing you my process for coloring people/creatures, just let me know and I'll do it another day!)


Next up, my fishies. Still looks a little bare, right? Well, we're about to start on that background!


I grabbed a bunch of blues from my copic stash and set them out on the table. I started with my lightest blue to give it a bit of a base to build on. All I did was add stripes of color coming up from and down from the images. Looks pretty choppy. Don't worry, as you add color, the water comes together and starts to actually look like water!


This is after a couple additions of darker blues. Starting to come together, right? I just kept adding stripes of color on top of the lighter colors. I didn't color it in completely, but left spaces so that the lighter colors shine through from behind the darker stripes.


To give my water some dimension, I also added some blue green and blue violet. If you really look at water, it doesn't just look like one color. If you use just one color, it'll look a little flat. By adding in some purple and blue green, it begins to look shimmery like there's light shining through it.


Okay, now it's time for bubbles. This also helps to break up those stripes of color a little bit and make it look more like water. All this is are spots of colorless blender. I varied the size of my dots because bubbles aren't all the same size. I then went in with my darkest blue yet and added a few varied dots with it. Those bubbles look like they're farther behind the images because they're darker.


Time for some white bubbles. I went in with my Signo white gel pen and added just a few dots of white bubbles. Some of them overlap where my other bubbles already are. These are the brightest bubbles, so they're going to appear closer to you.


Now it's time to cut out my panel. I centered the mermaid within the die and then used my Big Shot to cut it out.


Now that everything is cut out and centered, I used my MISTI to stamp my sentiment. This ensures that the sentiment is straight and doesn't stamp incorrectly. It would seriously stink if I went to all that coloring trouble and then ruined it with a crooked sentiment!


Now I went back in with my colorless blender, darkest blue, and gel pen and added just a few more bubbles around the sentiment to tie it in with my images.


Time to bring it all together into a card. I simply used my glue runner to attach my panel to a white card base. I want to keep it flat because it's going to be mailed.


I finished it all off by adding just a touch of clear Wink of Stella to my fish and my mermaid's fin. It adds just a touch of fun detail. I decided that this was all the embellishment this one needed.

That's it! From start to finish! Simple, isn't it? I bet you could create your own underwater card just like mine! Give it a try and let me know how it goes!

I'm entering this card into the current Addicted to CAS challenge - bubbles. It was just perfect timing!


Thanks for stopping by!


Tuesday, March 27, 2018

CASology: Cross

Hello and welcome to a brand new cue from CASology!


This cue was a little difficult for me. I don't make many Easter cards and I the ones I do make I tend to keep pretty secular and cute because they're for my niece and nephews. So I really don't have anything that features a cross. I had to think outside of the box for this one. And what's another definition of the word cross? Angry or upset! 


I started by stamping three little crabs and coloring them with my Copics. I cut them out with their matching die and set them aside. Now I needed to come up with a background for my crabby little guys. I used a die from My Favorite Things to come up with the layout. I took a card panel that was the same size as an A2 card front and then cut it with the die. I used my ink blending tool and some peacock feathers distress ink to ink the right side of the die cut pieces and then added some to the front of the card base where the holes would be.

I adhered the right side piece with my glue runner and then adhered the left side with foam tape for dimension. I should mention that I stamped my sentiment on the bottom of that piece before adhering it so I was sure to get a good impression.

I finished it off by adding my little crabs with some foam tape in the little windows.

Thanks for stopping by!


Tuesday, February 20, 2018

CASology: Pun

Hello! I'm back today with a new cue from CASology.


I have so many pun-filled stamp sets, but I just love this one from Lawn Fawn. Maybe it's because I'm obsessed with pizza. But, I mean, who isn't?


I started my card by stamping my pizza and slicer and then used my copics to color them in. I stamped the pepperoni and olives using some Lawn Fawn inks and then used my Brother Scan N Cut 2 to cut them out. (Laziness for the win!)

I set aside my images and cut a piece of Crumb Cake cardstock with a circle die cut. I put my circle into an embossing folder to give it some dimension. I arranged my elements on my card base to get an idea for how I wanted to adhere them and then used a glue runner to adhere my circle directly to the card. I added foam tape behind the pizza and slicer and adhered them on top of my circle.

I finished the card by using my MISTI to stamp my sentiment below my images.

Thanks for stopping by today and don't forget to add your PUNNY creations to the linky on the CASology post!


Tuesday, February 13, 2018

CASology: Together

It's time for a new cue from CASology!


It took me a little bit to come up with a concept for this one. I went through my stash and came up with this cute set from Lawn Fawn called So Smooth. I haven't used it in a while, so it was nice to break it out again.


I started my card by cutting a panel with a stitched rectangle die and then using my MISTI to stamp my fruit. I masked them off and then stamped the blender so it would appear behind the fruit. I removed the masks and then used my copics to color everything in. I broke out the MISTI again to stamp my sentiment so I was sure it was straight.

I added some foam tape to the back of the panel and then adhered it to the front of a white card base. Super easy!

Thanks for stopping by today!


Wednesday, January 31, 2018

Your Birthday Is Coming

Where my geeks at?! The newest release from Kindred Stamps has me screaming! If you're a fan of all things nerdy, then you need to take a look at this company! I've been creating with them so much recently because, honestly, I'm in love with practically everything they do!

Today is no exception. I used two sets from their most recent release to create this awesome card for one of my nerdy friends. Game of Thrones! So excited!


Oh my goodness! How cute is that Night King?! Never thought I'd say that.

I started my card by simply stamping and then coloring my image with my Copics. I set him aside and then started work on my background.

I kept everything white and gray. I cut and folded a white card base and then cut my mountains from some Smoke Gray cardstock and the snow from the same white. I adhered my snow caps to my mountains with multi medium matte and then used a glue runner to adhere the mountains to the card base. I cut my forest border from some more white cardstock and used the same glue runner to adhere them on top of the mountains.

I used my MISTI to stamp the second part of my sentiment in Dusk blue ink at the bottom of my card and then used my MISTI again to stamp the first part of the sentiment on black cardstock with Versamark ink. I heat embossed it using some white embossing powder and then used my scissors to cut a fishtail on the end of it. I adhered it above the second part of the sentiment using some foam tape.

Last of all, I added my little Night King with some more foam tape and I was finished!

Thanks for stopping by!


Tuesday, November 28, 2017

CASology: Round

Hello, everyone! It's time for a new cue from the CASology challenge!


This week's sponsor is Kitty Bee Designs and I've used her adorable Coffee or Tea Please Panda for my card.


Since my panda is a digital image, I printed it out using my printer and then let it sit a bit so the ink could dry before I added my coloring with my Copics. I used my Brother Scan N Cut 2 to cut it out because I'm lazy and I hate fussy cutting. I set that aside and then started work on my background.

To bring in the cue word, I used my circle dies and an embossing pad to create a dry embossed background to add focus to my image. I stamped my sentiment on black cardstock with Versamark ink and heat embossed in white powder to make it stand out from all that white space. I cut it out using a banner die.

Now to pull it all together. I used foam tape to adhere my panda in the center of the circular focal point and then used a little more foam tape to adhere my sentiment below him. The sentiment gives him something to stand on so he doesn't look like he's floating.

Thanks for stopping by today! I hope you'll join us this week with your ROUND creations!