Tuesday, June 18, 2019

CASology: Ring

Hello! I'm back today with a new cue from CASology!


So before I get into today's card I wanted to announce that this will be my last post as a part of the CASology design team. I've decided to take a step back and take some time for my mental health. I've found myself getting a little burned out lately and spending less and less time in my craft room. My hope is that I can get back to the joy of crafting by just letting myself create for the fun of it again. You'll probably still see me around and entering the challenge as a player, but I won't be doing it every week. Sometimes we all just need a little break and I think it's important to know when to take a deep breath and step aside. Believe me, I'll still be around, just not as frequently.

And with that said, here's this challenge's card!


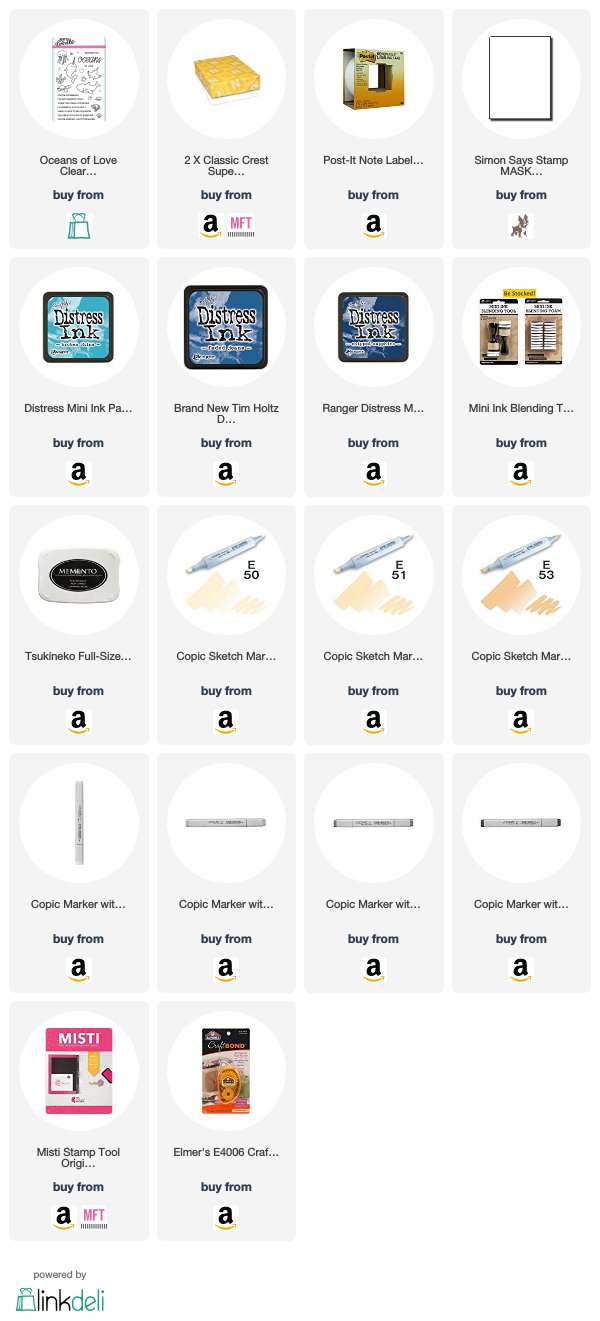
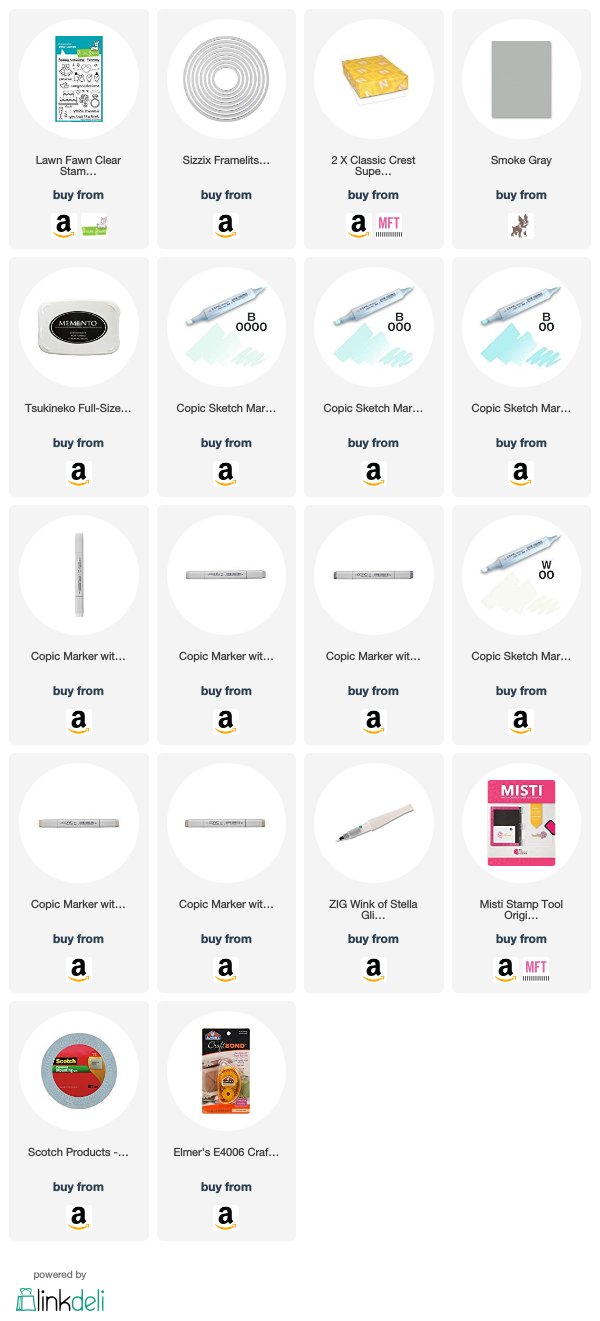
I decided to go super simple with this one, so I started by cutting a circle with a stitched rectangle die (sorry, it's retired!) from MFT Stamps. I stamped my ring image in the center and added the glimmer lines with another stamp. I colored the image with my Copics (cool grays for the metal to imitate white gold, very light blues for the diamond, and warm gray for a halo to make it pop from the white paper). I matted my circle with another circle cut from Smoke Gray cardstock and then used foam tape to adhere it to a card base. I used my MISTI to stamp the sentiment below it.

Thanks for stopping by and don't forget to link up your own creations on the CASology post!

Supplies
Affiliate links used when available.
Tuesday, June 4, 2019

CASology: Calm

Hello! After a two week challenge, CASology is back with a new cue!


I decided to break out my koi stamp for this challenge because I think there's nothing more calming than watching the koi swim in a pond.


This is an incredibly simple card to put together. I merely stamped my koi using the layering stamp from Hero Arts and using some of Altenew's fabulous inks and then stamped my sentiment. Super simple, but still incredibly pretty because of the stamp's design!

Thanks for stopping by and don't forget to link up your creations on the CASology post!

Supplies
Affiliate links used when available.

Tuesday, May 21, 2019

CASology: Summer

Hello! It's time for a new cue from CASology!


I have so many fun summer stamps in my collection, but this little penguin is one of my favorites!


I started  by cutting a panel to stamp my images on. I used my MISTI to stamp my penguin and my sentiment and then cut a mask for the penguin. I stamped my palm tree so that it would be layered behind my penguin and then removed the mask.

I used my Copics to color my images and then added some subtle shading below them to ground them. I adhered my panel to a top-folding A2 card using my tape runner.

Thanks for stopping by today and don't forget to link up your own creations on the CASology post!

Supplies:
Affiliate links used when available.

Tuesday, May 14, 2019

CASology: Color

Hello! I'm back after an extended break for a vacation. I went out to Missouri and spent some time with my in-laws, ate some awesome barbeque, and had some laughs with good friends. After recharging my batteries, I'm here again with a new cue from CASology!


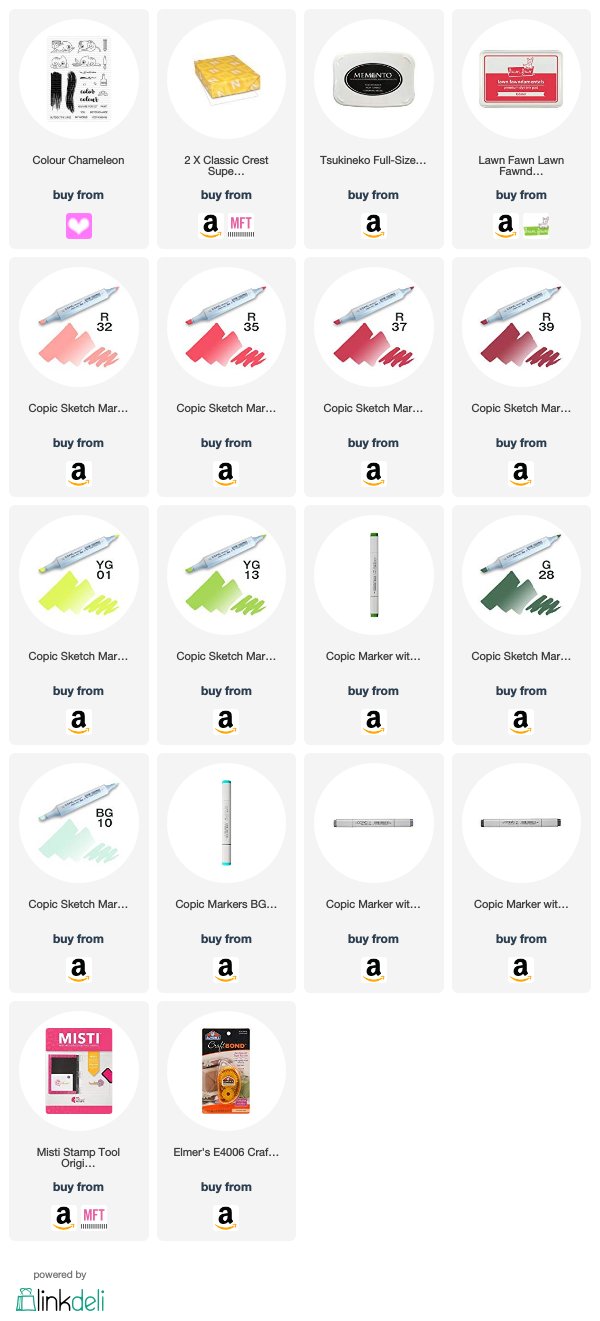
This is such an open-ended cue for a cardmaker! I absolutely love a cue that can be interpreted in so many ways. My mind immediately went to this adorable stamp set from Clearly Besotted though.


Oh my gosh that chameleon! I just love his adorable little face! I used my MISTI to stamp my sentiment so that it was straight and then added my splash of color with a stamp and some lobster ink. I went back in with my chameleon and stamped him so that it looked like he had colored the little streak. I used my Copics to color him in and I than adhered my panel to a top-folding card base.

Thanks for joining me today and don't forget to link up your creations on the CASology post!

Supplies
Affiliate links used when available.
 

Tuesday, April 30, 2019

CASology: Turquoise

Hello! I'm back today with a brand new cue from CASology!


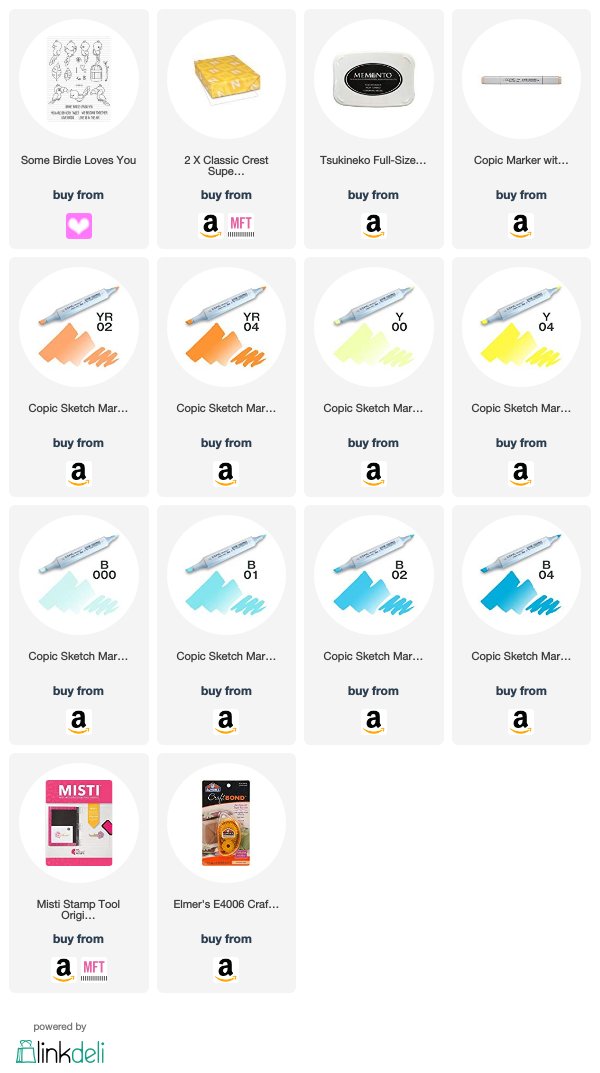
I love this cue! There's so much you can do with a color prompt! I searched through my stamps and finally settled on this adorable bird image from Clearly Besotted to get the color treatment.


I used my MISTI to stamp my sentiment and then my bird just above it so that it looks like he's coming in for a landing on top of it. I used my Copics to color him in and then simply adhered my panel to a top-folding card base.  A super simple card, but I think it's awfully cute!

Thanks for stopping by today and don't forget to link up your own creations on the CASology post!

Supplies
Affiliate links used when available.

Tuesday, April 23, 2019

CASology: Africa

Hello! Two posts in one day?! What? But not only is it Kindred Stamps reveal day, but it's also new cue day for CASology! (You'll see that my brain was still on the underwater theme!)


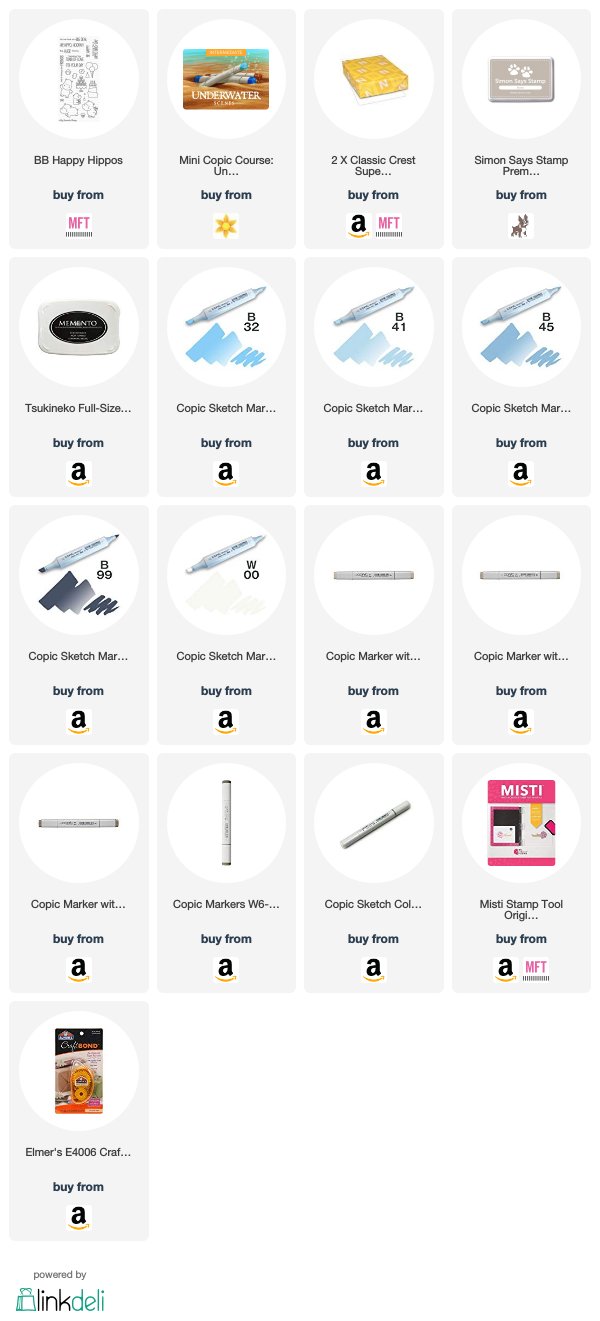
I decided that a hippo would fit this theme nicely since they're an African animal and MFT has the cutest hippo set, so it was super easy to figure out which theme to go with. Hippos love water and I was already in watery mood so I just kept my blue Copics on my craft table and went to town!


My happy little hippo is enjoying his swim time in the river and he's sending you tons of love! I started by stamping a partial hippo by simply inking up the top third portion of the stamp with Memento Tuxedo black. I stamped it out on a card panel, but left the image in my MISTI so I could go back in after I added my water and stamp the rest of my hippo in a lighter color since he'd be obscured by the water.

I colored everything using what I've learned from the fabulous Sandy Allnock in her mini Copic Underwater Scenes class. I'm not going to go into details since I don't want to give away her hard work, but let me tell you, the class is super fun and it's so much easier than you think it's going to be!

When I liked the look of my water, I stuck my panel back in my MISTI and stamped the rest of my hippo using SSS Stone gray ink. It's not Copic friendly, but I was going for a no-line coloring look, so it didn't bother me that the line essentially disappeared as I colored in the rest of my hippo. I made sure that the bottom two thirds of my hippo were just slightly lighter than the portion above the water to give it that faded look.

I finished everything by stamping my sentiment on the panel and then adhering it to the front of a top-folding card base.

I hope my rambling made sense today! Thanks for stopping by and don't forget to link up your creations on the CASology post!

Supplies
Affiliate links used when available.

Kindred Stamps April Release Blog Hop

Hello! I'm super excited to share with you today a fun new stamp set from Kindred Stamps! I'm in love with this one and I think you will be, too. I present to you - Ocean Royalty!


I used what I've learned in Sandy Allnock's Underwater Scenes class to create a "forest" of kelp behind my mermaid. I thought it would be fun to make it look like she's out exploring because we all know that's what she likes to do!


For my second card, I channeled my inner sea witch and created a fun cavern scene complete with sunken ship. What better place for her to be lurking, right?

So which are you - oceans of fun or perfectly wicked? 😉

The entire Kindred Stamps April release will be available Friday, April 26th at 8am PST/11am EST.  Be sure to subscribe to the Kindred Stamps blog to see a daily line up of sneak peeks from our amazing Design Team and see the full product release on Friday!  Come join the Fan Club and release event to be part of the release fun, and you may just win some Kindred Stamps credit!!

Supplies
Affiliate links used when available.

Sunday, April 21, 2019

Spotlight Coloring

Hello! I'm here today with a fun card using the Kindred Stamps set Learning is an Adventure. It's getting to be that time of year. You know the one, when we start thinking of thank you cards for teachers and other staff at our kids' schools. Today I have a card that is just perfect for a bus driver!


I decided to create my own patterned paper by repeatedly stamping the bus from the set across the front of a card panel. I used my MISTI to help me keep things aligned. Instead of just coloring everything yellow, I decided to use the spotlight technique. I think it adds a little something fun. It feels like it's visually saying that they're special; that they're one in a million.

I colored my spotlight bus in the vivid yellow first and then colored the rest of my buses using cool grays. All in all, it probably took 45 minutes to an hour to get everything colored. When it was finished, I used my tape runner to adhere it to a top-folding card base. I added my sentiment by heat embossing the thank you from Video Game Brothers (I masked the sentiment a little bit to get rid of the "for" on the end). I adhered that directly to the front of the card using some multi-medium matte to ensure that the ends of my fishtail wouldn't lift up.

Thanks for stopping by today!

Supplies
Affiliate links used when available.

Tuesday, April 16, 2019

CASology: Leap

Hello! I'm here today with a new cue from the CASology challenge!


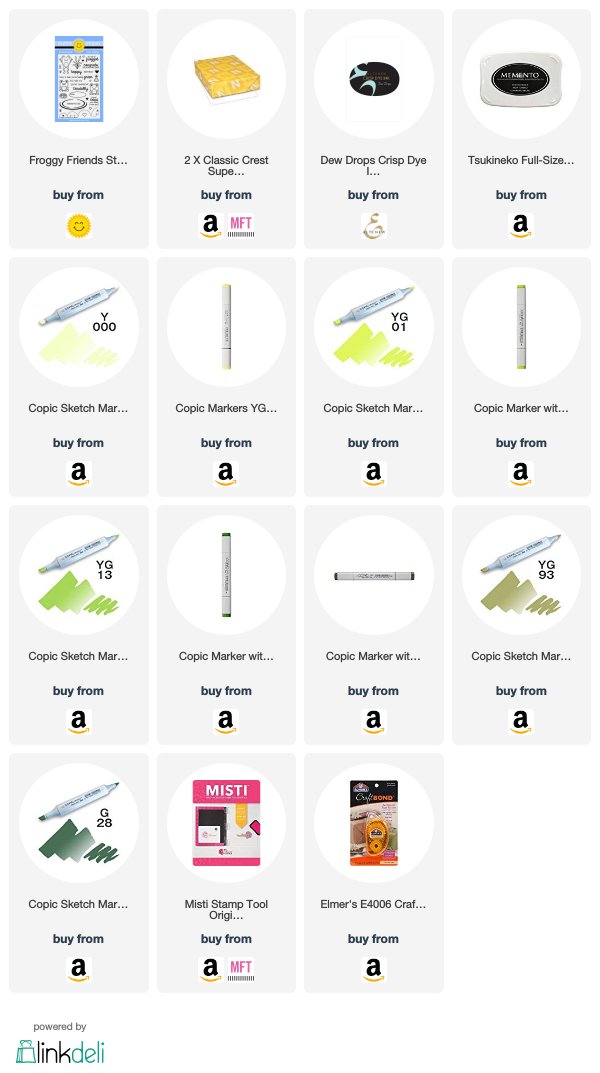
I've had this adorable little frog set for ages and I've never inked it up, so I thought this challenge gave me a good reason!


This was a super simple card to put together. I started by cutting a panel to the size of the front of an A2 card base. I stamped my frog and lily pad using my MISTI and then went back in and stamped the water marks after I was sure of the placement. I stamped my sentiment below everything.

I used my Copics to color in my images and then adhered my panel to the front of a top-folding A2 card base.

Thanks for stopping by today and don't forget to link up your creations on the CASology blog post!

Supplies
Affiliate links used when available.

Saturday, April 13, 2019

G'Day Mate

Hello! I'm here today with a super cute card featuring the G'Day stamp set from Kindred Stamps.


The good news is that I actually remembered to take pictures of my process as I assembled this card. The bad news is that I forgot to take pictures while I was coloring. So I have a tutorial of sorts for the assembly, but nothing for my coloring process! With that said, here's how this card came together.


I started by cutting and folding a top-folding A2 card base and then used my Distress ink, stencil, and ink blending tool to create a soft background for my images.


Next, I cut some foliage from 3 different green card stocks to layer behind my images.


Next came my stamping and coloring and my sentiment. I stamped my sentiment on some brown card stock with Versamark ink and then heat embossed with white powder. I stamped my images with Memento Tuxedo Black and used my Copics to color them in.


Before I adhere anything down, I lay things out where I think they look well-balanced. This is my little trick for layered bunches like with the foliage.


When I'm satisfied with placement, I use post-it tape to keep my pieces from moving around and pick up the whole thing in order to place adhesive on the back.


This is what it looks like when I remove it from the card base. I used multi medium matte on the back of the foliage but left the sentiment strip and my image free of glue. I wanted to mount those with foam tape, so this made it easy to remove. When I was happy with the amount of adhesive, I placed the whole thing back onto my card base and then pressed it down.


When I'm satisfied that the adhesive is holding well, I removed the post-it tape and then pulled up my image and the sentiment strip. I added foam tape to the back of them and placed them back on top of the foliage. I then trimmed the right side of the sentiment so it was flat with the edge of the card.


I had decided that the card was missing a little something, so I went back in and added the little koala and a few sparkling clear sequins to finish it all off.

Thanks for stopping by today!

Supplies
Affiliate links used when available.

Tuesday, April 9, 2019

CASology: Plastic

Hello! I'm back today with a new cue from CASology!


This one really had me stumped. I decided to go with a very literal translation and added some plastic pieces (sequins) to my design!


This card is super simple to put together. I cut and folded a card base and then cut a panel to the same size as the front of the card. I cut the paw print from the panel and then placed over the top of the base and lightly traced inside of the die cut so I would know where to adhere my sequins. Using the tracing as a guide, I glued all of my sequins down to the card base itself. I stamped my sentiment on top of the panel using my MISTI and then used foam tape to adhere the panel on top of the sequin-covered card base. The effect is quite pretty!

Thanks for stopping by today and don't forget to add your own creations on the CASology post!

Supplies
Affiliate links used when available.

Saturday, April 6, 2019

Magical Shaker

Hello! I'm here today with a card I created using the Park Cuties stamp set from Kindred Stamps. I wanted to create something special, so I thought a shaker card would be fun!


I decided to go fairly clean and simple for this one, so I cut a panel the size of an A2 card and then stamped my castle onto it. I used my Copics to color it in and then adhered it to the front of the card base.

I cut a frame using a stitched rectangle die and then stamped my sentiment onto the front of it. I adhered some acetate behind the frame and then added a layer of foam tape to the back of it, hiding it behind the frame. I sprinkled my mix of sequins onto the castle, making sure to keep the sequins from the edges where I'd be adhering the foam. Next, I carefully placed my frame piece on top of the card front so that the edges lined up.

I wanted to add something else, so I stamped and colored my little dapper man and then cut him out so that I could add him beside the sentiment. I merely used my tape runner to adhere him so he overlapped the acetate and the frame.

Shaker cards may look intimidating, but they're actually not hard to put together! You can even keep them fairly clean and simple as I've done here!

Supplies
Affiliate links used when available.

Sunday, March 24, 2019

I'm All Ears

I have an absolutely adorable card for you today featuring the Park Cuties set from Kindred Stamps!


I began my card by creating the ink blending in the background. I used Strathmore Bristol smooth paper for my ink blending because the colors just go on like butter! I used a total of 5 different inks to create the ombre effect. Next, I cut my panel with my Full of Heart die and then adhered it to the ink blended panel with some multi-medium matte. I then adhered that whole piece to the front of an A2 sized card base.

On to my image! I stamped my cute little girl with my MISTI and then colored her in with my Copics. I cut her out and set her aside so I could work on the sentiment. I used my MISTI to stamp my sentiment in Versamark ink and then heat embossed with white powder. I trimmed it down to a strip and then used my scissors to cut the fishtail on the end. I adhered the strip to my card front using some foam tape and then used foam tape to adhere my image above the sentiment.


I thought it looked a little plain at this point, so I broke out my sequin stash and added a sprinkling with some clear, red, and black adhered with multi-medium matte.

Thanks for joining me today!

Supplies
Affiliate links used when available.

Tuesday, March 19, 2019

CASology: Ocean

Welcome back for a brand new cue from CASology!


I have so many stamps that could work with this cue, but I really love this adorable set from Heffy Doodle and the narwhal is just perfect!


I used my MISTI to stamp my sentiment and my image and then used post it tape to mask off a strip for the water. I cut a mask from some masking paper for my image and then blended 3 different colors of distress ink over the top of the strip. Removing the tape to see the amazing strip of color is just so much fun! When the ink blending was finished, I went back in with my Copics and colored in my narwhal. I adhered the panel to a top-folding A2 card and I was done!

Thanks for joining me today and don't forget to link up your own creations on the CASology post!

Supplies
Affiliate links used when available.

Kindred Stamps March Release

Hello! I'm so excited to share a fun new set from Kindred Stamps that will be releasing on Friday! I'm sure you'll be sharing in my excitement because this one is super fun - Arabian Nights!

As usual, I decided to create one colorful background card and then one clean and simple creation. Here's the first...


I was channeling a desert vibe with this one, so I decided to create a windblown sand landscape. I stamped my image with my MISTI and then went in with my Copics and carefully layered in all that shifting sand. I used my cloud stencil and my distress ink to create the skyline. When I was happy with the way it looked, I went back in with my markers and colored my image and added a bit of a shadow below him. I finished it off by using my MISTI to stamp the sentiment and then adhering my panel to an A2 card base.


My second card began with an embossed card base. I used a gemstone embossing folder from We R Memory Keepers for the base and then stamped my images and fussy cut them out. I colored them in with my Copics and set them aside for a second while I worked on the sentiment. I used my MISTI to stamp it with Versamark ink and then heat embossed in white powder. I used foam tape to adhere the sentiment to the front of the card and then used a bit more foam tape to adhere my images just above it. Super easy and super cute!

The entire Kindred Stamps March release will be available Friday, March 22nd at 8am PST/11am EST.  Be sure to check out the Kindred Stamps blog on Friday for the full product release as well as the complete line up of all the Kindred Stamps Design Team projects from release week!  If you visit and comment on all of the designers' blogs this week, you could win $15 in Kindred Stamps shop credit!  So join the Fan Club and release event, show the design team some love, and get ready to empty those wallets this Friday!

Thanks for joining me!

Supplies
Affiliate links used when available.