Showing posts with label The Greeting Farm. Show all posts

Tuesday, October 10, 2017

CASology: Odd

Hello! It's time for a brand new cue from CASology and I'm super excited about this one!


There are a lot of interpretations of this cue, but my mind immediately went to this super cute set from the Greeting Farm featuring a bunch of different Hatters. One of my all-time favorite characters is the Mad Hatter from Alice in Wonderland, so I just knew I needed to use one of them for this cue. I mean, what's odder than the Mad Hatter?

I used this picture of Johnny Depp from the live-action movie for my coloring inspiration:


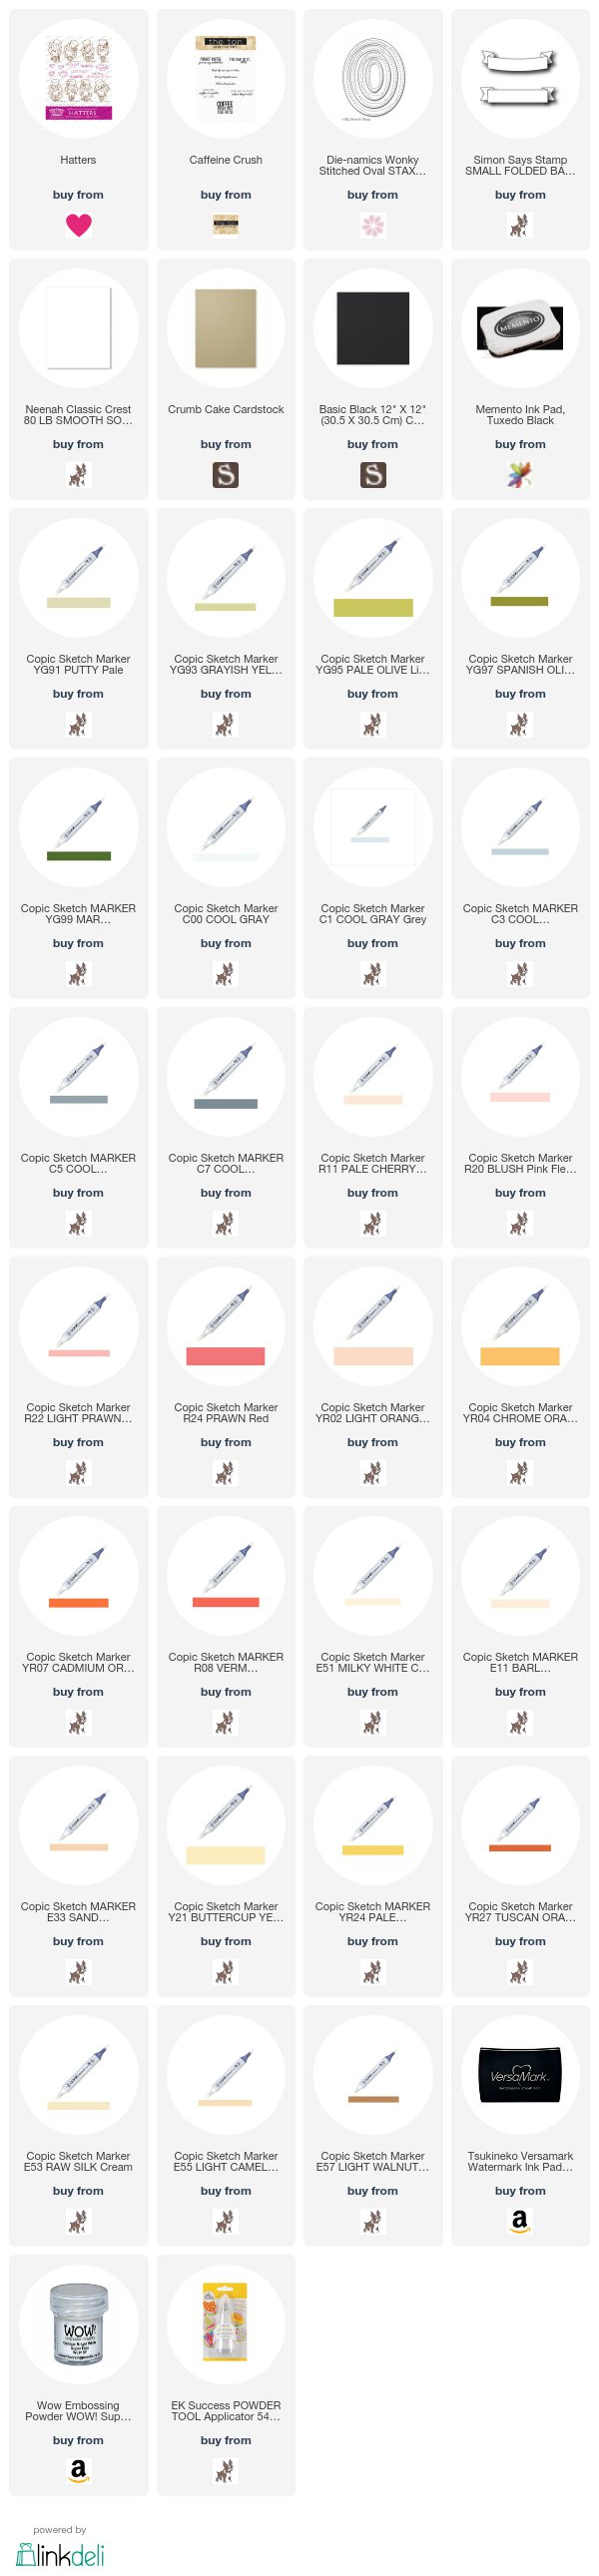
I stamped my image (Bennett) from the Hatters collection on some white cardstock and then colored him in using my Copics (listed below). I cut him out with a Wonky Stitched Rectangle die and then adhered him to a Crumb Cake card base. I cut a small folded banner from some black cardstock and then gently bent my sentiment so that it curved to match the banner. I stamped it on the banner in Versamark ink and heat embossed in white embossing powder. I adhered it on top of my oval and I was all done!

Thanks for stopping by and I can't wait to see your "odd" creations this week!

Tuesday, May 2, 2017

CASology: Flow

Hello, everyone! I'm back today with some inspiration for the newest cue from CASology!


I immediately thought of water when I heard the word flow and this sweet mermaid image is perfect with her flowing hair!


1. I started my card by cutting a card base from Neenah Solar White card stock.
2. I used my Waves Stencil to sponge Sea Glass ink onto 1/3 of the card (rule of thirds!).
3. I stamped my mermaid on some scrap paper and then colored her in with my Copics.
4. Because I'm lazy and hate fussy cutting, I used my Brother Scan N Cut 2 to cut my mermaid image out with a slight white outline around her.
5. I positioned my mermaid roughly where I wanted her so I could position my sentiment and used my MISTI to stamp it.
6. I adhered my mermaid image with some foam tape to add a little bit of dimension.

I can't wait to see how you're inspired by our cue this week!


Saturday, September 3, 2016

The Challenge 76

The Challenge is back from our summer break and we have a brand new sketch for you to try! We hope you'll play along with us this week!


I went pretty straight forward with the sketch this week and this is what I came up with...


I started by stamping my mermaid image on some white cardstock and coloring her with my Copics. I used my Brother Scan N Cut 2 to cut her out with a little white border. I cut a piece of the blue heart paper from the Lucky Prints pack with a Waves die and set it aside. I created a white card base and then stamped my Whimsical Waves background stamp in Fog ink to add a little interest to what would have been a rather bland background piece. I adhered my blue patterned paper directly to the base and then popped my mermaid up with some foam tape. I stamped the sentiment directly onto the base with black ink and then added a sprinkling of Sparkling Clear sequins from Pretty Pink Posh. I finished the card by adding some clear Wink of Stella to the mermaid's tail, shell, and pearls. I also added some Glossy Accents to the shell and the pearls in her hair.


Here's a little bit of a closer look so you can see some of the shimmer on my mermaid!


Friday, July 29, 2016

Kennedy Grace Creations July Release Blog Hop

Hello Crafty Friends and Welcome to our July New Product release and blog hop! We are so excited to be back with New Products! We had such a successful Grand Opening I could not be more proud and honored to have had such an AMAZING TURN OUT!  It makes my heart happy!!!    We hope you will enjoy all the amazing projects they will be sharing! 
Our Newest release is now available in the Kennedy Grace Creations Online Store.

I've prepared a card for you today using the brand new Splendid Rose stamp set!


I started by stamping my rose onto a piece of white cardstock and then coloring my image with Copics. I cut the panel down using a Wonky Stitched Rectangle die and then added my sentiment by heat embossing in gold. On a separate piece of white cardstock, I stamped my fairy and lady bug and then colored with Copics. I used my Brother Scan N Cut 2 to cut them out and then adhered them onto my panel using foam tape. I adhered my panel directly to a card base and then added a sprinkling of our brand new Moonbeams sequins to finish it off.


 To celebrate or July Release we will be giving away to 1- lucky winner a $15.00 gift certificate to our online store. 

All you have to do is :
Leave a comment on this blog post and on all of the stops along the hop. 
 Now lets get this party started!!!
 
Rachel (you are here)

Thank you so much for stopping by today I hope you love our July Release party!!