Showing posts with label Pretty Pink Posh. Show all posts

Saturday, April 13, 2019

G'Day Mate

Hello! I'm here today with a super cute card featuring the G'Day stamp set from Kindred Stamps.


The good news is that I actually remembered to take pictures of my process as I assembled this card. The bad news is that I forgot to take pictures while I was coloring. So I have a tutorial of sorts for the assembly, but nothing for my coloring process! With that said, here's how this card came together.


I started by cutting and folding a top-folding A2 card base and then used my Distress ink, stencil, and ink blending tool to create a soft background for my images.


Next, I cut some foliage from 3 different green card stocks to layer behind my images.


Next came my stamping and coloring and my sentiment. I stamped my sentiment on some brown card stock with Versamark ink and then heat embossed with white powder. I stamped my images with Memento Tuxedo Black and used my Copics to color them in.


Before I adhere anything down, I lay things out where I think they look well-balanced. This is my little trick for layered bunches like with the foliage.


When I'm satisfied with placement, I use post-it tape to keep my pieces from moving around and pick up the whole thing in order to place adhesive on the back.


This is what it looks like when I remove it from the card base. I used multi medium matte on the back of the foliage but left the sentiment strip and my image free of glue. I wanted to mount those with foam tape, so this made it easy to remove. When I was happy with the amount of adhesive, I placed the whole thing back onto my card base and then pressed it down.


When I'm satisfied that the adhesive is holding well, I removed the post-it tape and then pulled up my image and the sentiment strip. I added foam tape to the back of them and placed them back on top of the foliage. I then trimmed the right side of the sentiment so it was flat with the edge of the card.


I had decided that the card was missing a little something, so I went back in and added the little koala and a few sparkling clear sequins to finish it all off.

Thanks for stopping by today!

Supplies
Affiliate links used when available.

Tuesday, April 9, 2019

CASology: Plastic

Hello! I'm back today with a new cue from CASology!


This one really had me stumped. I decided to go with a very literal translation and added some plastic pieces (sequins) to my design!


This card is super simple to put together. I cut and folded a card base and then cut a panel to the same size as the front of the card. I cut the paw print from the panel and then placed over the top of the base and lightly traced inside of the die cut so I would know where to adhere my sequins. Using the tracing as a guide, I glued all of my sequins down to the card base itself. I stamped my sentiment on top of the panel using my MISTI and then used foam tape to adhere the panel on top of the sequin-covered card base. The effect is quite pretty!

Thanks for stopping by today and don't forget to add your own creations on the CASology post!

Supplies
Affiliate links used when available.

Saturday, April 6, 2019

Magical Shaker

Hello! I'm here today with a card I created using the Park Cuties stamp set from Kindred Stamps. I wanted to create something special, so I thought a shaker card would be fun!


I decided to go fairly clean and simple for this one, so I cut a panel the size of an A2 card and then stamped my castle onto it. I used my Copics to color it in and then adhered it to the front of the card base.

I cut a frame using a stitched rectangle die and then stamped my sentiment onto the front of it. I adhered some acetate behind the frame and then added a layer of foam tape to the back of it, hiding it behind the frame. I sprinkled my mix of sequins onto the castle, making sure to keep the sequins from the edges where I'd be adhering the foam. Next, I carefully placed my frame piece on top of the card front so that the edges lined up.

I wanted to add something else, so I stamped and colored my little dapper man and then cut him out so that I could add him beside the sentiment. I merely used my tape runner to adhere him so he overlapped the acetate and the frame.

Shaker cards may look intimidating, but they're actually not hard to put together! You can even keep them fairly clean and simple as I've done here!

Supplies
Affiliate links used when available.

Sunday, March 24, 2019

I'm All Ears

I have an absolutely adorable card for you today featuring the Park Cuties set from Kindred Stamps!


I began my card by creating the ink blending in the background. I used Strathmore Bristol smooth paper for my ink blending because the colors just go on like butter! I used a total of 5 different inks to create the ombre effect. Next, I cut my panel with my Full of Heart die and then adhered it to the ink blended panel with some multi-medium matte. I then adhered that whole piece to the front of an A2 sized card base.

On to my image! I stamped my cute little girl with my MISTI and then colored her in with my Copics. I cut her out and set her aside so I could work on the sentiment. I used my MISTI to stamp my sentiment in Versamark ink and then heat embossed with white powder. I trimmed it down to a strip and then used my scissors to cut the fishtail on the end. I adhered the strip to my card front using some foam tape and then used foam tape to adhere my image above the sentiment.


I thought it looked a little plain at this point, so I broke out my sequin stash and added a sprinkling with some clear, red, and black adhered with multi-medium matte.

Thanks for joining me today!

Supplies
Affiliate links used when available.

Tuesday, January 15, 2019

CASology: Cloudy

Hello! It's Tuesday, which means it's time for a new cue from CASology!


When I saw this cue, I immediately thought of this sentiment stamp from My Favorite Things. Then it was just a matter of putting together a little scene for it!


I found a couple of cloud dies in my stash from ages ago that I thought were perfect to create the top piece of my card. I started by cutting and folding a card base from some gray card stock and then cut my clouds from white card stock and vellum. I used some multi medium matte on the top edge of my card and adhered the vellum. I knew this portion would be hidden by the white layer, so it wouldn't matter if it showed through the vellum. I added a little more multi medium matte behind my white piece and adhered it on top of the vellum. 

I used my MISTI to stamp my sentiment in Versamark ink and then heat embossed it with white powder. To finish, I added a sprinkling of sparkling clear jewels from Pretty Pink Posh.

Thanks for stopping by today and don't forget to link up your own creations on the CASology post!

Supplies
Affiliate links used when available.

Tuesday, June 12, 2018

CASology: Pearl

Whew! Sorry I've been MIA for a little while. You know how it goes sometimes; life just gets in the way! But I'm back today with a brand new cue from CASology!

I'll admit it, my favorite jewelry is pearls. My husband got me pearl earrings for our first Valentine's Day together and I've been in love ever since. This cue is definitely right up my alley!


This is a super simple card. Definitely easy to pull together in just a couple of minutes.

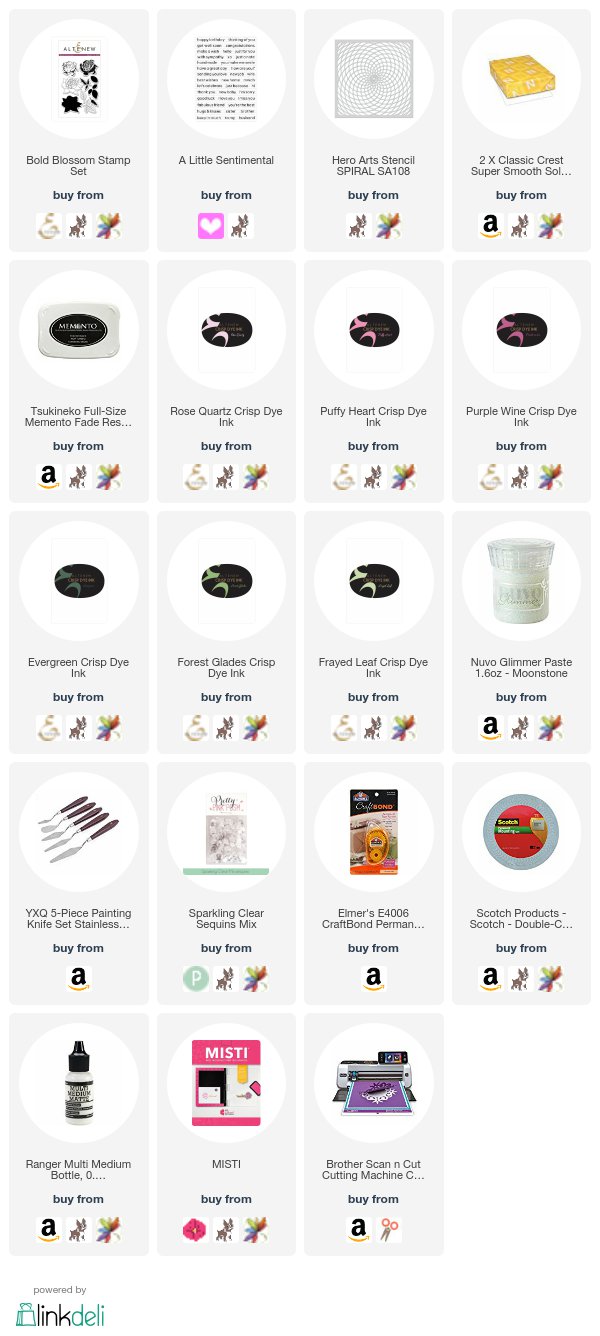
I simply cut and folded an A2 top-folding card base and then used my Roses All Over background stamp with some Versamark ink on the front. I heat embossed the stamp using some Pearl White embossing powder. It doesn't actually add any color to the cardstock, it merely adds a pearl sheen and a little bit of texture. It's my favorite powder for adding subtle detail.

I cut out a strip of black cardstock and then stamped my sentiment in Versamark ink and then heat embossed with an Opaque White embossing powder. I adhered this to the card front with a little bit of foam tape. And using the rule of thirds, I added it to the bottom third of my card.

I finished it all off by adding a couple of pearl white jewels from Pretty Pink Posh. I just couldn't help myself!

Thanks for stopping by today and don't forget to add your Pearl creations to our link on the main CASology post!

Tuesday, April 17, 2018

CASology: Parent

Hello! It's time for a new cue from CASology!


With Mother's Day right around the corner, I decided to create a card that I could send for the holiday. (Most likely my mother-in-law because my Mom creeps on my social media!)


I started this card by creating the card base first. I knew I wanted to add an extra little something to it to make it super special. I just love these coverplates from Lil Inker Designs so I settled on this pretty stitched spiral plate. They're a fantastic way to add interest to a plain card base without adding any extra layers or bulk. I simply ran my card base through my Big Shot with my coverplate and I got this incredibly pretty card! I also cut out a circle from some vellum so that my focal image wouldn't get lost in the stitching on the front of the card.

I set these aside and then used my MISTI to stamp my floral image. I colored it in with my Copics and then used my Brother Scan N Cut 2 to cut it out. Then I used my MISTI to stamp my sentiment on a strip of black cardstock in Versamark ink. I heat embossed in white powder and then used my scissors to snip a flag on the end. I added a dab of Multi Medium Matte to the end of the flag to adhere it to the back of my floral image.

I adhered my floral image with attached flag to the vellum circle using some foam tape and then added a little bit more Multi Medium Matte behind the image on the back of the vellum to adhere it to the card base without the adhesive showing through on the front. I finished it off by adding just a few Lemon Drop jewels from Pretty Pink Posh.


I know this is a little more elaborate than I normally go for, but I wanted to make something extra special for Mother's Day!

Thanks for stopping by!


Tuesday, April 10, 2018

CASology: Believe

Hello and welcome back for a brand new cue from the CASology challenge!


This week's cue is perfect for my stash because I have a ton of stamp sets that will work. And luckily enough, Mama Elephant recently released a couple of stamp sets that I just couldn't resist featuring some adorable dragons.


Isn't this little guy adorable!? I just love him! I stamped him on some scrap cardstock and then used my Brother Scan n Cut to cut him out. I colored him with my Copics and then set him aside and got to work on my card base.

I used an embossing pad to emboss a die cut into the front of my card base. This is a great way to stretch your dies and get even more use out of them. Plus, it helps keep my card extra clean and simple by avoiding the bulk of another die cut.

I stamped my sentiment in Versamark ink on some black cardstock and then heat embossed in white powder. I cut it down to a thin strip and used foam tape to adhere it to the front of my card base. I adhered my dragon using a mix of foam tape and multi medium matte so that it was even with the sentiment strip, but still supported on top of the card base.

I finished it off by adding a few gems from the newest Pretty Pink Posh release.

Thanks for stopping by today and don't forget to link up your creations to the challenge!


Tuesday, March 20, 2018

CASology: Foil

Hello! I'm back today with a new cue from CASology!


I love foiling! It's one of my very favorite techniques and I have a ton of stencils that work so well with my Deco Foil Transfer Gel.


For this card, I positioned my stencil in the upper left corner of the card and then used some post it tape to tape off the areas surrounding the circular stencil that I didn't want to get messy with my gel. I spread the gel on top of the stencil with a palette knife and then removed the stencil and the tape. I set it aside to dry (about 30 minutes) and then ran it through my MINC with some rose gold foil.

I used my MISTI to stamp my sentiment on some black cardstock in Versamark ink and then heat embossed it with some white powder. I used my scissors to cut a flagged end and then attached it to my card base with some foam tape. To finish it off, I added a few rose gold sequins from Pretty Pink Posh.

Thanks for stopping by and don't forget to link up your FOIL creations to the linky on the CASology page!


Tuesday, January 16, 2018

CASology: Glimmer

Hello! I'm back today with a new cue from the CASology challenge!


This cue was an easy one for me because it's right there in the name of one of my very favorite products - NUVO Glimmer Paste!


I started this card by cutting a panel that was just a little smaller than an A2 card base and then spreading some Moonstone glimmer paste through a stencil. (I did this because the panel warps a little as it dries and I wanted my card base to remain flat.) When it was dry, I used a tape runner to adhere it to a card base (which helps keep it from warping).

I used my MISTI to stamp my flower and leaves and then used my Scan N Cut 2 to cut them out. I stamped my sentiment on a scrap piece of white cardstock and then cut it out with my scissors. I arranged my flower and leaves in a cluster and then placed my sentiment on top of it. I added foam tape to the back of the cluster and then adhered it to the front of my card base.

To finish it off, I added a sprinkling of sparkling clear sequins from Pretty Pink Posh.


Thanks for stopping by today! I can't wait to see how you're inspired by the cue!


Tuesday, January 9, 2018

CASology: Hug

Hello! I'm back with a new cue from CASology!


I have all sorts of stamps with hug sentiments, but I think this one may be my favorite. I've moved around a lot which means I've had to move away from some great friends. When something happens in one of their lives and I can't be there physically, this sentiment feels just right for the perfect card for them.


This card was super simple to put together. I started by cutting and folding a white card base and then cutting my Bramble Heart from some more of the same white. I added some Stick It to the back of the cardstock before cutting. It's a super thin adhesive sheet that really helps with these detailed die cuts.

I used some Wilted Violet distress ink and my blending tool to create a soft background for my die cut and then adhered the heart over the top of it. Stick It isn't permanent until you press it down firmly, so I was able to reposition until it was exactly where I wanted it. I then used a bone folder over it to adhere it down firmly.

I stamped my sentiment on some black cardstock using Versamark ink and some white embossing powder for some nice contrast. I cut a flagged end in the sentiment strip with my scissors and then adhered it with some foam tape for a little dimension.

I added a sprinkling of Pretty Pink Posh sequins in my favorite Sparkling Clear as well some iridescent Lavender Moon.

Thanks for stopping by today and don't forget to upload your own creations to our challenge!


Thursday, August 3, 2017

The Challenge 94

Hello, everyone! It's time for a brand new inspiration photo from The Challenge!


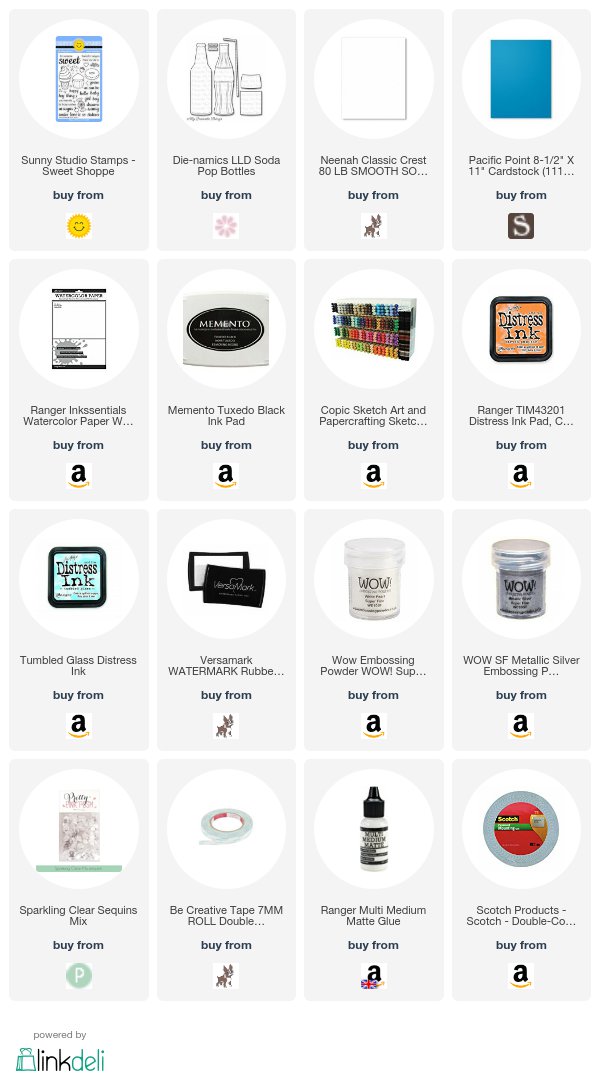
My eye was immediately drawn to those cute cupcakes, so I broke out my Sweet Shoppe set from Sunny Studio Stamps to create my own sweet treat. I decided that my cupcake looked awfully lonely, so I added a little orange soda and a candy to keep him company!


I started my card by stamping my cupcake and candy and then coloring them in with my Copics. Even though I hate fussy cutting, I did it this time because I wanted to get as close as possible to the lines as I could. I went over the white edges with a memento marker.

I cut my soda bottle from some watercolor paper and then blended in some Carved Pumpkin distress ink. I splattered water drops across it so it looked carbonated. I adhered a blue strip of cardstock over the top for the label and then stamped my heart and fussy cut it before adhering it on the label.

I stamped my sentiment on a piece of scrap pink cardstock and then heat embossed it in white powder. I clustered my images where I wanted them and then used a piece of washi tape to keep it all together while I added some foam tape to the back of them.

Meanwhile, I cut a stitched panel from some watercolor paper and then blended in some Tumbled Glass ink to the bottom right corner where my images would sit. This helps them stand out from the stark white of the paper and adds a little bit of faux dimension.

I adhered the panel to a white card base with some double-sided tape and then adhered my images on top of my ink blending using the foam tape.

To finish, I added a sprinkling of clear sequins with some multi-medium matte.

Thanks for stopping by!


Thursday, July 20, 2017

The Challenge 92

Hello, everyone! I'm back today with brand new inspiration from The Challenge!


I decided to go with pink for my color because I really wanted to use this fun flamingo background stamp.


My mother's favorite animal is the flamingo, so I always think of her whenever I use them when I'm creating. I guess you could say she was my inspiration for this card.

I started by cutting my watercolor paper down with my largest gift card layer die. I stamped my flamingo background in Versamark ink and then heat embossed it in white. I used one color of distress ink - Worn Lipstick - to watercolor over the background a few times, increasing the pigmentation each time.

I stamped my small sentiment on black cardstock using Versamark ink and heat embossed in white yet again. I cut my large You from white cardstock and then adhered both pieces on top of my panel (that was already attached to a white card base) using some foam tape for a little bit of dimension.

I finished the whole thing off by adding a small sprinkling of Sparkling Clear sequins.

Thanks for stopping by today!