Showing posts with label Sugar Pea Designs. Show all posts

Tuesday, October 16, 2018

CASology: Menu

Hello and welcome back to a new cue from CASology!


I searched through my stamp stash and came up empty, so I had to think a little outside the box for this one. With that in mind, I created my very own menu.


This card is a little outside my comfort zone seeing as how I put away my copics and got back to basics with some simple stamping.

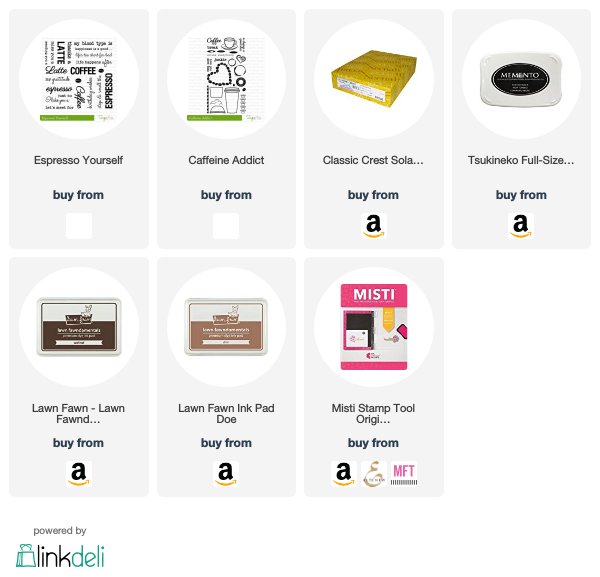
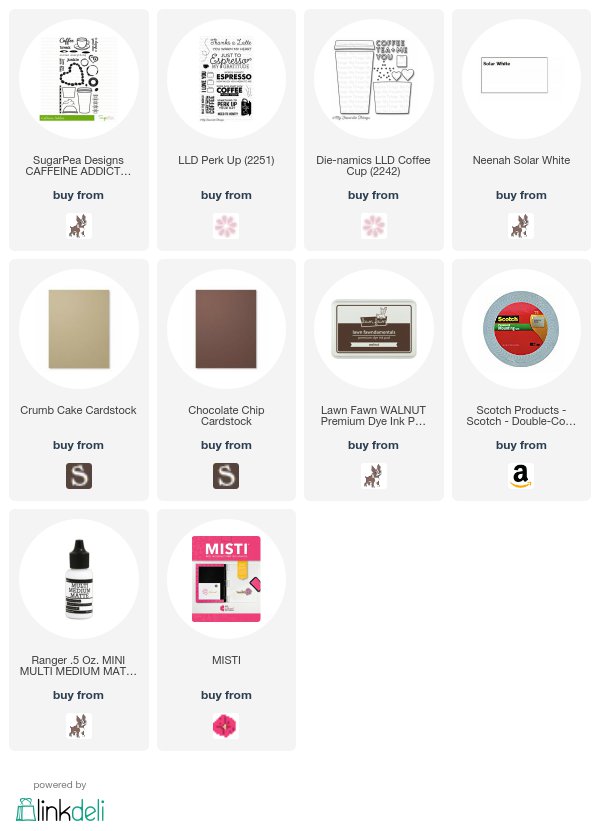
I combined two Sugar Pea Designs stamp sets to create this super simple one layer card. I used the sentiments and the coffee bean from Espresso Yourself and then added some coffee rings from the Caffeine Addict set when I realized the card looked a little plain.

Thank heavens for the MISTI! I never would have attempted something like this if it weren't for that tool! I can't stamp straight to save my life and the MISTI makes it so super easy to stamp perfectly every time. I lined up all the sentiment words in my MISTI at once and then stamped them all in black ink. I went in again with my coffee bean and used the MISTI to get it lined up perfectly for each "bullet point."

I went back in afterward with my little coffee rings and stamped them in to add a little more detail.

Super simple and sweet! Thanks for stopping by and don't forget to link up your card on the CASology post!

Supplies
Compensated affiliate links used when possible.

Tuesday, October 31, 2017

CASology: List

Hello! I'm back with a brand new cue from CASology!


I struggled a little with this cue until I remembered this cute little stamp from My Favorite Things.


I'm a huge coffee lover, so this card is right up my alley! I cut out my coffee cup die from some different browns and then assembled the two pieces together. I stamped my sentiment onto the cup in dark brown ink and then used a pen to check off each item on the list. I cut and folded my card base and then used a different stamp set to stamp my coffee bean heart in the same dark brown ink. I adhered my coffee cup on top of the heart using some foam tape. Simple, but sweet!

Thanks for stopping by!


Tuesday, August 1, 2017

CASology: Juicy

Hello, everyone! I'm back today with a new cue and a new card for the CASology challenge!


What's better than a nice, juicy pineapple! Yes, my obsession with pineapples continues...


I mashed up 3 different sets from 3 different companies for this one. I love, love, love tropical sets and there are so many fabulous ones out there!

I stamped my pineapple and flowers and then used my Copics to color them. I cut them out using my Brother Scan N Cut and then set them aside to work on my sunset.

I grabbed a piece of scrap white cardstock and then used my blending tools to blend together 3 different Mama Elephant pigment inks. I love pigment inks for getting lovely, deep color like this. I then took that piece and cut a circle from it with a stitched circle die. I used my MISTI to stamp my sentiment on top of it with some black ink.

I adhered my circle to the top part of a top-folding card base and then used foam tape to adhere my previously colored images over the top of it. Super simple, but absolutely sweet!

Thanks for stopping by and I can't wait to see how you're inspired by our cue this week!


Monday, January 16, 2017

Favorite Beverage

I'm playing along with the "Less Is More" Challenge today with my favorite drink/beverage and a one layer card.


I combined two stamp sets from two separate companies for this card. I used the coffee image from Sunny Studio Stamps' Mug Hugs set and the sentiment and bean images from Sugar Pea Designs'  Espresso Yourself. I think they look fantastic together! I stamped my cup image and then masked off the bottom portion so I could stamp one of the beans slightly behind the cup itself. I removed the mask and then colored my cup with Copics and added a bit of a shadow below my images to help it stand out from the white card. I added my sentiment in two separate colors (black and brown) using my MISTI to keep it straight. That's it! Easy-peasy!


Thursday, June 23, 2016

You Got This

I've decided to jump into the Summer Coffee Lovers Bloghop with this sweet summery card. I used a whole hodgepodge of companies for this seemingly simple card, but it was so worth it in the end!


Holy moly is this fun and summery! I'm a huge fan of a hot cup of coffee, but living in Arizona, I've gotten accustomed to the colder varieties as well. That's why I chose this fun Frappuccino image from Sugar Pea Designs to be my inspiration for this card. I started by stamping each piece to build up the image using my MISTI. It seriously makes stamping buildable pieces like this a breeze! I used a piece of post-it to mask off the whipped cream and the cup when I stamped the straw. I colored everything in with my Copics and then used my Brother Scan N Cut 2 to cut out the image since I hate fussy cutting.

Now for the background. I cut a piece of watercolor paper larger than I actually needed it to be and then used the Stitched Hillside border dies to cut my bottom sand piece. Then using the same piece, I used the Mama Elephant Ocean Waves die to cut my water piece. I left the top piece alone. Then I set to blending ink into each of the pieces with my blending tools. I used Brushed Corduroy for the sand piece, leaving the inking a little heavier at the top. I used Mermaid Lagoon for the ocean piece, but this time, inked more heavily at the bottom. I sprinkled a little water over the waves and dabbed it away for a little interest. I blended Squeezed Lemonade, Carved Pumpkin, and Abandoned Coral into the top portion to look like a sunrise or sunset depending on your preference.

When the piece was completely inked, I pieced each portion back together and taped them on the back to hold them in place. Then I ran the whole thing through my Big Shot with the WPlus9 Gift Card Layer die that fits an A2 card. I used some double sided Be Creative tape to adhere my background to a card panel and then heat embossed my sentiment from Ellen Hutson in white.

I finished the whole thing off by adding my original image piece with some foam tape. A lot of work for a simple card, but it was so worth it!