Thursday, March 14, 2019

Magical Birthday

Hello! I'm back today with a fun card created using the magical Park Cuties set from Kindred Stamps!


I decided to create my own patterned paper using two of the small stamps in the set. This is one of my favorite techniques. It really stretches your stash!

I cut a panel the size of the front of an A2 card and then used my MISTI to repeatedly stamp the ear headbands all of the front. I colored everything in with my Copics and then adhered the panel to the front of a top-folding card base. I cut a strip of black card stock and then stamped my "magical" in Versamark ink and heat embossed it in white powder. To complete the sentiment, I cut another piece of red card stock slightly larger than the black strip and then used pieces of some stamps in my stash to complete my sentiment.

I used multi medium matte to adhere the two strips of colored cardstock together (allowing me time to reposition the sentiment so that it was straight). I adhered the sentiment piece to the top of my card and I was all done! A super cute clean and simple card for a friend's birthday!

Thanks for stopping by today!

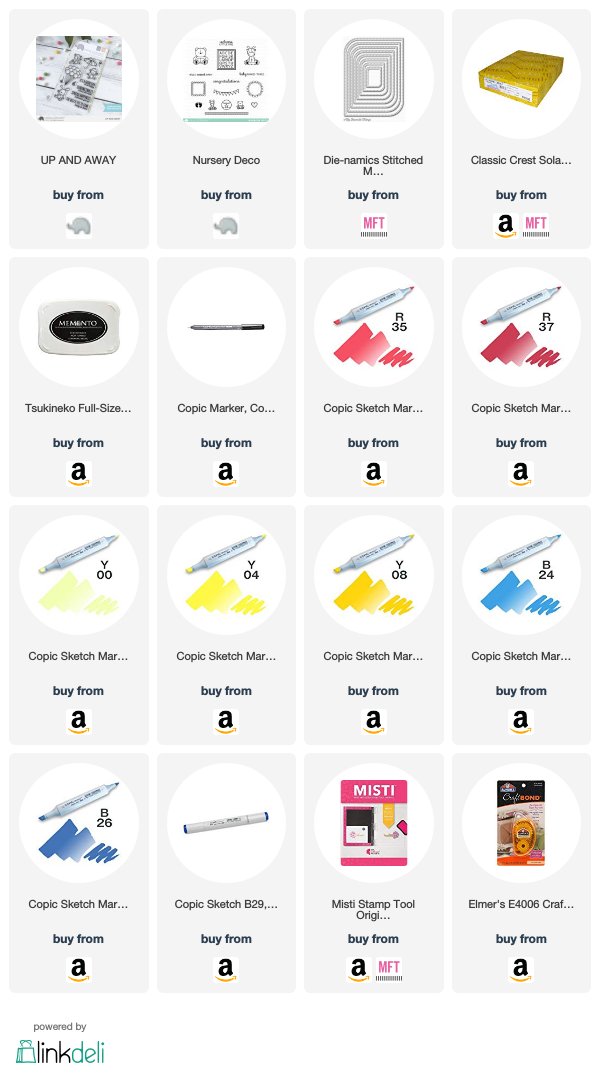
Supplies
Affiliate links used when available.

Tuesday, March 12, 2019

CASology: Earth

Hello! I'm back with a fun new cue from CASology!


I decided to go with a broad interpretation of this cue and used my fun origami map from Neat & Tangled to create this simple watercolored cutie.


This was a super easy card to put together. I cut a panel from some Ranger Watercolor paper and then used my MISTI to stamp my map and sentiment in Versamark ink which I heat embossed with gold powder. I used my watercolors to create a simple rainbow wash over the top of my stamping and then allowed it to dry. I adhered it to a white card base with some double-sided tape and I was all done!

Thanks for stopping by today and don't forget to link your creations on the CASology post!

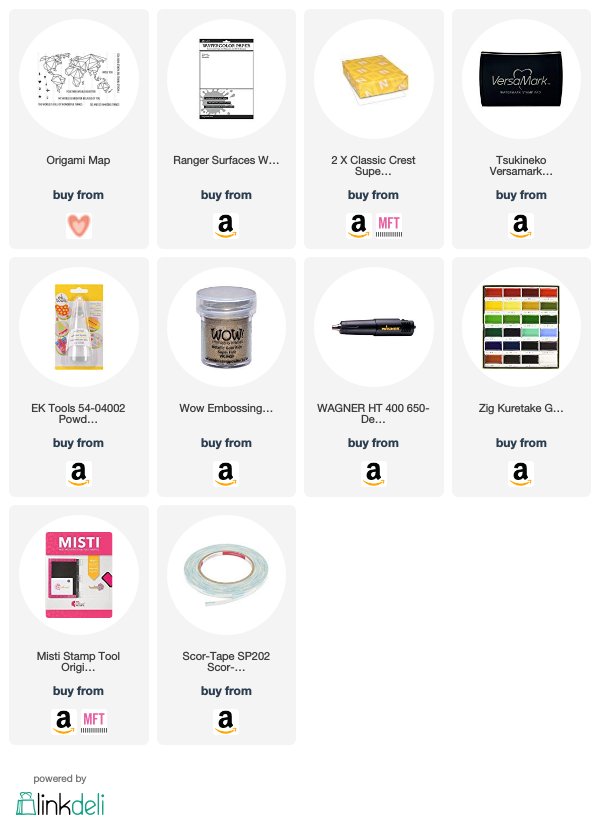
Supplies
Affiliate links used when available.

Friday, March 8, 2019

Spotlight Window Birthday

Hello! I'm here today with a card featuring the Classified stamp set from Kindred Stamps! This cute little image immediately made me think of this card design because of her flashlight. I thought it would be fun to put her in a window that made it look like her flashlight was causing the spotlight surrounding her.


I started my card by cutting a top-folding card base from black card stock and then using a circle die to cut a window in the front. I cut a panel from some white card stock using a stitched rectangle die and then adhered the panel inside the card. I used my MISTI to position where I wanted my image to peek through the window and then opened the card and stamped the image inside on the panel. I closed the card back up and then stamped my sentiment in Versamark ink and heat embossed it with white powder.


All that was left was to color in my image and ground her with a little bit of shadowing. I used my Copics to color her clothes and then used my warm grays to add a tiny shadow below her. I thought it needed a little something else to finish it off, so I found a generic happy birthday stamp in my stash and stamped it below her.

Thanks for stopping by today!

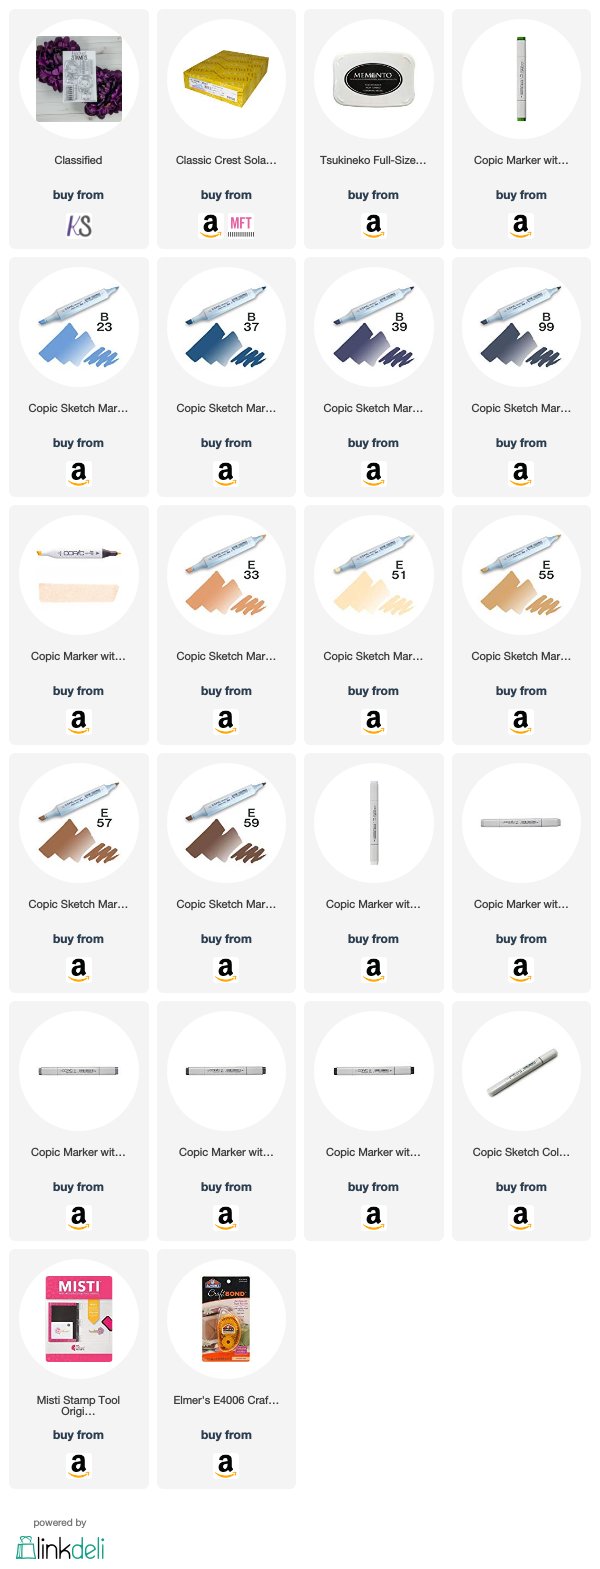
Supplies
Affiliate links used when available.

Tuesday, March 5, 2019

CASology: Funky

Hello! It's time for a new cue from CASology!


I actually struggled a little with this cue. I looked through my stash several times until I settled on this funky foliage set.


It's a little outside of the box from what I usually use (cute animals and pop culture images), so it was actually pretty fun to ink up. I decided to color it in blocks rather than color each tiny portion a different color. I thought it might look too busy that way. In the end, I'm glad I settled on blocking the color; I think it keeps it a little more clean and simple this way.

I stamped my images on a panel cut out with a stitched rectangle die and then stamped my sentiment below the leaves. I used my Copics to color everything in and then adhered the panel to a card base. Easy-peasy!

Thanks for stopping by today and don't forget to link up your own creations on the CASology post!

Supplies
Affiliate links used when available.

Tuesday, February 26, 2019

CASology: Bounce

Hello! I'm here today with a new cue from CASology!


I've been sick lately, so I've spent a lot of time watching movies in bed while I rest and recuperate. That's where I got the idea for this card. I'm sure Pixar fans will recognize the inspiration immediately!


I started this card by cutting a panel using my Stitched Mod Rectangle die and then using my MISTI to stamp my ball and my sentiment. To add the bouncing line, I used a roll of washi tape and a pencil to lightly trace in where I wanted my line. I then went in with a Copic multi-liner and traced dashes over the pencil line so I was sure about where I was making my marks. After it dried, I went back in with my eraser and got rid of the rest of the pencil. I colored in my ball and then adhered the panel to a white card base to finish it all off.

Thanks for stopping by and don't forget to add your creations on the CASology post!

Supplies
Affiliate links used when available.
Saturday, February 23, 2019

Classified Birthday

Hello! I'm back today with another card featuring Kindred Stamps. This time around I'm using the set called Classified.


I decided to create a creepy forest scene for this one. I stuck to my cool grays to create an eerie background with some mysterious light coming from the center of the card. I increasing built up color around the edges by layering gradually darker colors to create a shadowy effect. Then I went in and started adding trees to my scene by starting with the ones that were farther away and lighter in color. I kept adding trees and increasing their darkness as they got closer to the front of the scene. I colored in my little stamped image and then decided to add a creepy figure in the distance with my C1. I finished it all off by stamping my sentiment toward the bottom of the card.

Thanks for stopping by today!

Supplies
Affiliate links used when available.

Wednesday, February 20, 2019

Kindred Stamps February Release

Hello! I'm here today with a fun new stamp set coming this Friday from Kindred Stamps - Bon Appetit!


For my first card, I decided to let the little mouse take center stage and created a piece of cheese for the background using a piece of yellow cardstock and my circle dies. I placed the piece of yellow where I wanted it with some foam tape and then trimmed the excess from around the card base. I stamped my sentiment so that it looks like it's interlocked with the cheese. I colored my little mouse chef and then fussy cut him so I could place him inside one of the holes in the cheese.

Next up, I decided to use the larger human chef as my main image.


I just LOVE this sentiment! I knew I had to use it and that made choosing the background super easy. What goes better with a love sentiment than little hearts? I stamped my card base with my scattered hearts background stamp and then cut a panel  to 5 1/2 inches by 3 3/4 inches (or one inch smaller in one dimension). I stamped my little chef and the sentiment and then colored him in with my Copics. I adhered a small strip of black cardstock behind the edge on one side to add a little interest and then adhered the panel to the center of my card base. I thought it needed a little something else, so I added a small embellishment with some silver jewels from Pretty Pink Posh.

The entire Kindred Stamps February release will be available Friday, February 22nd at 8am PST/11am EST.  Be sure to check out the Kindred Stamps blog on Friday for the full product release as well as the complete line up of all the Kindred Stamps Design Team projects from release week!  If you visit and comment on all of the designers' blogs this week, you could win $15 in Kindred Stamps shop credit!  So join the Fan Club and release event, show the design team some love, and get ready to empty those wallets this Friday!

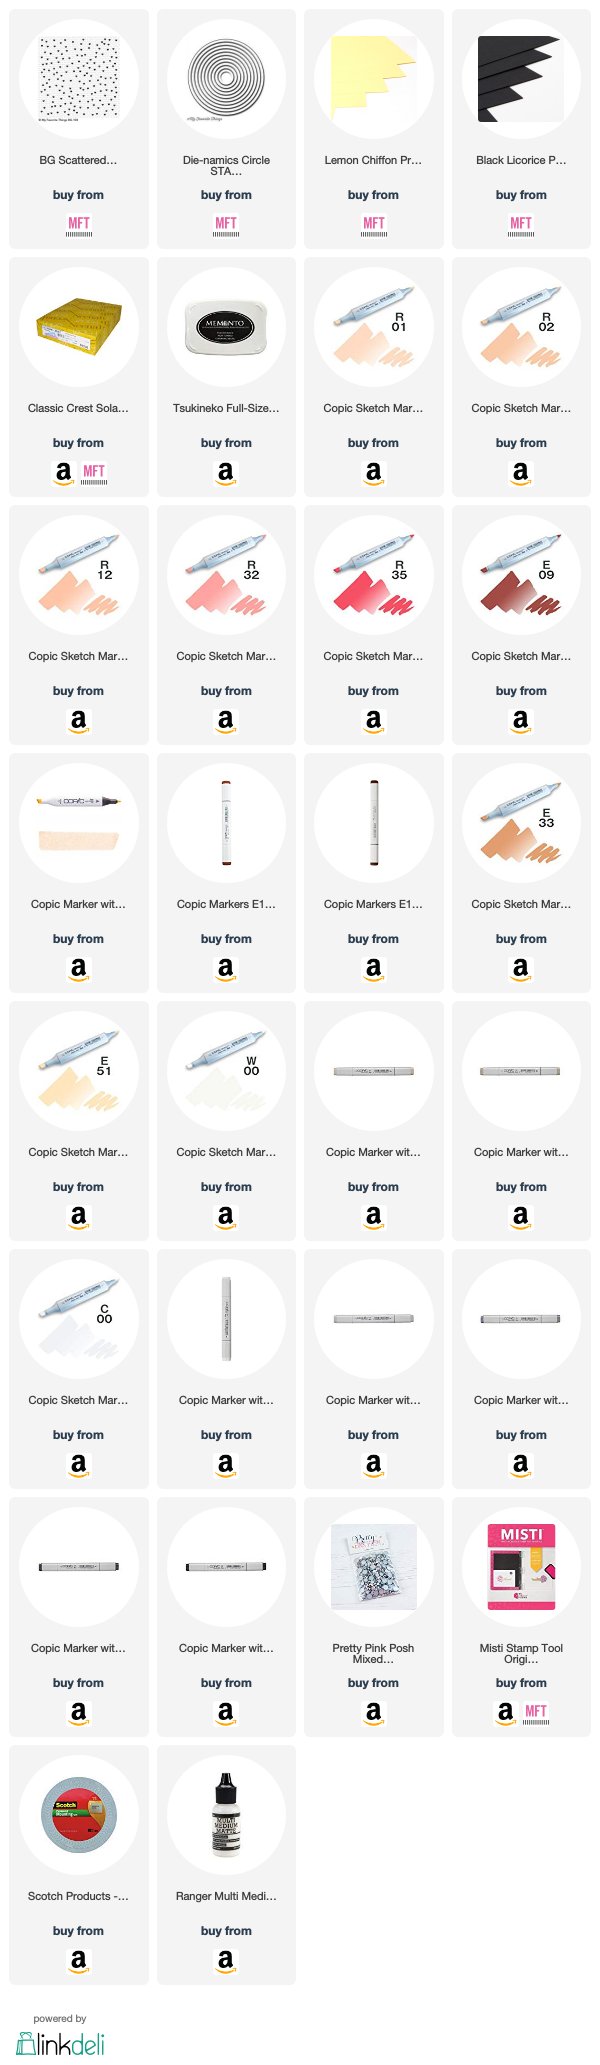
Supplies
Affiliate links used when available.