Tuesday, October 30, 2018

CASology: Arithmetic

Hello! It's Tuesday and it's time for a new cue from CASology!


I had to think a little outside the box for this one because I don't really have any number stamps that would work. Instead, I decided to make a simple valentine.


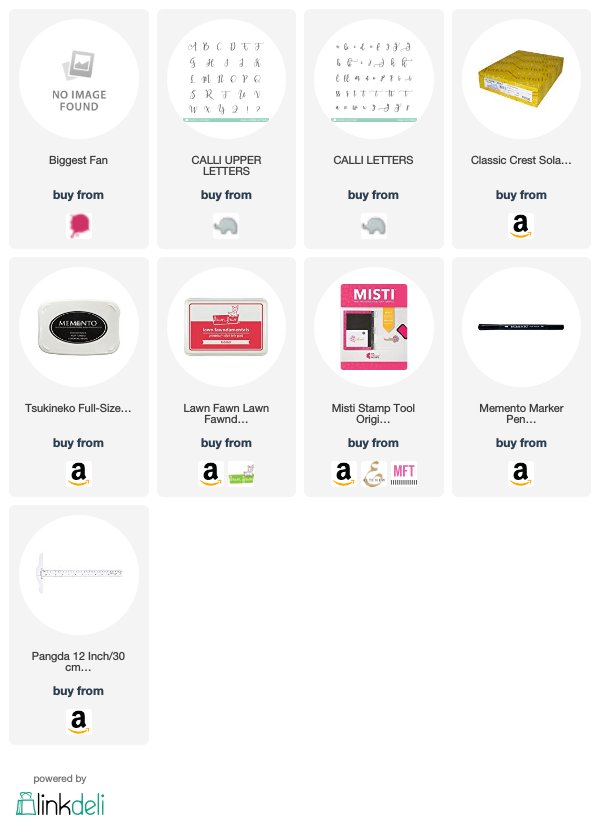
I used my Calli Letters from Mama Elephant to stamp my "you" and "me" and then used my T Ruler and my Memento marker to draw my line beneath them. I then went back in with the marker and added the addition sign. I stamped the my "love" using my MISTI and some Lobster ink from Lawn Fawn.

Super easy! Thanks for stopping by today and don't forget to link up your creations on the CASology post!

Supplies
Compensated affiliate links used when available.

Friday, October 26, 2018

Best Frenemies

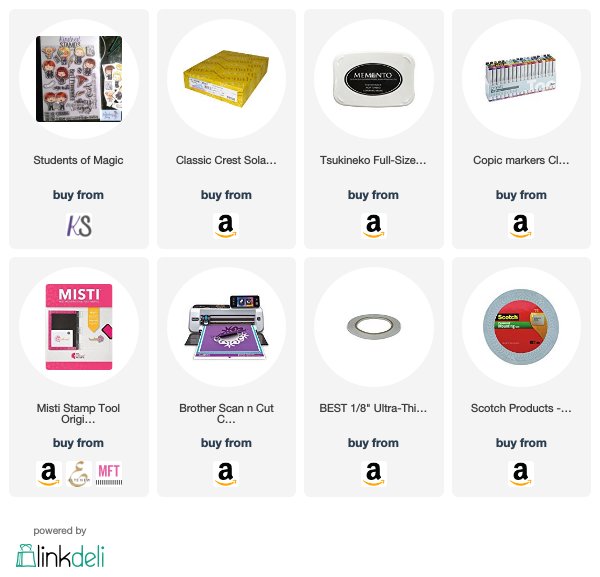
Oh my goodness do I have something fun for you today! I have a card made with a collaboration of Kindred Stamps and Witt & Sass for our week of Magical Friendship. I've combined Students of Magic (Kindred) and Magical Accessories (Witt & Sass) to create something incredibly cute!


I started this card by stamping my images and coloring them in with my Copics. When I was finished, I did a heck of a lot of fussy cutting! I set them aside and began work on my background.

I lightly sketched in my paving stones for my floor using W00 and then went back in and began adding progressively darker colors to create a gradient effect. When I was satisfied with the floor, I went in with my W00 again and sketched in my stone wall. When I was happy with where my lines were, I went in with my darker colors again and added some shading to create a more realistic feel.

I laid out my images where I wanted to eventually adhere them and then used some washi tape to pick them up and keep them together. I added some foam tape to the back of them and adhered them to the panel. When they were set down, I used my MISTI to go in and stamp my sentiment above them. I used some double sided tape to adhere the panel to a top-folding A2 card base.

Thanks for stopping by today!

Supplies
Compensated affiliate links used when available.


Thursday, October 25, 2018

Keeping Christmas Inspiration Blog Hop


Hello! I'm joining some delightfully talented ladies on the 25th of every month with a fun Christmas creation. I don't know about you, but I always find myself rushing to get things done in the couple of months leading up to Christmas. I'm trying to keep that from happening this year by putting together a couple of creations each month to put in my stash so I won't be crazy busy when Christmas rolls around.

It's the 25th, so it's time for a Christmas creation!


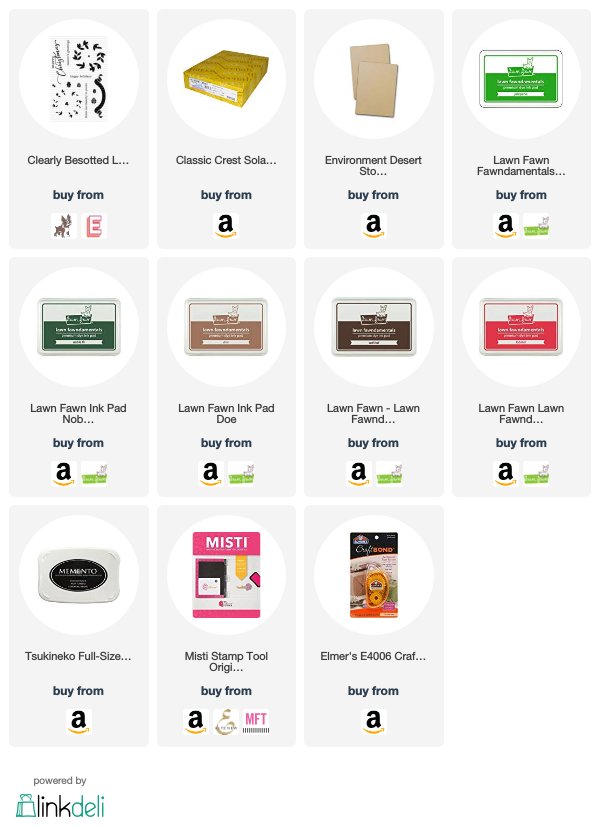
I decided to keep it simple this month because Christmas is closing in on us and I wanted something that would be easily mass produced. This card features the Layered Wreath set from Clearly Besotted and it has nothing but simple stamping. I could honestly reproduce a bunch of these in just an hour. I love the simplicity and my overly stressed brain loves it, too!

Thanks for stopping by and don't forget to visit the other stops in the hop!


Supplies
Compensated affiliate links used when available.

Tuesday, October 23, 2018

CASology: Scary

Hello and welcome back for a brand new cue from CASology!


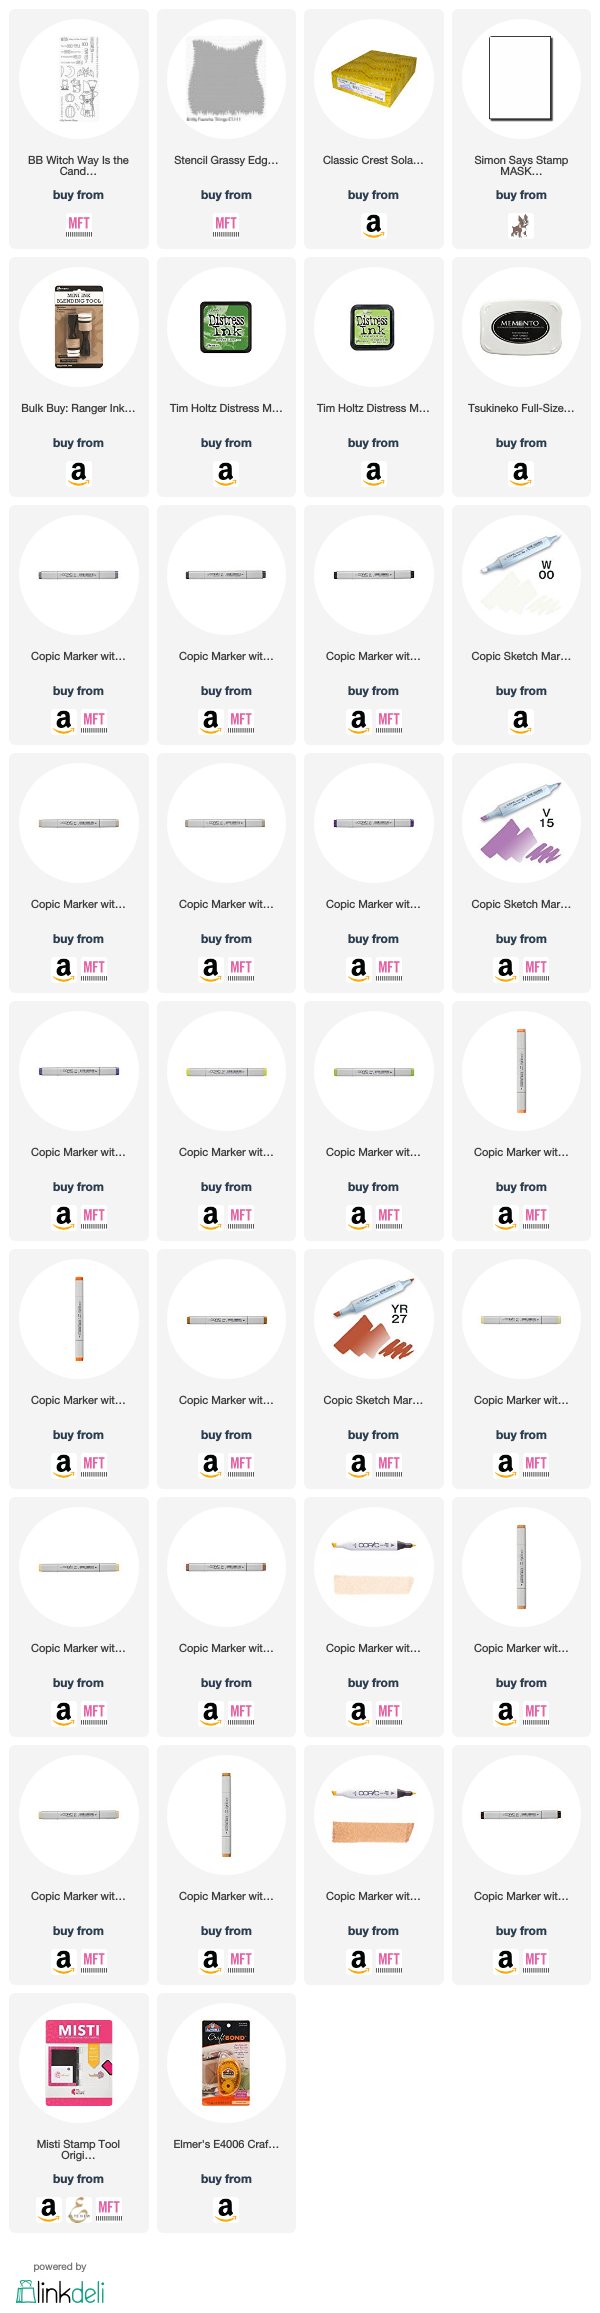
For my card, I decided to use my "scary" witch from MFT's Witch Way is the Candy stamp set.


I cut a panel to the same size as the front of an A2 card base and then used my MISTI to stamp my sentiment and my image. I stamped another image on some masking paper and cut it out so that I could stencil my grass to ground her on my panel. I covered her in the mask and then used Mowed Lawn and Twisted Citron distress inks to blend in my grass with the stencil. I removed the mask and colored my image with my Copics.

When I was done with my coloring, I used my glue runner to adhere my panel to the front of an A2 top-folding card.

Thanks for stopping  by today and don't forget to add your own creations to the CASology blog!

Supplies
Compensated affiliate links used when available.

Sunday, October 21, 2018

The Trouble with Celebration

Hi, everyone! I'm here today with a new card for the Kindred Stamps design team! I'm a sci-fi nerd and this cute little set just speaks to my heart. I did a ton of masking to create this tiny scene, but it was so worth it!


I started off by stamping and cutting 6 masks so that I could stack up my cute little furry creatures. I used my MISTI to help me stamp everything and then removed all of my masks to reveal my scene. I used my Copics to color everything and then adhered my panel to the front of a top-folding A2 size card base.

Supplies
Compensated affiliate links used when available.


Wednesday, October 17, 2018

Kindred Stamps October Release Christmas Kid

Hello, everyone! It's time for a look at one of the new sets from Kindred Stamps! The one I'm showcasing today is called Christmas Kid.


This card was super easy to create. I stamped my image onto a panel of white cardstock cut to the size of the front of an A2 card base. I masked it off and then blended some Squeezed Lemonade distress ink over the top of it to give it a glow. I then went in from the sides of the card and layered different blues to build up the color surrounding the image. I finished it off by blending a little Black Soot to the very edges to deepen the color.

I removed my masking paper and colored my lamp with my Copics. I then used my MISTI to stamp my sentiment below the image. I adhered my panel to a white top-folding A2 card base with my tape runner.

For my next card, I actually created a small photo tutorial to show you how it all came together.


To start with, I carefully inked one side of my lamp and stamped it onto my card panel. I did the same to the other side and then stamped it a little distance away. I went back in with my Memento marker and created a jagged edge to imitate a break in the lamp.


I wanted to make it look as though the lamp was falling from a table, so I went in and sketched out my scene using a very light E marker. I then started slowly adding color to the different elements to build up the scene. I began with the green in my plant by dotting different greens to give it a leafy texture. I trailed it over the table to add some interest.

To balance the scene, I added a watering can to the other side of the table. I drew it in with a very light orange marker and then added darker color to give it dimension and flesh it out.

Now it was time to add my table. I colored the edges with the darkest color to give it depth and so that it would look round. I kept adding different shades of brown until I got the look I was going for.

Next, it was time to color my lamp and give the scene a little grounding. I added some small flicks of light E shades to make my carpet look like shag since that would have been popular during the era my scene is representing. I added a little gray shading where the carpet would meet the wall and slowly faded it out to white as it went toward the top of the scene.

All that was left was to stamp my sentiment and adhere my panel to a card base.


For my last card, I wanted to recreate an image I think we can all relate to.


Poor Christmas Kid has a lot of explaining to do! I stamped my kid onto a white cardstock panel and then sketched my scene in using E50 and a ruler. I then went in with gradually darker colors to add shading and depth to my stairs and the bannisters.

When my scene was the way I wanted it, I finished it off by coloring in my kid. I used my MISTI to stamp my sentiment above my scene and then adhered it to the front of a top-folding A2 white card base.

The entire Kindred Stamps September release will be available Friday, October 19 at 8am PST/11am EST.  Be sure to check out the Kindred Stamps blog on Friday for the full product release as well as the complete line up of all the Kindred Stamps Design Team projects from release week!  If you visit and comment on all of the designers' blogs this week, you could win $15 in Kindred Stamps shop credit!  So join the Fan Club and release event, show the design team some love, and get ready to empty those wallets this Friday!
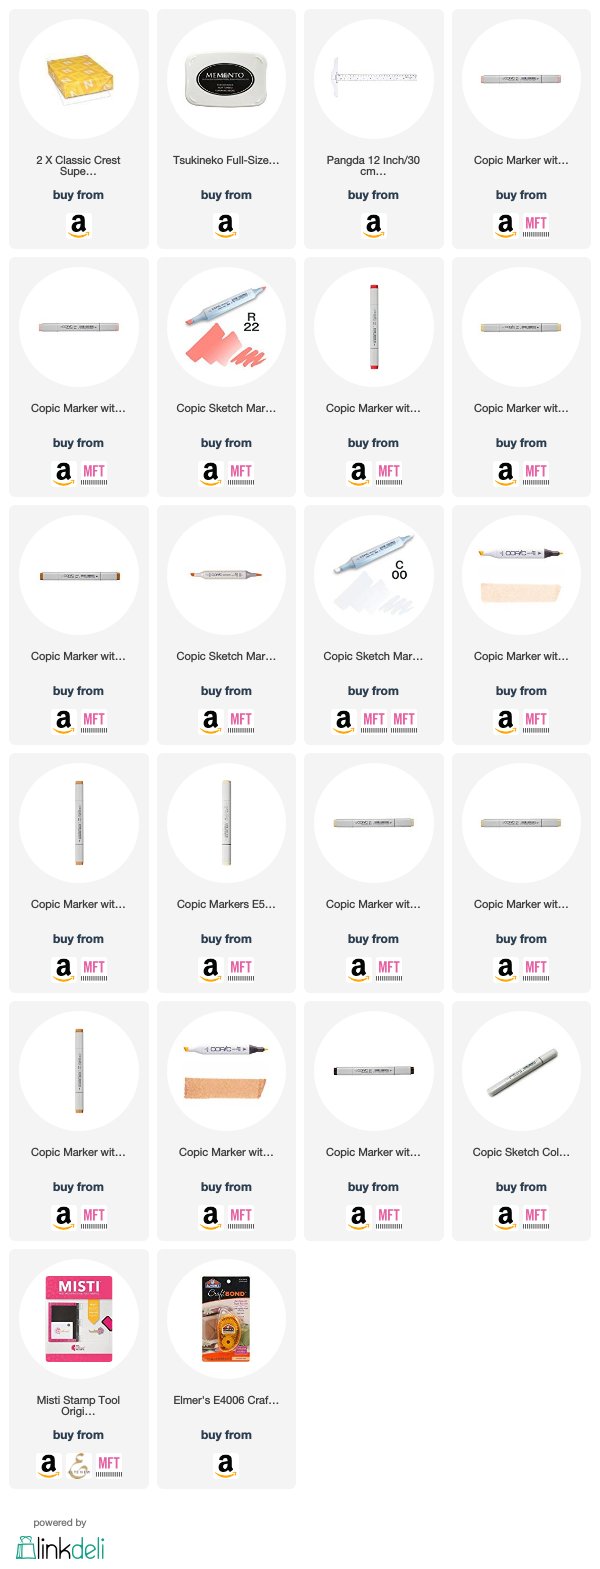
Supplies Compensated affiliate links used when available. Card 1
Card 2

Card 3
Tuesday, October 16, 2018

CASology: Menu

Hello and welcome back to a new cue from CASology!


I searched through my stamp stash and came up empty, so I had to think a little outside the box for this one. With that in mind, I created my very own menu.


This card is a little outside my comfort zone seeing as how I put away my copics and got back to basics with some simple stamping.

I combined two Sugar Pea Designs stamp sets to create this super simple one layer card. I used the sentiments and the coffee bean from Espresso Yourself and then added some coffee rings from the Caffeine Addict set when I realized the card looked a little plain.

Thank heavens for the MISTI! I never would have attempted something like this if it weren't for that tool! I can't stamp straight to save my life and the MISTI makes it so super easy to stamp perfectly every time. I lined up all the sentiment words in my MISTI at once and then stamped them all in black ink. I went in again with my coffee bean and used the MISTI to get it lined up perfectly for each "bullet point."

I went back in afterward with my little coffee rings and stamped them in to add a little more detail.

Super simple and sweet! Thanks for stopping by and don't forget to link up your card on the CASology post!

Supplies
Compensated affiliate links used when possible.