Sunday, November 25, 2018

Keeping Christmas November Inspiration Blog Hop


Hello! I'm joining some delightfully talented ladies on the 25th of every month with a fun Christmas creation. It's our last blog hop before Christmas, so I thought I'd make this one a good one.


Sandy Allnock's Winter Wonderland class was the inspiration for the background of my card this time around. I can't recommend her classes enough. It looks like a complicated drawing, but it literally took me about 20 minutes to create. If you've never taken one of her classes, let me just tell you that even beginners can create masterful looking creations immediately!

Since the background is so light, I drew in the background first (it was actually much larger, I cut it down) and then stamped my images on top and colored them in. Unfortunately, the images I used are from a My Favorite Things set that has since been discontinued. It's still one of my favorites and I find myself reaching for it at this time of year even though I have other, newer sets that I could use. It's just that cute! I trimmed down my piece so that it would fit the front of an A2 card base and then stamped my greeting in Versamark on black cardstock. I heat embossed my sentiment in white powder and then wrapped it around the panel and adhered it down. I used my double sided tape to adhere the panel to a card base and I was all done!

Thanks for stopping by and don't forget to visit the other stops in the hop!

Supplies
Compensated affiliate links used when available.

Saturday, November 24, 2018

Never Grow Up

Hi, everyone! I'm here today with a confession. I'm a bookworm. A big one. I read constantly. And here's another confession, I have a couple of cats. And these cats enjoy things with strings on them. In other words, my cats like to chew on my bookmarks which makes keeping them (the bookmarks, not the cats) in the house a struggle. Fortunately, this hobby and a nifty little die help keep me in homemade bookmarks so I don't go crazy every time they chew one up!


So that's where the inspiration for today's project came from. One of my little rascals grabbed the bookmark from my current book and shredded it. I needed a new one and this set was sitting on my desk just begging to be made into one!

I cut two bookmarks from white cardstock with my die (one to color on and one to adhere to the back to hide any bleeding that might come through). I stamped on one of them and then colored it with my Copics. I even colored the sky to give it a little something extra. I used my Multi Medium Matte to adhere the two bookmarks together. Because it stays wet for a little bit before becoming permanent, I was able to position the pieces perfectly before it dried. I added a little baker's twine to it and I have a new bookmark to keep my place in my current read!

Thanks for joining me today!


Tuesday, November 20, 2018

CASology: Girl

Hey, everyone! I'm back today with a new cue from CASology!


For this challenge, I decided to color up my favorite "wise" girl.


Isn't she adorable!? I just love this cute little stamp from Kindred Stamps. This was a simple one to put together. I simply stamped my image and part of the sentiment in Memento Tuxedo Black using my MISTI and then finished the sentiment by stamping the word wise in Blue Jay ink.

I used my Copics to color in my little wise girl and then grounded her using some warm grays.

Thanks for stopping by today and don't forget to add your own creations on the CASology post!


Saturday, November 17, 2018

Groundbreaking Birthday

Hello! I'm back with a card I created using Kindred Stamps' Fashion Boss set. I just love this stern little lady!


This card required a little bit of work to put together, but mostly because I insisted on inlaying all those little diamonds. It took some time, but I think it was worth it for the beautiful background it makes. I cut this cover die from white, gray, and dark gray cardstock and then layered the white piece onto a white card base. I took the two gray pieces and inlaid them in an alternating pattern.

I stamped my Fashion Boss in Memento Tuxedo Black and then used my Copics to color her in. I cut her out and then set her aside while I worked on my sentiment strip. I stamped my sentiment in Versamark ink and then heat embossed it with white powder so it would stand out on the black. I cut it down so the sentiment would be on the far left of my card and then adhered it to the base with my tape runner. I adhered my image using some thin foam tape for a little bit of dimension.

Thanks for joining me today!


Tuesday, November 13, 2018

CASology: Glass

Hello, everyone! I have a new cue from CASology for you today!


I decided to use what I learned in Sandy Allnock's Underwater Scenes class to create a fun "soda" background for my glass bottle.


I used what I learned in the "surface" lesson to create a swish of soda in a glass with some caffeinated bubbles as my background.

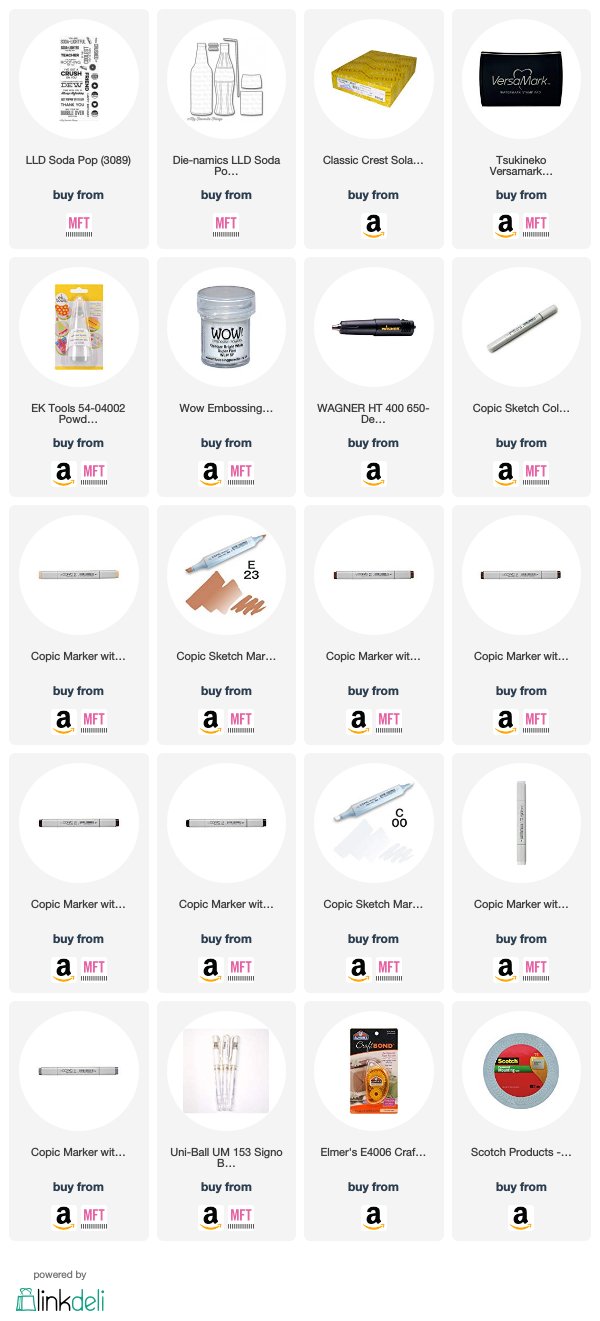
I cut my glass bottle from some Neenah Solar White and then used my copics to color in soda inside of my bottle. I added some bubbly details with my colorless blender, E49, and a white gel pen. I added my sentiment on the label for the bottle and then glued on the bottle cap I had colored in with C5. I added the bottle to the front of my card with some foam tape for dimension.

Thanks for stopping by today and don't forget to add your own creations on the CASology post!


Saturday, November 10, 2018

Thimble Kiss

Hello, everyone! I have a fun card for you today that was created using Kindred Stamps' Never Grow Up set.


I began this card by cutting and folding a top-folding A2 card base from some Neenah Solar White card stock. I used a stamp block and some gray ink to create a patterned paper on the front of my base by repeatedly stamping the small thimble image.

I cut a circular panel with a stitched circle die and then used my MISTI to help me stamp my image and sentiment so that it would be straight. I used my Copics to color in my image and then adhered my circle to my card base using some foam tape for dimension.

Thanks for stopping by today!

Tuesday, November 6, 2018

CASology: Compliment

Hello, everyone! I'm back today with a new cue from CASology!


I have so many sentiments that would work for this one, but I had to go with a pun. I just love them so much!


This is super easy to put together. I cut a panel to the size of the front of an A2 card and then used my MISTI to stamp my image and my sentiment. I went in with my Copics and carefully colored in all those little gumballs and the rest of the machine. I went back in with my warm grays to add some detail below my machine so that it looks as though it's sitting on a counter and not just floating in midair. I adhered my panel to the front of a top-folding card base and I was all done!

Thanks for stopping by!


Monday, November 5, 2018

Kindred Stamps November Release Rock Out

Hello! I'm super excited to share this amazing stamp set from Kindred Stamps with all of you today! As a giant music fan, I'm in love with this one.

I started by creating a birthday card with some dies and a some colored papers.

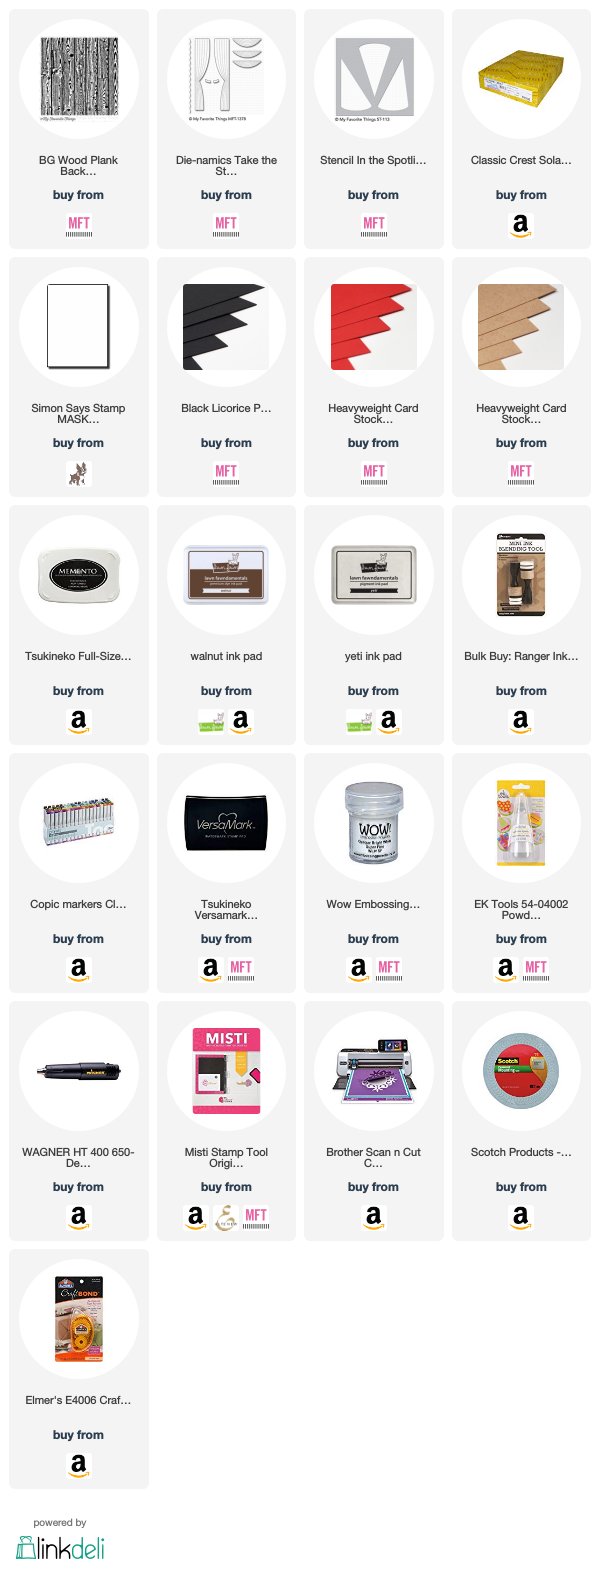
I put together a little stage for my rock star to perform using some colored papers, a wood plank background stamp, and a curtain die. I added some stenciled spotlights to the background to bring the focus onto my image. I colored my image with Copics and then cut him out using my Scan N Cut (you know, I hate fussy cutting!). I adhered all my elements to a card base with my tape runner and then added my rock star using some foam tape for dimension and to make him stand out from the other background elements.

I finished this one off by using my MISTI to heat emboss my sentiment onto the stage below my image.

Next up, a ton of coloring!


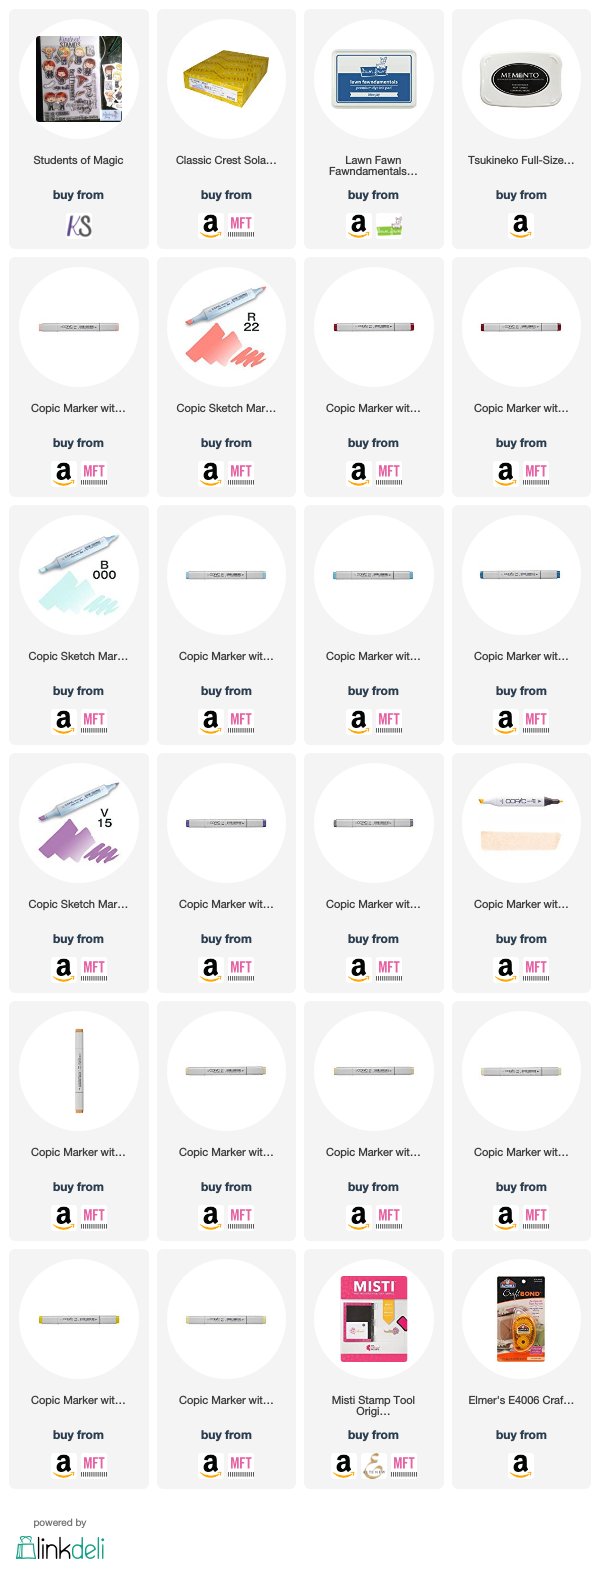
I love clean and simple designs and this one is no deviation from that. I stamped my middle rock star using my MISTI and then masked it off with some masking paper. I went back in with my MISTI and stamped my other two images and the sentiment below them.

Now it was time to put my coloring skills to the test! I spent at least two hours coloring my little people for this one. I did quite a bit of blending and experimenting on some scrap paper to come up with the best techniques for hair types and to try to get a "glitter" feel for the far right jacket. In the end, I think the time was well worth it! To finish it all up, I added a bit of shadowing below my images to ground them and then adhered my panel to a card base.

The entire Kindred Stamps October release will be available Friday, November 9th at 8am PST/11am EST.  Be sure to check out the Kindred Stamps blog on Friday for the full product release as well as the complete line up of all the Kindred Stamps Design Team projects from release week!  If you visit and comment on all of the designers' blogs this week, you could win $15 in Kindred Stamps shop credit!  So join the Fan Club and release event, show the design team some love, and get ready to empty those wallets this Friday!