Wednesday, January 31, 2018

Your Birthday Is Coming

Where my geeks at?! The newest release from Kindred Stamps has me screaming! If you're a fan of all things nerdy, then you need to take a look at this company! I've been creating with them so much recently because, honestly, I'm in love with practically everything they do!

Today is no exception. I used two sets from their most recent release to create this awesome card for one of my nerdy friends. Game of Thrones! So excited!


Oh my goodness! How cute is that Night King?! Never thought I'd say that.

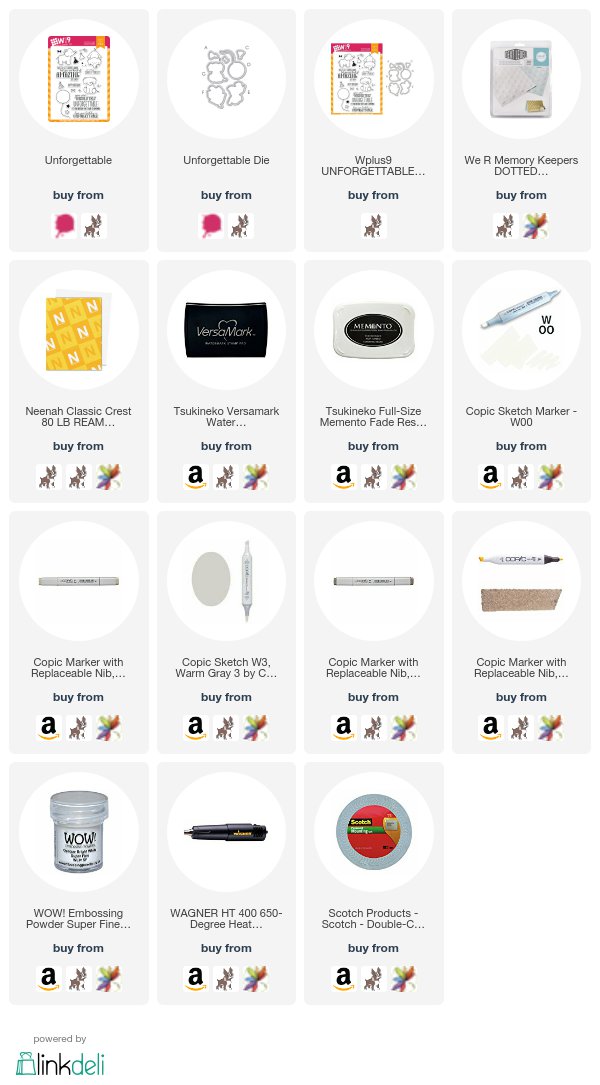
I started my card by simply stamping and then coloring my image with my Copics. I set him aside and then started work on my background.

I kept everything white and gray. I cut and folded a white card base and then cut my mountains from some Smoke Gray cardstock and the snow from the same white. I adhered my snow caps to my mountains with multi medium matte and then used a glue runner to adhere the mountains to the card base. I cut my forest border from some more white cardstock and used the same glue runner to adhere them on top of the mountains.

I used my MISTI to stamp the second part of my sentiment in Dusk blue ink at the bottom of my card and then used my MISTI again to stamp the first part of the sentiment on black cardstock with Versamark ink. I heat embossed it using some white embossing powder and then used my scissors to cut a fishtail on the end of it. I adhered it above the second part of the sentiment using some foam tape.

Last of all, I added my little Night King with some more foam tape and I was finished!

Thanks for stopping by!


Tuesday, January 30, 2018

CASology: Swoon

I'm back with a new cue from the CASology challenge! This week we're SWOON-ing!


I decided to take this week's cue and create a Valentine's card for my husband. He still makes me swoon, so I think that qualifies!


We're big nerds and love Doctor Who, so this is the perfect card for him. I took my coloring inspiration from these photos.


I wanted a suit that would stand out against all that blue, so I went with the brown pinstripe instead of the navy that's more associated with David Tennant's Doctor.

I started my card by stamping and coloring my images and then using my Brother Scan N Cut to cut them out. The sentiment was cut from a banner die included in the Tag Builder 5 set from MFT Stamps. I used my MISTI to stamp it and then tied a spare piece of baker's twine around the opening. I added glossy accents to the hearts to give them a little bit of shine.

Next up was the background. I simply cut a piece of watercolor paper and then added color in layers using 3 different blue distress inks. I used my mini mister to add a few water droplets to mimic stars.

I adhered my watercolor piece to the front of a white card base using some double sided tape and then added my images and sentiment using foam tape.

Thanks for stopping by today and I can't wait to see how our cue inspires you this week!


Tuesday, January 23, 2018

CASology: Late

It's that time of the week again! Time for a new cue from the CASology challenge!


I decided to go with a belated birthday card for this week's cue. I always need one or two on hand because some months are a little birthday-heavy and I may miss one along the way. Having these on hand help me to be a little less late than I would be otherwise!


This card is very simple and easy to pull together. I started by cutting and folded my card base and then running it through my Big Shot with a Next Level embossing folder. It provides a nice, subtle background for my image.

Then I stamped my image with black ink and colored it in with my Copics. I used the matching dies to cut it out. I stamped the sentiment on a strip of black cardstock in Versamark ink and then heat embossed with white embossing powder. I situated it on my card front using the rule of thirds and then added my elephant on top of it. I used foam tape for both the sentiment and the elephant.

That's it! Super simple, but super cute! Thanks for stopping by today and don't forget to add your "late" creations to our challenge!


Tuesday, January 16, 2018

CASology: Glimmer

Hello! I'm back today with a new cue from the CASology challenge!


This cue was an easy one for me because it's right there in the name of one of my very favorite products - NUVO Glimmer Paste!


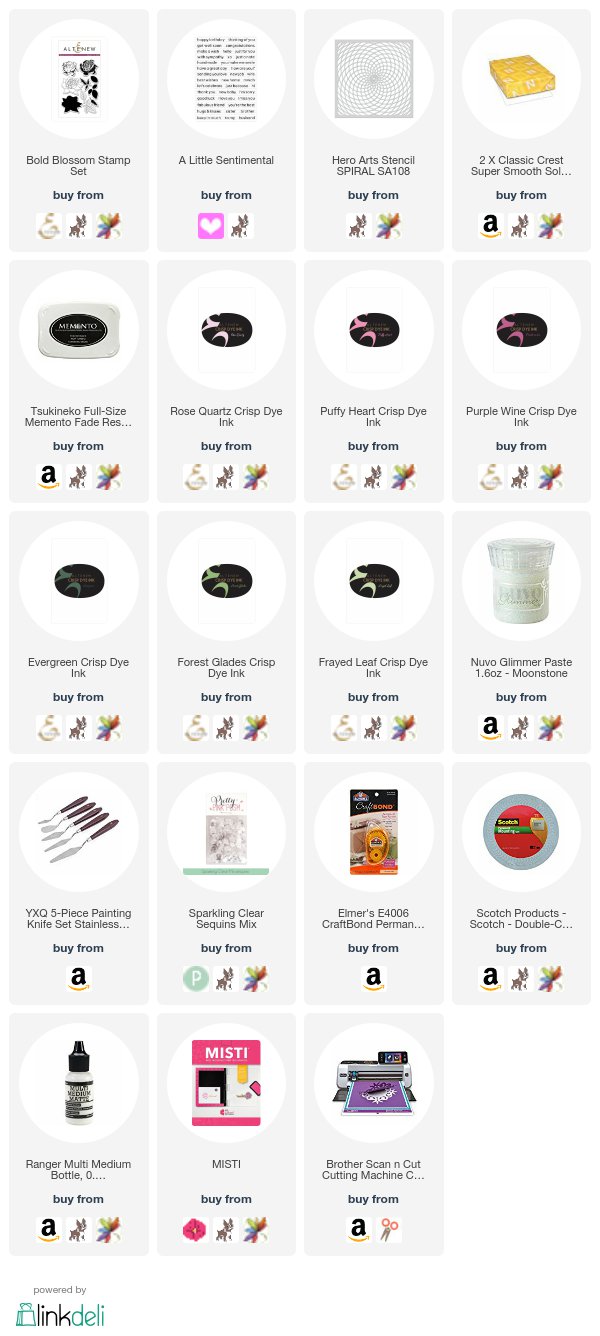
I started this card by cutting a panel that was just a little smaller than an A2 card base and then spreading some Moonstone glimmer paste through a stencil. (I did this because the panel warps a little as it dries and I wanted my card base to remain flat.) When it was dry, I used a tape runner to adhere it to a card base (which helps keep it from warping).

I used my MISTI to stamp my flower and leaves and then used my Scan N Cut 2 to cut them out. I stamped my sentiment on a scrap piece of white cardstock and then cut it out with my scissors. I arranged my flower and leaves in a cluster and then placed my sentiment on top of it. I added foam tape to the back of the cluster and then adhered it to the front of my card base.

To finish it off, I added a sprinkling of sparkling clear sequins from Pretty Pink Posh.


Thanks for stopping by today! I can't wait to see how you're inspired by the cue!


Tuesday, January 9, 2018

CASology: Hug

Hello! I'm back with a new cue from CASology!


I have all sorts of stamps with hug sentiments, but I think this one may be my favorite. I've moved around a lot which means I've had to move away from some great friends. When something happens in one of their lives and I can't be there physically, this sentiment feels just right for the perfect card for them.


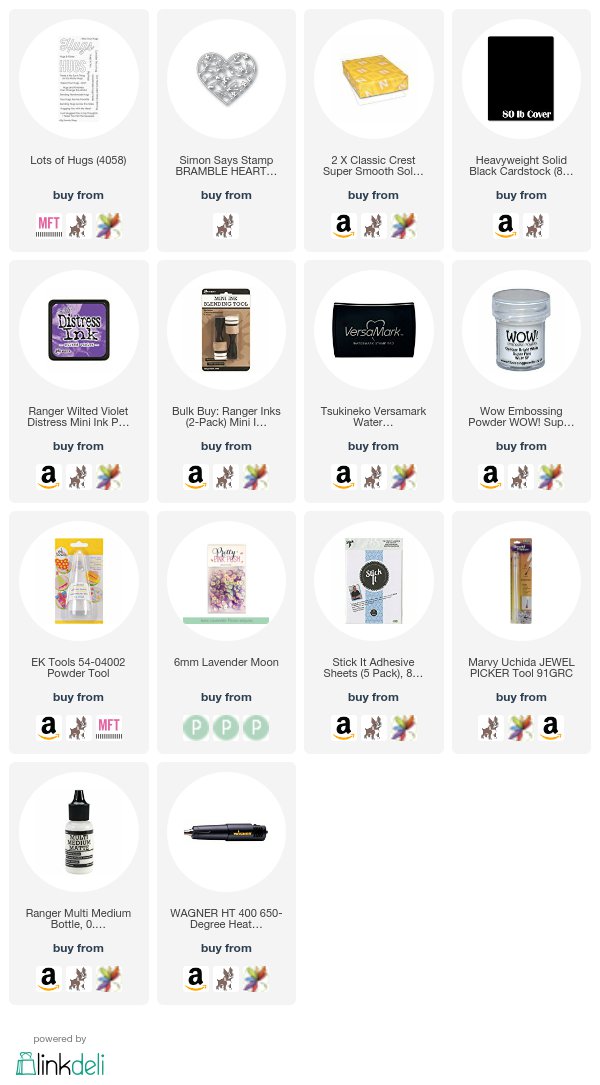
This card was super simple to put together. I started by cutting and folding a white card base and then cutting my Bramble Heart from some more of the same white. I added some Stick It to the back of the cardstock before cutting. It's a super thin adhesive sheet that really helps with these detailed die cuts.

I used some Wilted Violet distress ink and my blending tool to create a soft background for my die cut and then adhered the heart over the top of it. Stick It isn't permanent until you press it down firmly, so I was able to reposition until it was exactly where I wanted it. I then used a bone folder over it to adhere it down firmly.

I stamped my sentiment on some black cardstock using Versamark ink and some white embossing powder for some nice contrast. I cut a flagged end in the sentiment strip with my scissors and then adhered it with some foam tape for a little dimension.

I added a sprinkling of Pretty Pink Posh sequins in my favorite Sparkling Clear as well some iridescent Lavender Moon.

Thanks for stopping by today and don't forget to upload your own creations to our challenge!


Saturday, January 6, 2018

Masculine Birthday Cards

I'm trying to replenish my birthday card stash, but my husband isn't making it easy on me. He has a couple of employees with birthdays this month and he asked me to create a couple of masculine birthday cards for him. So my stash has to wait while I create a couple just for him.


This first card is similar to one I made for my nephew back in July. I used the same concept of looking out a ship's porthole, but I substituted the pirate/mermaid for a shark. (The inside says "Cake! Happy Birthday".)


My second card is perfect for a P.F. Chang's gift card. Who doesn't love Chinese takeout? The dies from My Favorite Things made this card super easy to put together.

Thanks for stopping by today!


Tuesday, January 2, 2018

Mario Birthday

Yay! I'm back again with a brand new card! I decided to dive back into some challenges as a way to get back into my crafting routine.


My birthday card stash is astonishingly low right now due to my inability to craft for the last 3 months of the year. I decided to get a jump start on refilling my stash for the upcoming year with this card. Perfect for that gamer in your life!

I cut a piece of cardstock using the Madison Avenue frame die, keeping both the frame and the inner piece. I used a cloud stencil I had made for myself from some cloud dies and a spare piece of cardstock to stencil in some clouds on the inner piece using Tumbled Glass distress ink. It's hard to see in the picture, but adds a nice little something in person. I set that aside and then started on building my scene.

I cut some pieces of cardstock with my Grassy Fields dies and then used Twisted Citron and Mowed Lawn distress inks to create my grass. I adhered those pieces directly behind my frame die.

I stamped and colored my sewer pipe and my Mario and then used my Brother Scan N Cut 2 to cut them out. I laid everything out on my card base so that I knew where I wanted everything to go and then used my MISTI to stamp my sentiment on that inner Madison Avenue die piece from earlier.

All that was left was to adhere everything together. Using my frame as a guide, I adhered the inner piece to my card base first. This helped me place my frame over it with some foam tape for dimension. I slid my pipe behind my grass pieces and adhered it directly to the piece below. I used a little foam tape behind Mario's head to adhere him on top of the pipe, but still behind my grassy pieces which were popped up with foam tape.

That's all! I'm entering this card into three separate challenges:
Simon Says Stamp Monday - Something New (Plumber Brothers stamp set)
Simon Says Stamp Flickr #87 - Something New (Plumber Brothers stamp set)

Simon Says Stamp Wednesday - Anything Goes

Thanks for stopping by!


CASology: Encourage

It's been a while, but I'm back with a new cue from CASology!


Before I get to the card, I wanted to share my New Year's resolution for this year. I've been letting my blog slide a little bit because the last few months of last year were insanely busy and I had to cut something out in order to not go completely crazy. My resolution going forward is to refocus on my crafting and get my blog back into some semblance of a schedule. I've found that crafting and blogging is actually helping with the "not going crazy" thing and I need to work it back into my routine in the New Year. So now that I've gotten that off my chest, here's my card for this cue!


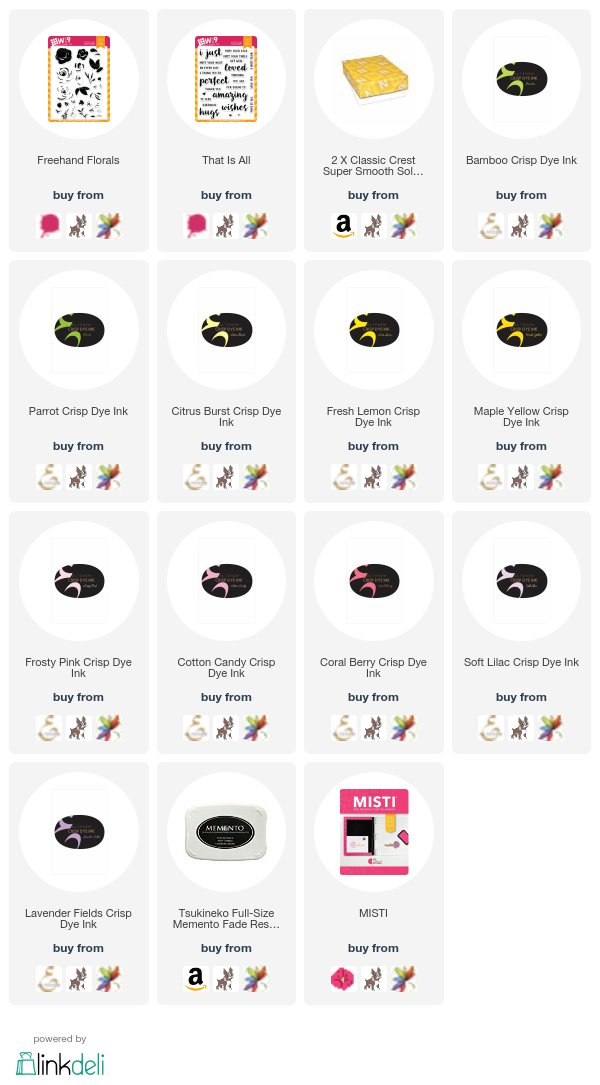
I decided to go back to my stamping roots and create something perfectly clean and simple in a one layer simply stamped card. I'll break out my Copics in the near future, but the simplicity of this one really helped me get back into the swing of things.

All I can say is that my MISTI is seriously a lifesaver. It allowed me to line up each layer of every tiny little stamp in this card. Not to mention helping me keep the sentiment straight! Seriously, I love that little tool.

Thanks for stopping by today and I hope you'll play along with us this week!


Oh, I almost forgot to add this! The CASology challenge is currently looking for new designers to add to our team! If you love clean and simple designs and would like to join us, please click here for instructions on how to apply!