Hello! I'm here today with a fun card I made for a friend's upcoming birthday. I'm still in love with these adorable stamps from Kindred Stamps and since I have a bunch of friends who are fans of Game of Thrones, I guess that's a good thing!
I stuck to my typical style for this card and kept it clean and simple. I cut a panel with a stitched rectangle die and then used my MISTI to stamp Tyrion in the corner. I dug out a stamp block and my calli letter stamps from Mama Elephant for the sentiment. I used a well-known quote to start my sentiment on the outside of my card and then finished it up with a sentiment stamp from the Royal Throne stamp set on the inside later.
I used my Copics to color my Tyrion. I know his hair is more brown in the series, but if we're being true to the books, then he also has blond hair like his siblings. I decided to stay true to the books like the bookworm I am. I finished him off by adding a bit of shadow for grounding in my warm grays and then adding a light halo of cool grays around the image to make it pop off the white background.
I adhered the panel to a folded card base and then used my MISTI to finish the sentiment inside.
Thanks for stopping by today!
Wednesday, March 28, 2018
Tuesday, March 27, 2018
CASology: Cross
Hello and welcome to a brand new cue from CASology!
I started by stamping three little crabs and coloring them with my Copics. I cut them out with their matching die and set them aside. Now I needed to come up with a background for my crabby little guys. I used a die from My Favorite Things to come up with the layout. I took a card panel that was the same size as an A2 card front and then cut it with the die. I used my ink blending tool and some peacock feathers distress ink to ink the right side of the die cut pieces and then added some to the front of the card base where the holes would be.
I adhered the right side piece with my glue runner and then adhered the left side with foam tape for dimension. I should mention that I stamped my sentiment on the bottom of that piece before adhering it so I was sure to get a good impression.
I finished it off by adding my little crabs with some foam tape in the little windows.
Thanks for stopping by!
This cue was a little difficult for me. I don't make many Easter cards and I the ones I do make I tend to keep pretty secular and cute because they're for my niece and nephews. So I really don't have anything that features a cross. I had to think outside of the box for this one. And what's another definition of the word cross? Angry or upset!
I started by stamping three little crabs and coloring them with my Copics. I cut them out with their matching die and set them aside. Now I needed to come up with a background for my crabby little guys. I used a die from My Favorite Things to come up with the layout. I took a card panel that was the same size as an A2 card front and then cut it with the die. I used my ink blending tool and some peacock feathers distress ink to ink the right side of the die cut pieces and then added some to the front of the card base where the holes would be.
I adhered the right side piece with my glue runner and then adhered the left side with foam tape for dimension. I should mention that I stamped my sentiment on the bottom of that piece before adhering it so I was sure to get a good impression.
I finished it off by adding my little crabs with some foam tape in the little windows.
Thanks for stopping by!
Sunday, March 25, 2018
Keeping Christmas
Hello! I'm joining some delightfully talented ladies on the 25th of every month with a fun Christmas creation. I don't know about you, but I always find myself rushing to get things done in the couple of months leading up to Christmas. I'm trying to keep that from happening this year by putting together a couple of creations each month to put in my stash so I won't be crazy busy when Christmas rolls around.
It's the 25th of March and it's time for a fun Christmas creation!
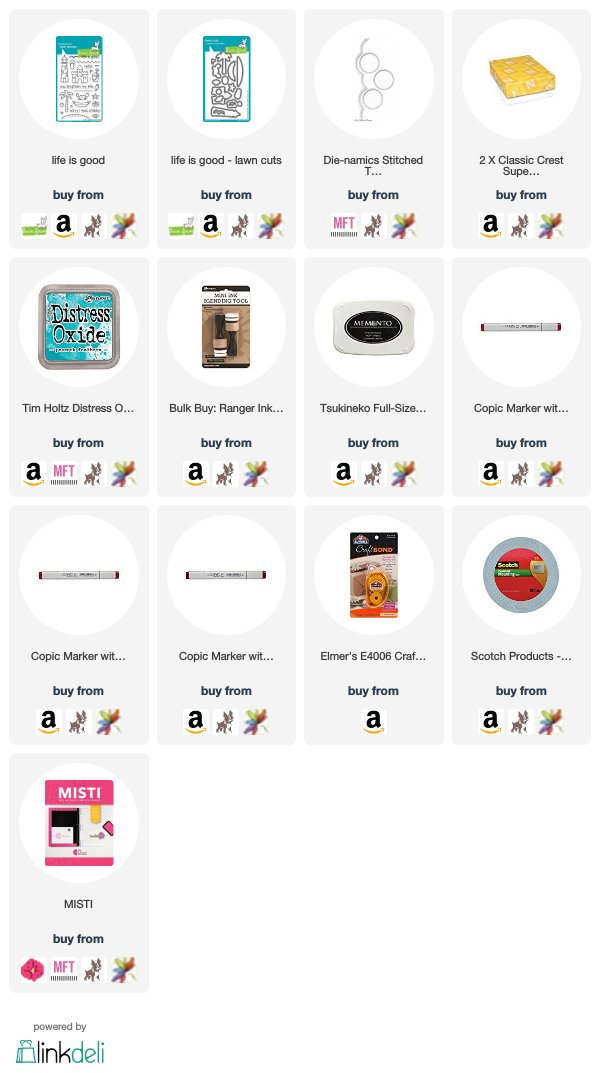
I kept it simple this month with a fun dog stamp from MFT. I cut a panel with a stitched rectangle stamp and then used my MISTI to stamp my dog and sentiment with some Memento Tuxedo Black. I used my Copics to color my little doggo and add a shadow underneath him.
I prepped my card base by cutting and folding a piece of white card stock and then added a piece of green striped patterned paper to cover the front.
I adhered my panel to the front and I was all done! Super simple, but one step closer to having my Christmas cards made in advance!
Don't forget to hop along and see all the festive inspiration from these wonderful ladies!
Anita Madden
Broni Holcombe
Claire Broadwater
Julee Tilman
Kim Heggins
Lori Tecler
Nance Salkeld
Nina Forsyth
Rachel Bergfeld (You are here!)
Vicki Finger
Tuesday, March 20, 2018
CASology: Foil
Hello! I'm back today with a new cue from CASology!
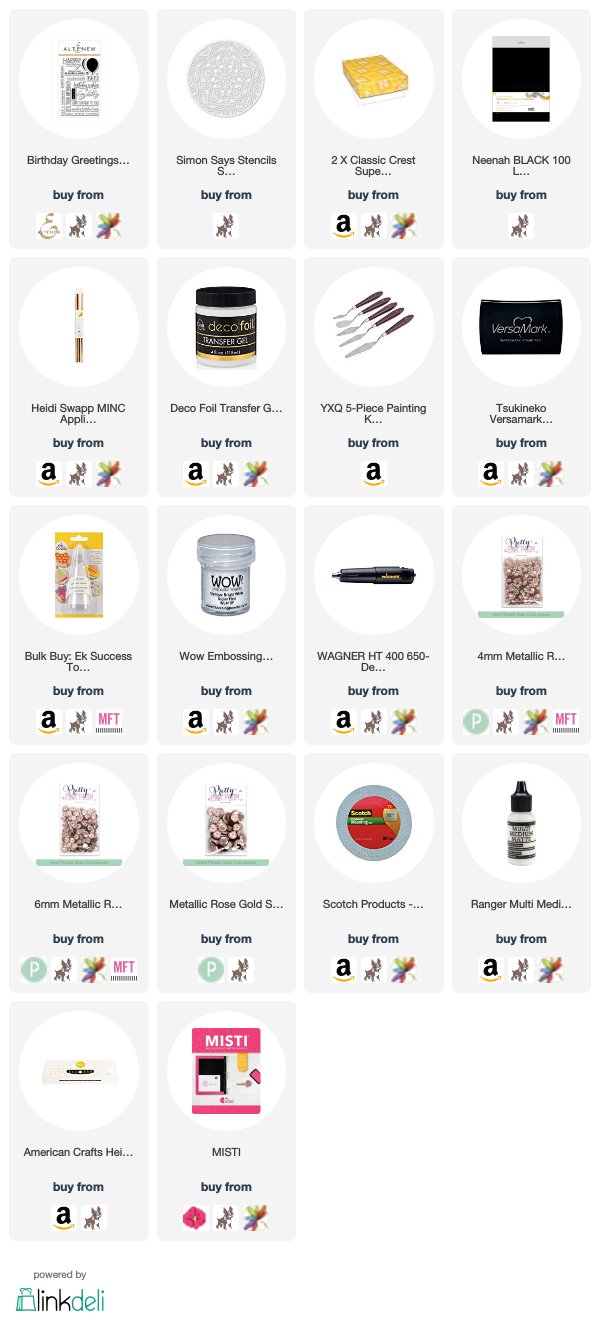
For this card, I positioned my stencil in the upper left corner of the card and then used some post it tape to tape off the areas surrounding the circular stencil that I didn't want to get messy with my gel. I spread the gel on top of the stencil with a palette knife and then removed the stencil and the tape. I set it aside to dry (about 30 minutes) and then ran it through my MINC with some rose gold foil.
I used my MISTI to stamp my sentiment on some black cardstock in Versamark ink and then heat embossed it with some white powder. I used my scissors to cut a flagged end and then attached it to my card base with some foam tape. To finish it off, I added a few rose gold sequins from Pretty Pink Posh.
Thanks for stopping by and don't forget to link up your FOIL creations to the linky on the CASology page!
I love foiling! It's one of my very favorite techniques and I have a ton of stencils that work so well with my Deco Foil Transfer Gel.
I used my MISTI to stamp my sentiment on some black cardstock in Versamark ink and then heat embossed it with some white powder. I used my scissors to cut a flagged end and then attached it to my card base with some foam tape. To finish it off, I added a few rose gold sequins from Pretty Pink Posh.
Thanks for stopping by and don't forget to link up your FOIL creations to the linky on the CASology page!
Tuesday, March 13, 2018
CASology: Bug
Hello, everyone! I know I haven't been posting as much lately and that's because my dog had surgery recently. Nothing serious, she just had a tumor removed, but I've had to keep an eye on her so she doesn't open her stitches. And she's quite the handful when it comes to keeping still! So because of that, I've been spending a lot of time shut in the bedroom where there aren't as many things for her to scratch her butt on (which is where her stitches are!).
Anyway, on to today's post! It's time for a new cue from CASology!
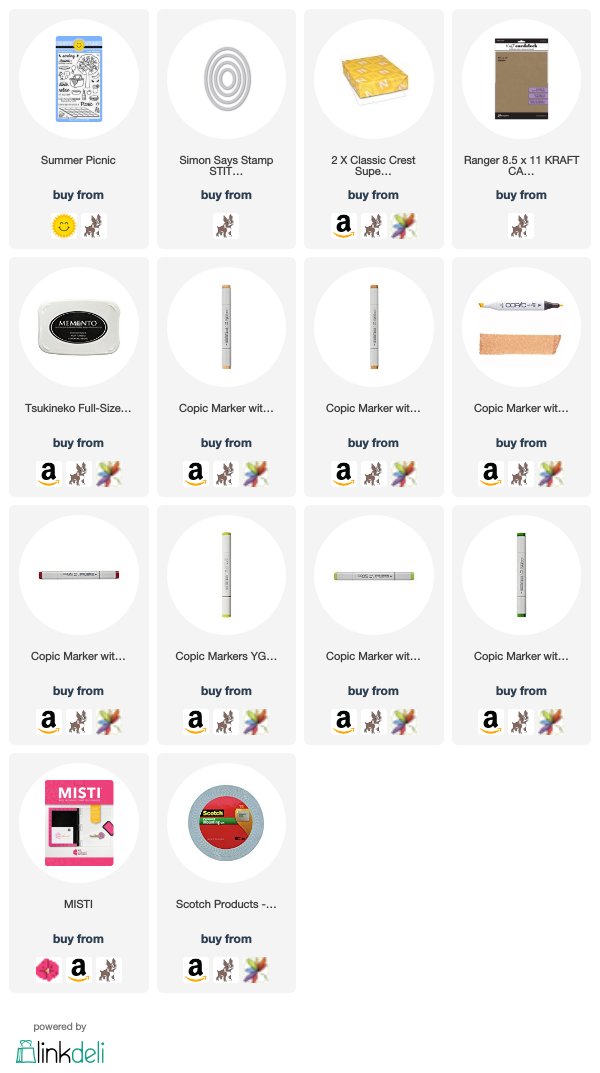
I started this card by stamping my tiny scene with my sentiment beneath it using my MISTI. Then I used an oval die to cut it out. I did a little simple coloring with my Copics and then adhered it to a Kraft card base. Super simple, but super cute!
Thanks for stopping by today! I hope to start updating my blog more frequently now that Molly has her stitches out and I don't have to watch her so closely. So stop by again soon for more cardmaking fun!
Anyway, on to today's post! It's time for a new cue from CASology!
Whenever I see a cue like this, I automatically think of this super cute set from Sunny Studio Stamps. It has the most adorable little ants that are invading a picnic.
I started this card by stamping my tiny scene with my sentiment beneath it using my MISTI. Then I used an oval die to cut it out. I did a little simple coloring with my Copics and then adhered it to a Kraft card base. Super simple, but super cute!
Thanks for stopping by today! I hope to start updating my blog more frequently now that Molly has her stitches out and I don't have to watch her so closely. So stop by again soon for more cardmaking fun!
Tuesday, March 6, 2018
CASology: Abstract
Welcome back for another brand new cue from CASology!
I have the perfect die cut for this cue: an abstract heart from Neat & Tangled!
This card is super simple to pull together. I started by cutting a piece of toner paper with my heart die and then using my Minc to add gold foil to it. I then cut another heart from a black cardstock panel and adhered it to a black card base.
I inlaid the foiled die cut and then carefully replaced all the small black pieces that I die cut from the panel.
I finished off the card by heat embossing the sentiment in gold below my inlaid piece.
Super simple! Thanks for stopping by!
Subscribe to:
Posts (Atom)